Cleaning Data with Azure ML Studio
Aug 23, 2020 • 10 Minute Read
Introduction
Data preparation is a time consuming but extremely important activity for data scientists or machine learning engineers. Failure to perform it leads to incorrect insights and poor modeling results. In this guide, you will learn how to perform common data cleaning tasks such as treating missing values, removing duplicates from the data, and converting data types in Azure ML Studio.
Data
In this guide, you will work with fictitious data of 600 observations and 9 variables, as described below.
-
UID - Unique identifier of an applicant.
-
Dependents - Number of dependents of the applicant.
-
Is_graduate - Whether the applicant is a graduate ("Yes") or not ("No").
-
Income - Annual Income of the applicant (in US dollars).
-
Loan_amount - Loan amount (in US dollars) for which the application was submitted.
-
Credit_score - Whether the applicant's credit score was good ("Satisfactory") or not ("Not_satisfactory").
-
Age - The applicant’s age in years.
-
Purpose - Purpose of applying for the loan.
-
approval_status - Whether the loan application was approved ("1") or not ("0"). This is the dependent variable.
Loading the Data
Once you have logged into your Azure Machine Learning Studio account, you will see the following window.
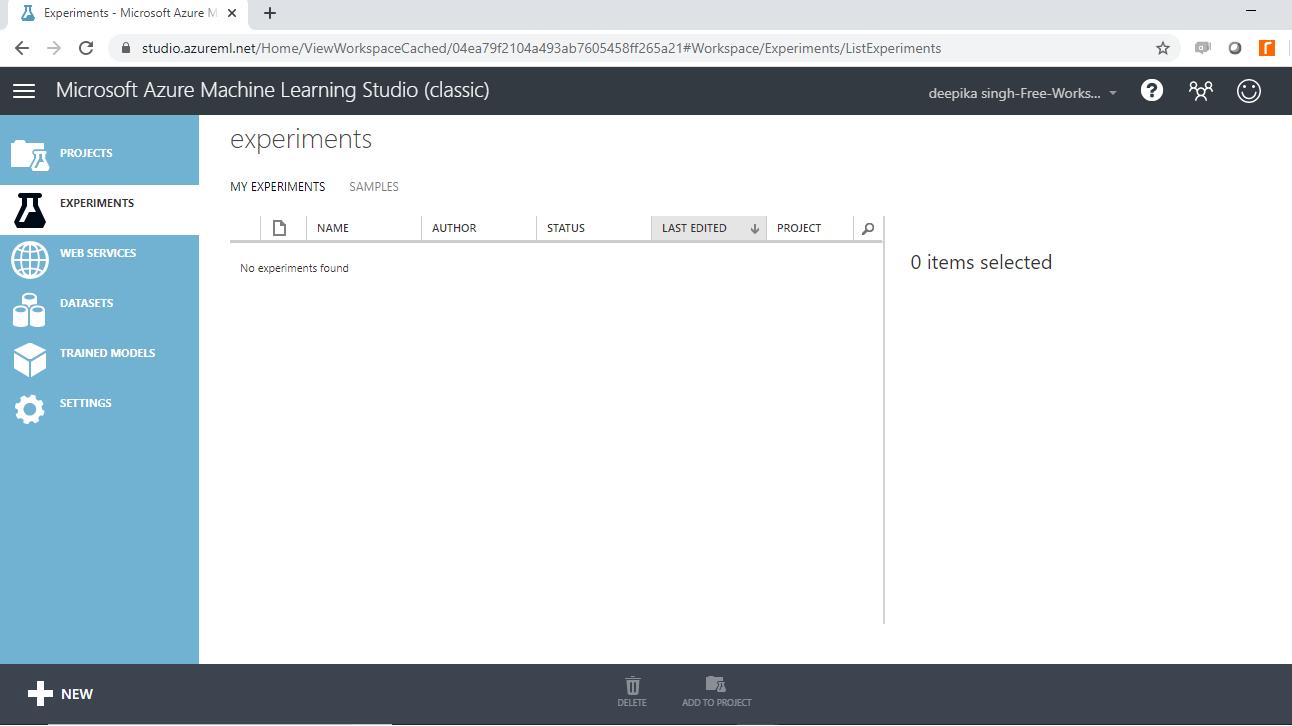
To start, click on the EXPERIMENTS option, listed on the left sidebar, followed by the NEW button. Next, click on the blank experiment and the following screen will be displayed.
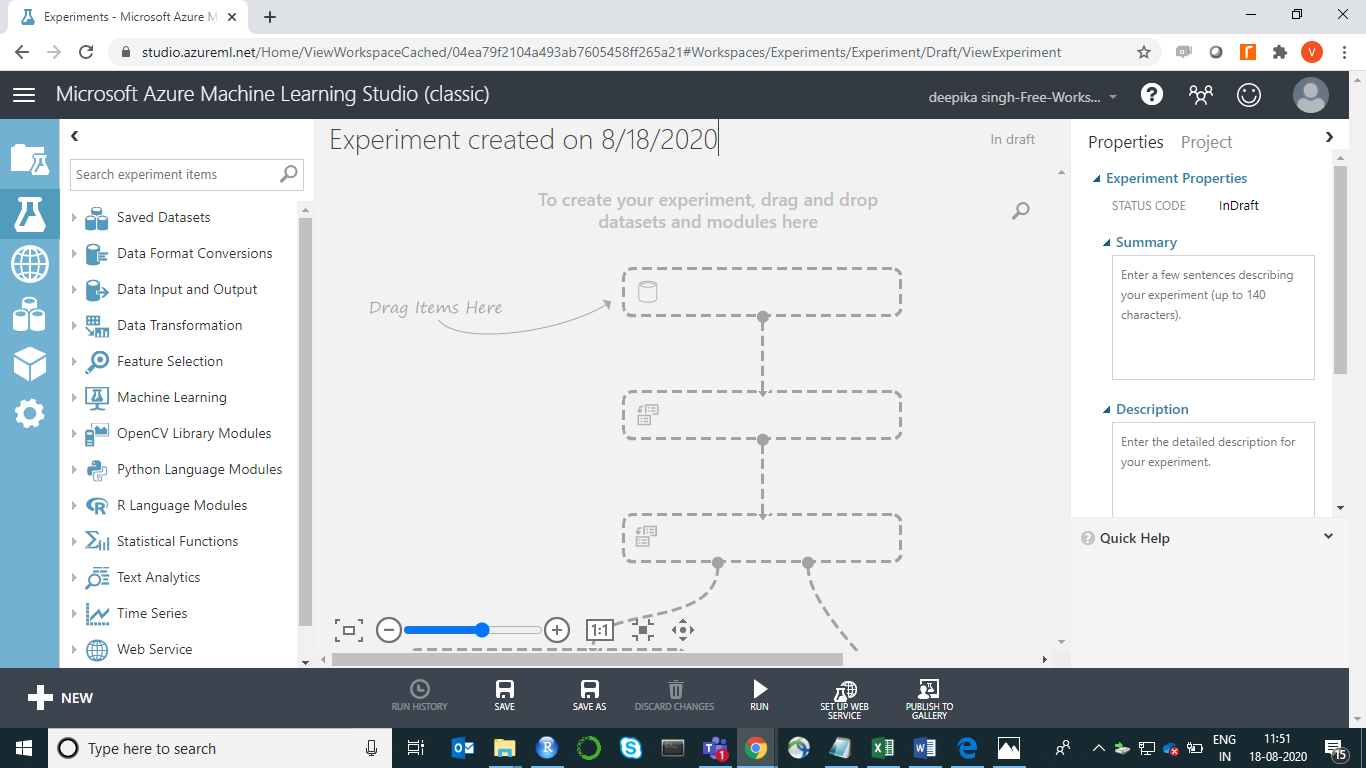
You are ready to load the data. There are many options available for data import. For example, if you want to upload the file from the local system, click NEW, and select the DATASET option.
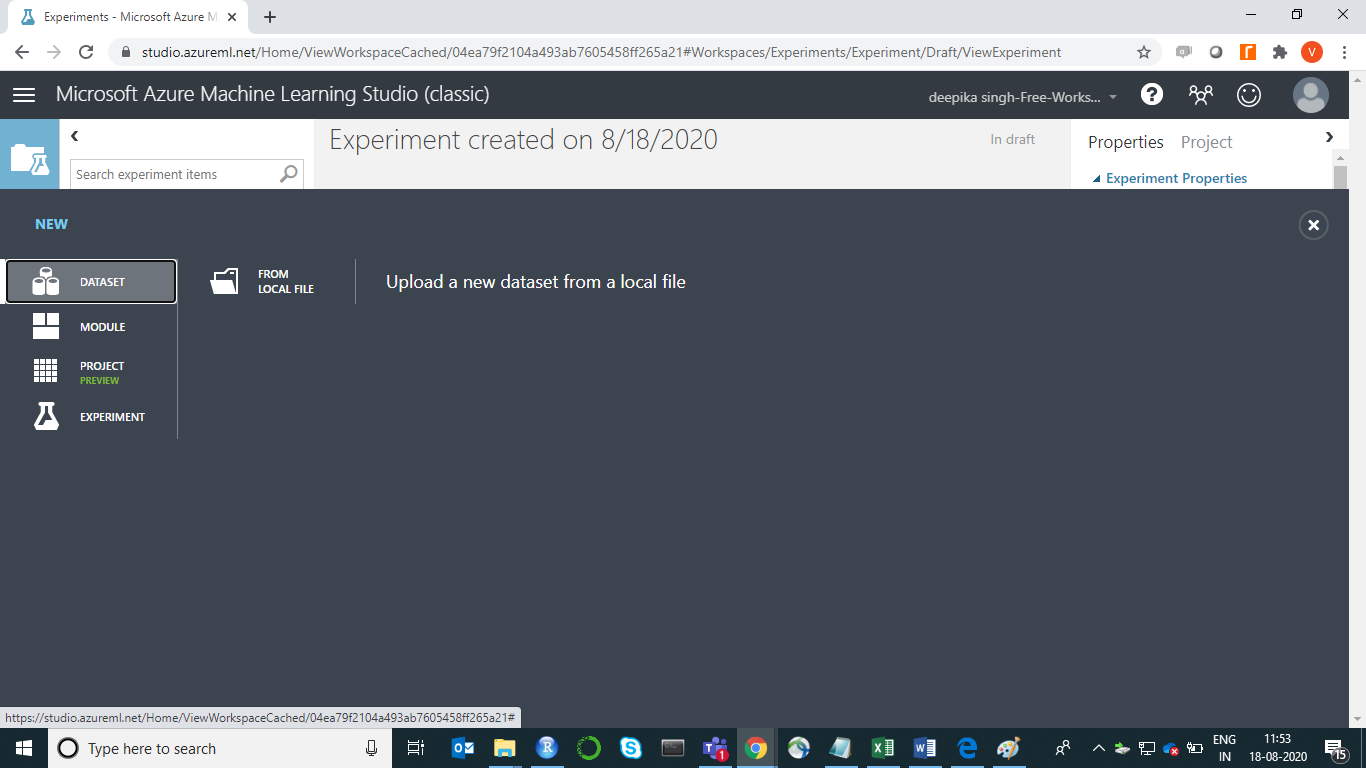
The selection above will open a window, shown below, which can be used to upload the dataset from the local system.
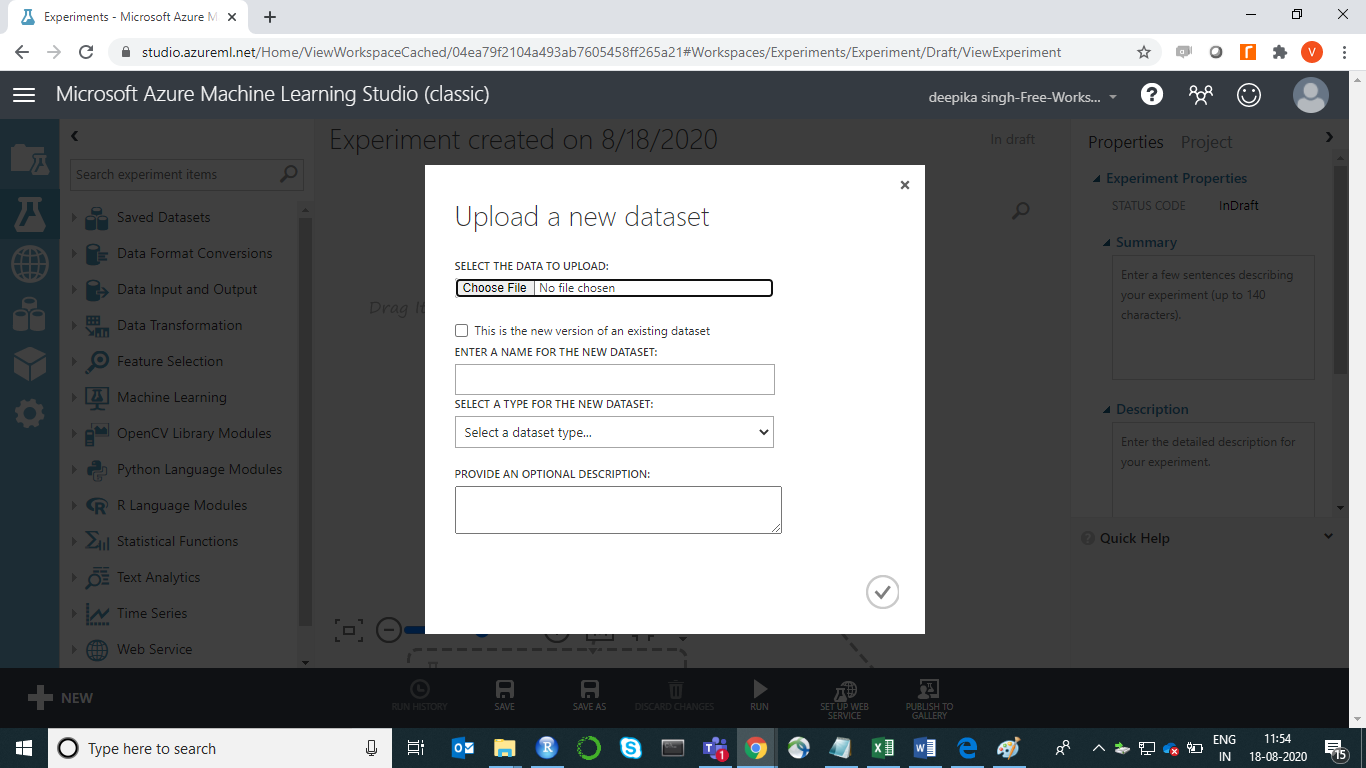
Once the data is loaded, you can see it in the Saved Datasets option. The file name is data_cleaning.csv. The next step is to drag it from the Saved Datasets list into the workspace and name it Cleaning Data. This is shown below.
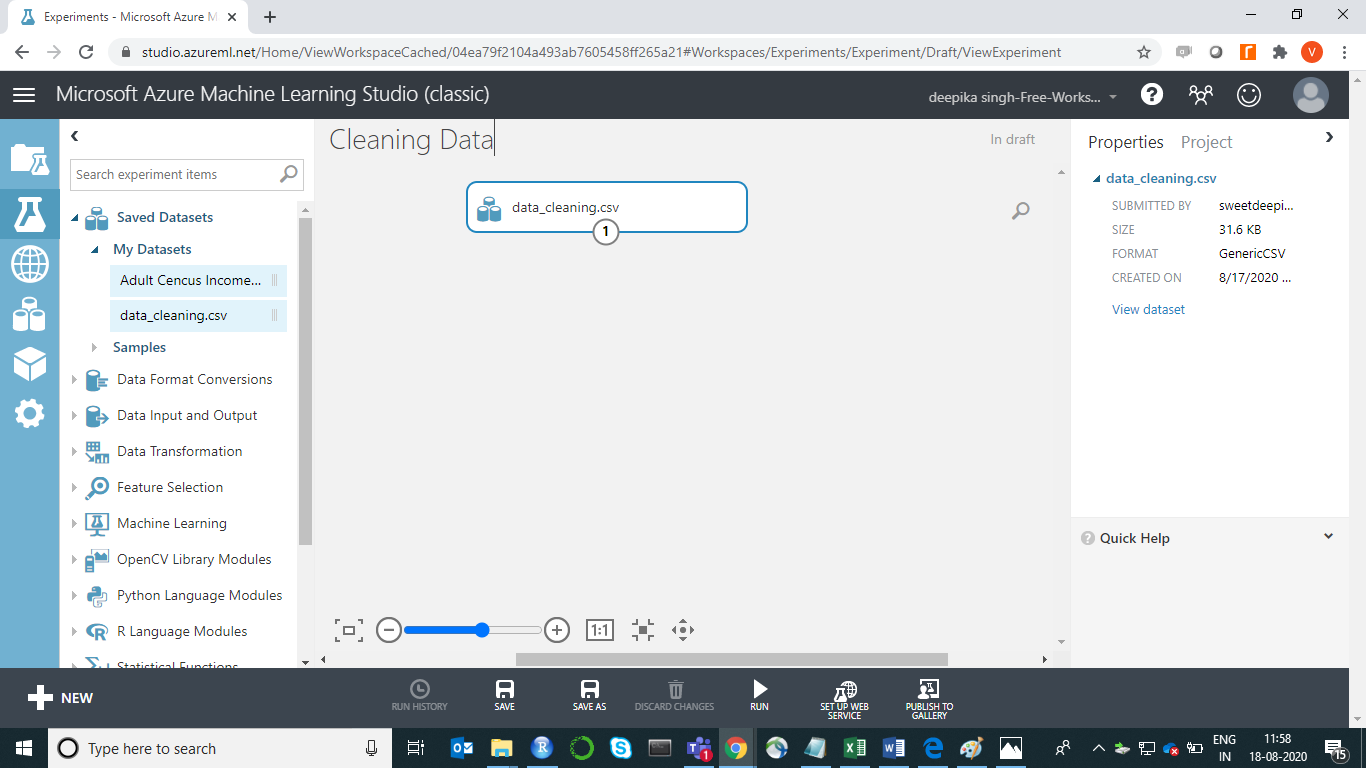
You have loaded the data into the workspace now.
Exploring the Data
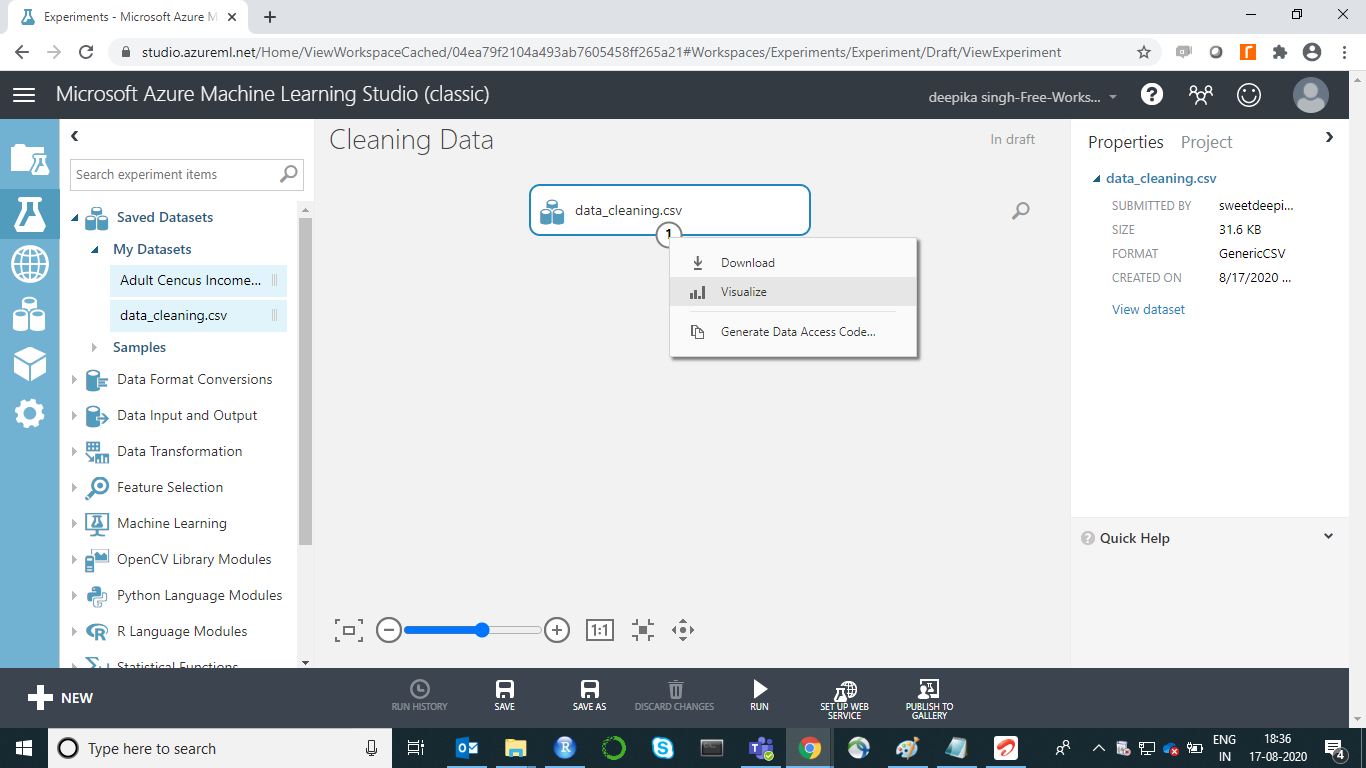
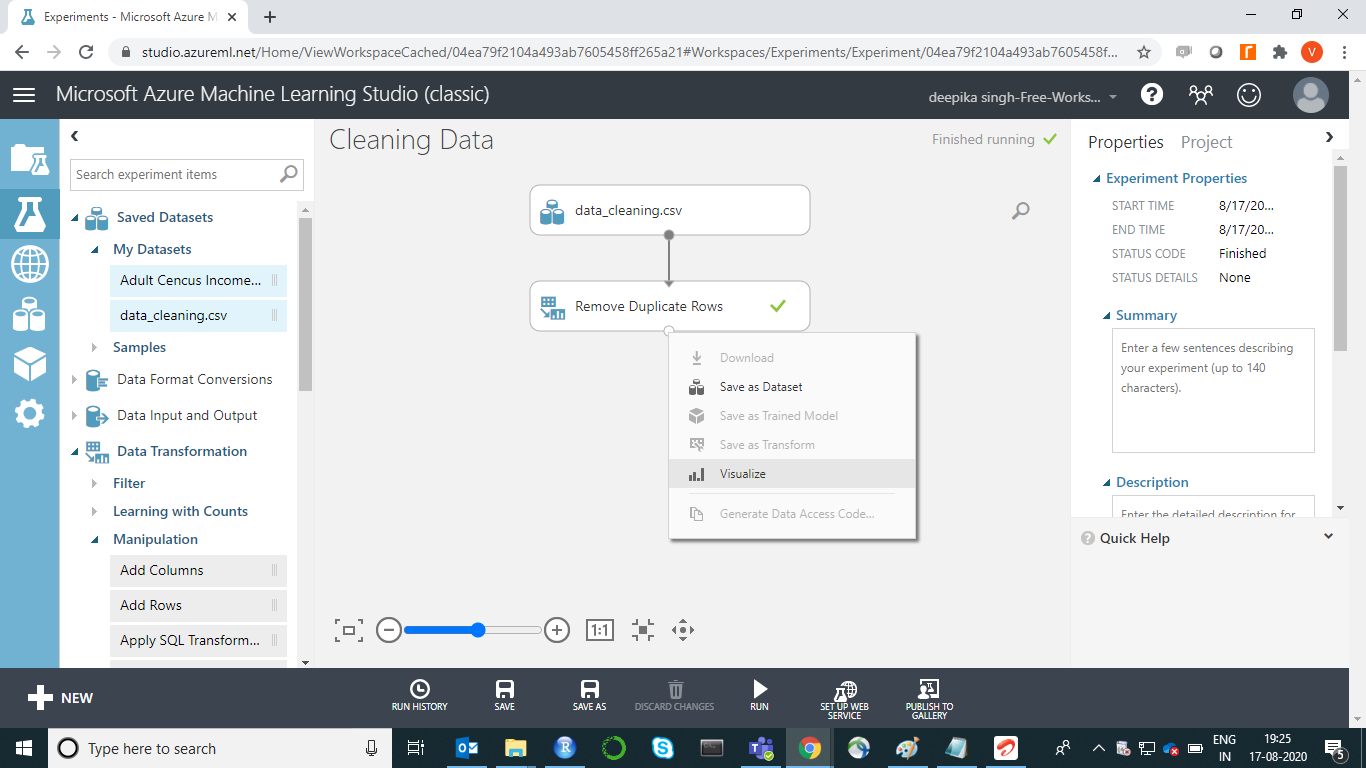
To explore the data, right-click and select the Visualize option as shown below.
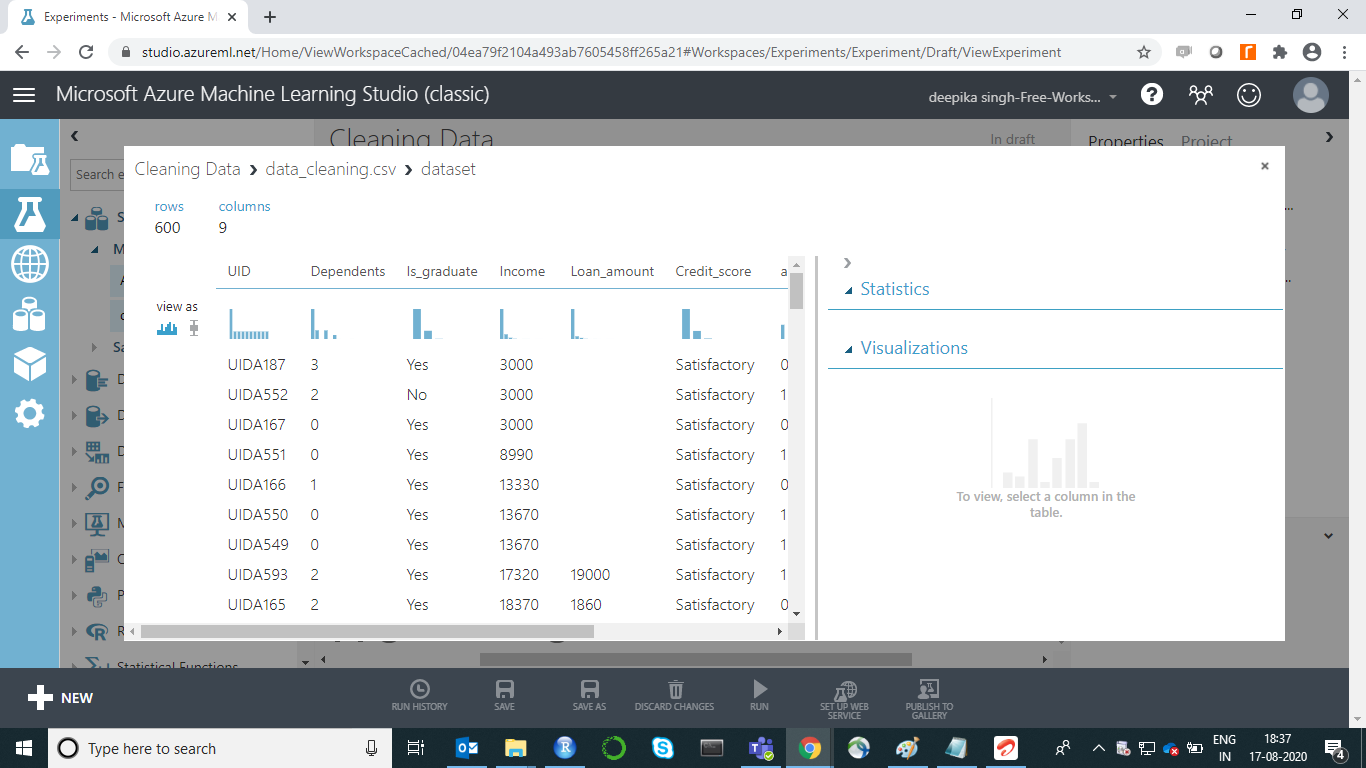
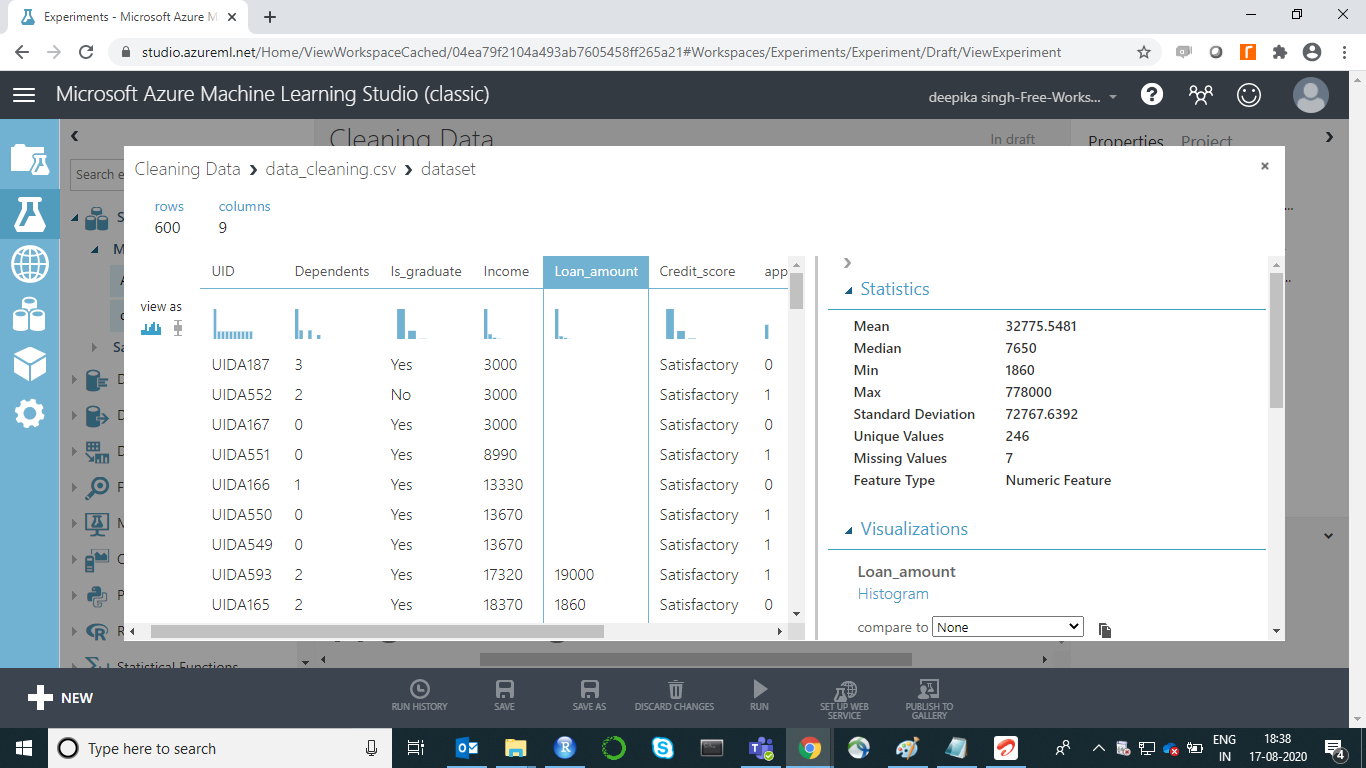
The above selection opens the window shown below. There are 600 rows and 9 columns.
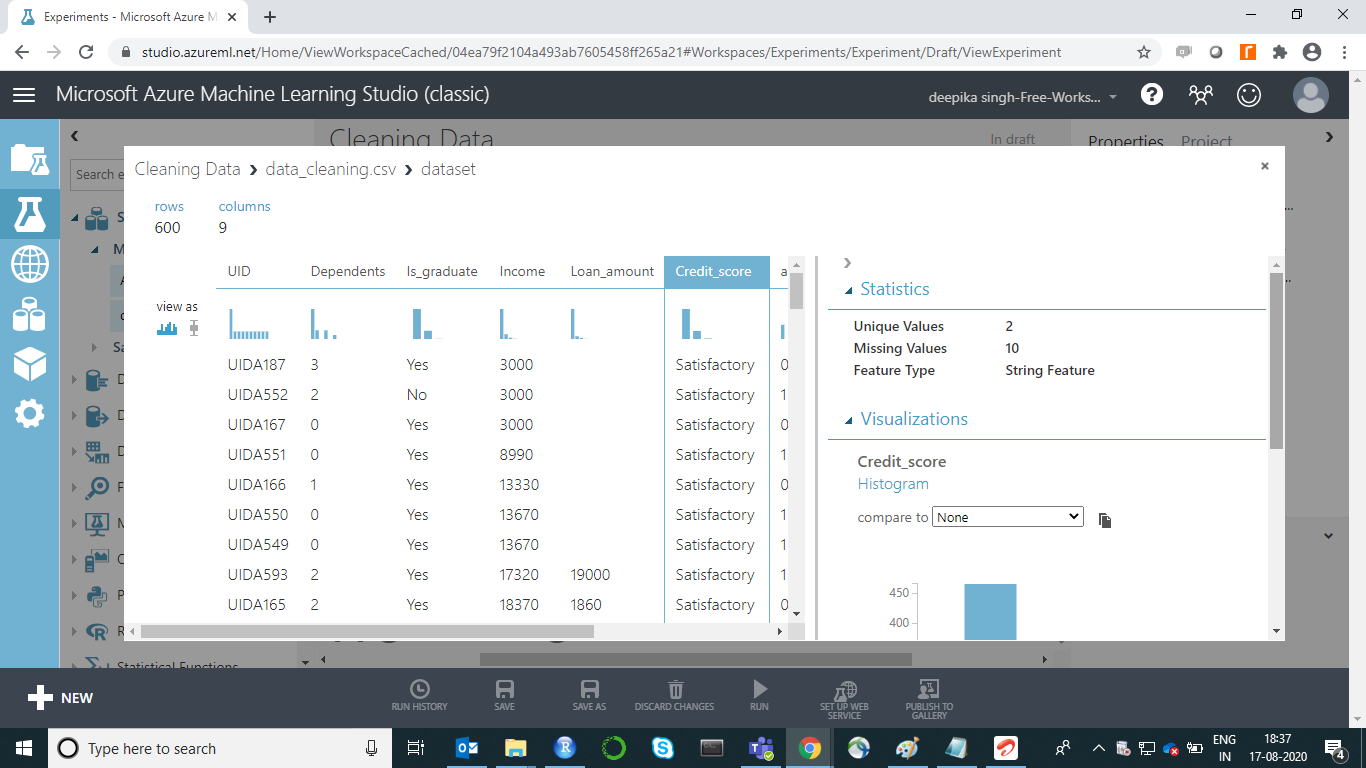
If you select any variable, its Statistics will be displayed. For instance, the image below displays the basic details about the variable Credit_score. The output shows that there are ten missing values in Credit_score, and it takes two unique values.
Similarly, we can look at a continuous variable, Loan_amount. The output below displays the measures of descriptive statistics—mean, median, minimum, maximum, and standard deviation.
Removing Duplicates
One of the common errors in data is the presence of duplicate records. Such records are of no use and must be removed. In our dataset, UID is the unique identifier variable and will be used to drop the duplicate records. Use the Remove Duplicate Rows module in Azure Machine Learning Studio to remove potential duplicates from a dataset. Start by dragging the Remove Duplicate Rows module into the workspace. Then connect the dataset to the module.
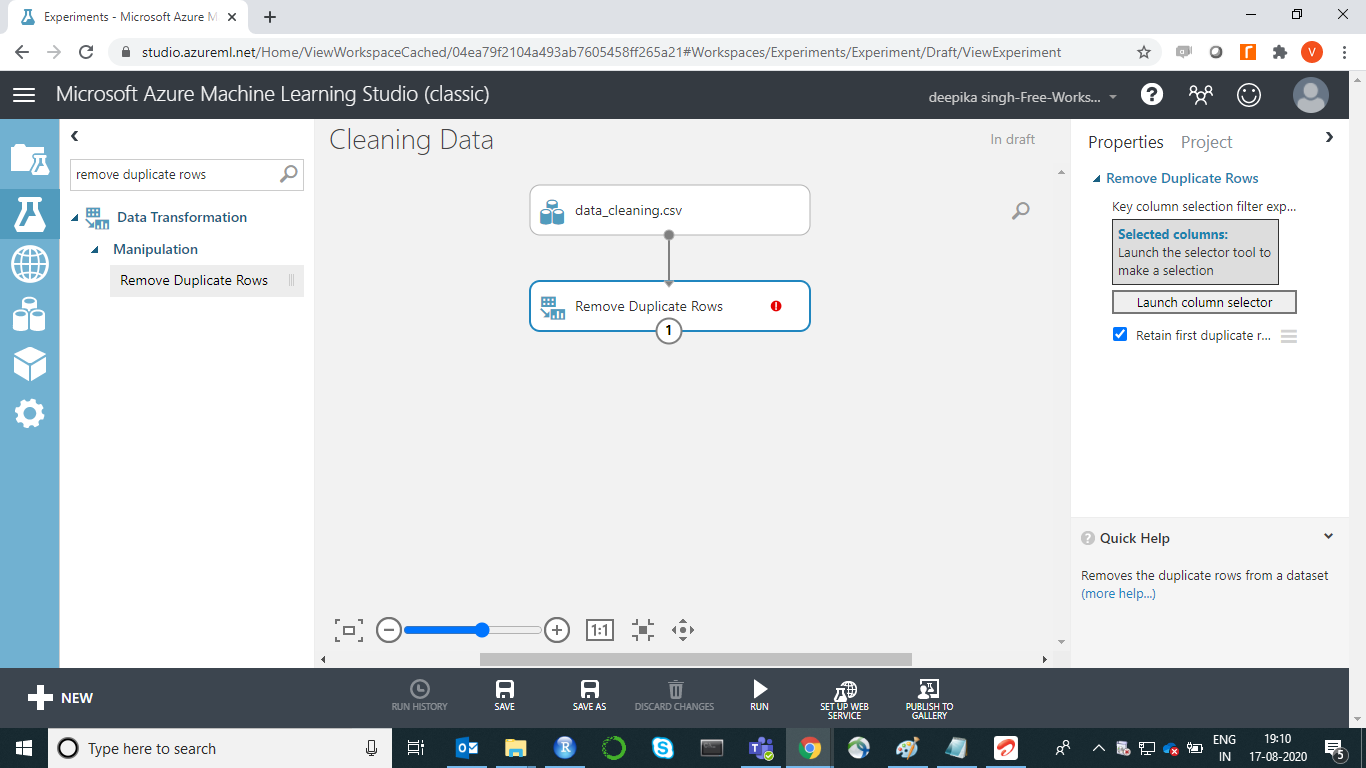
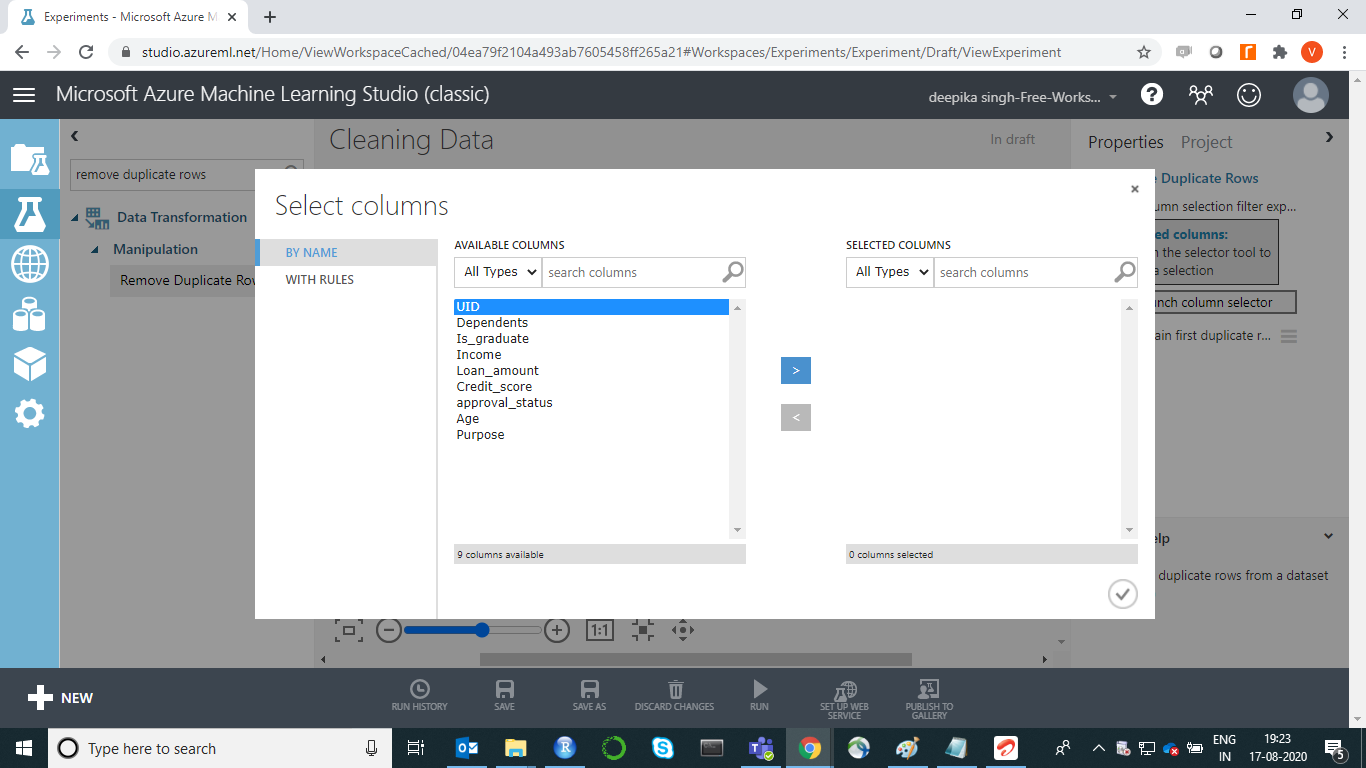
Next, click on Launch column selector to select the column that will be used to identify duplicates. This can be found in the Properties pane. Select the variable UID.
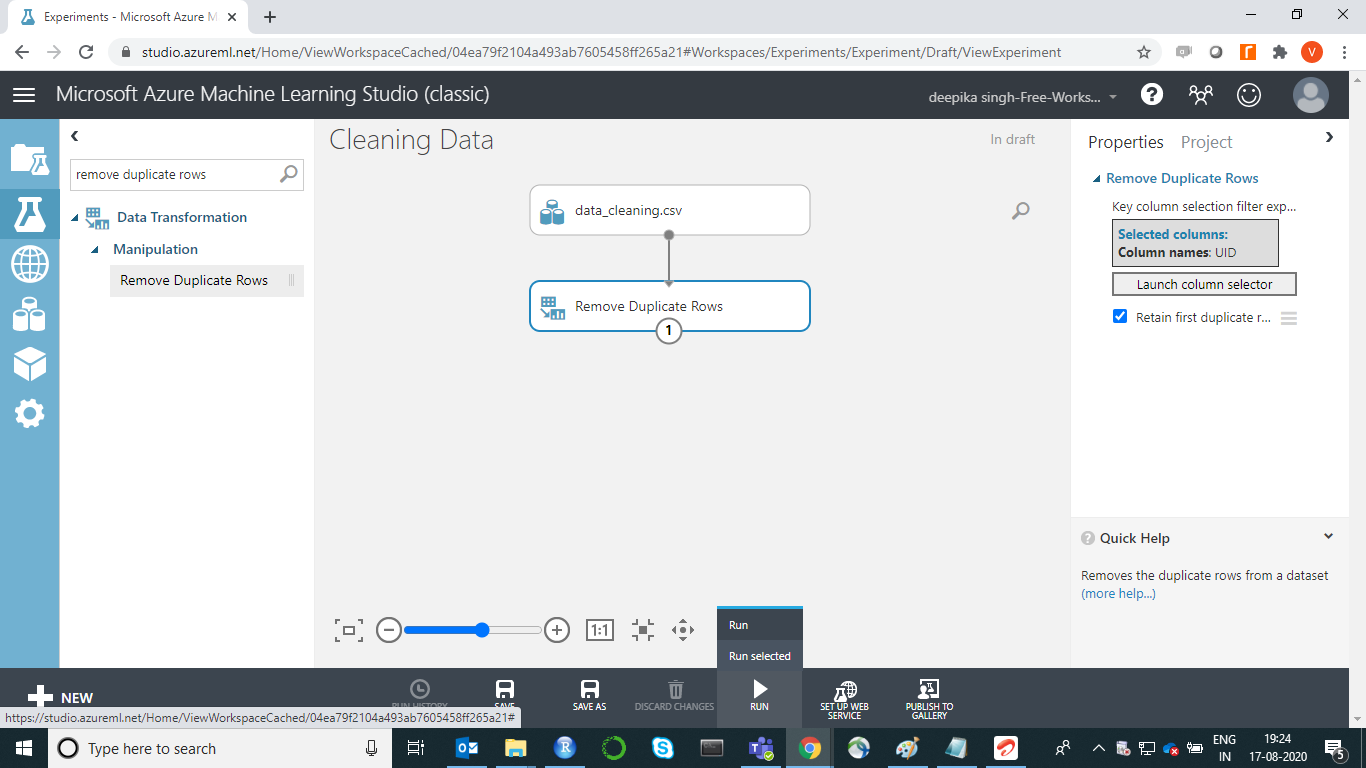
The above step will set up the module. Also, select the Retain first duplicate row checkbox to indicate which row to return when duplicates are found. If selected, the first row is returned in the resulting dataset, and others will be discarded. Finally, click on Run.
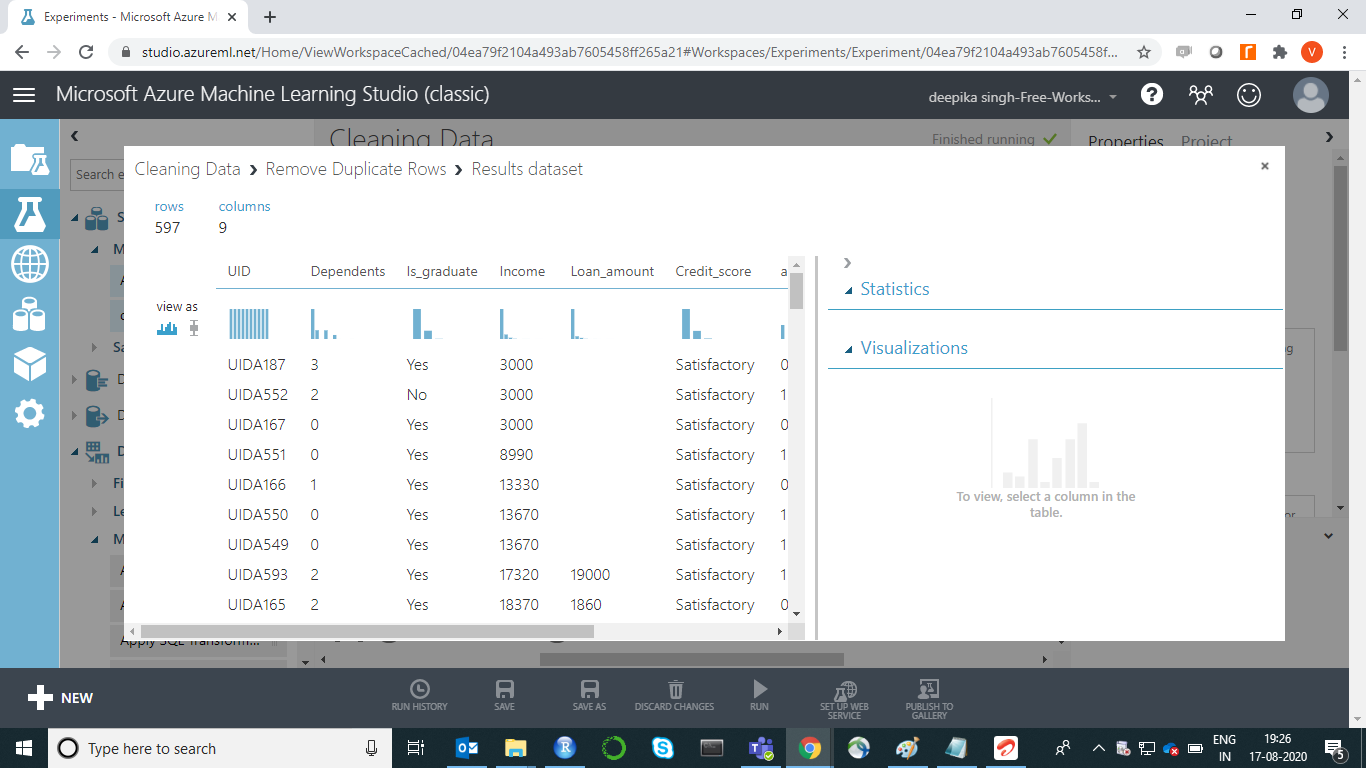
To check the result, right-click on the output port of Remove Duplicate Rows module and click on Visualize.
The result displays that there were three duplicates in the dataset that were removed. Final data has 597 rows and 9 columns.
Converting Data Types
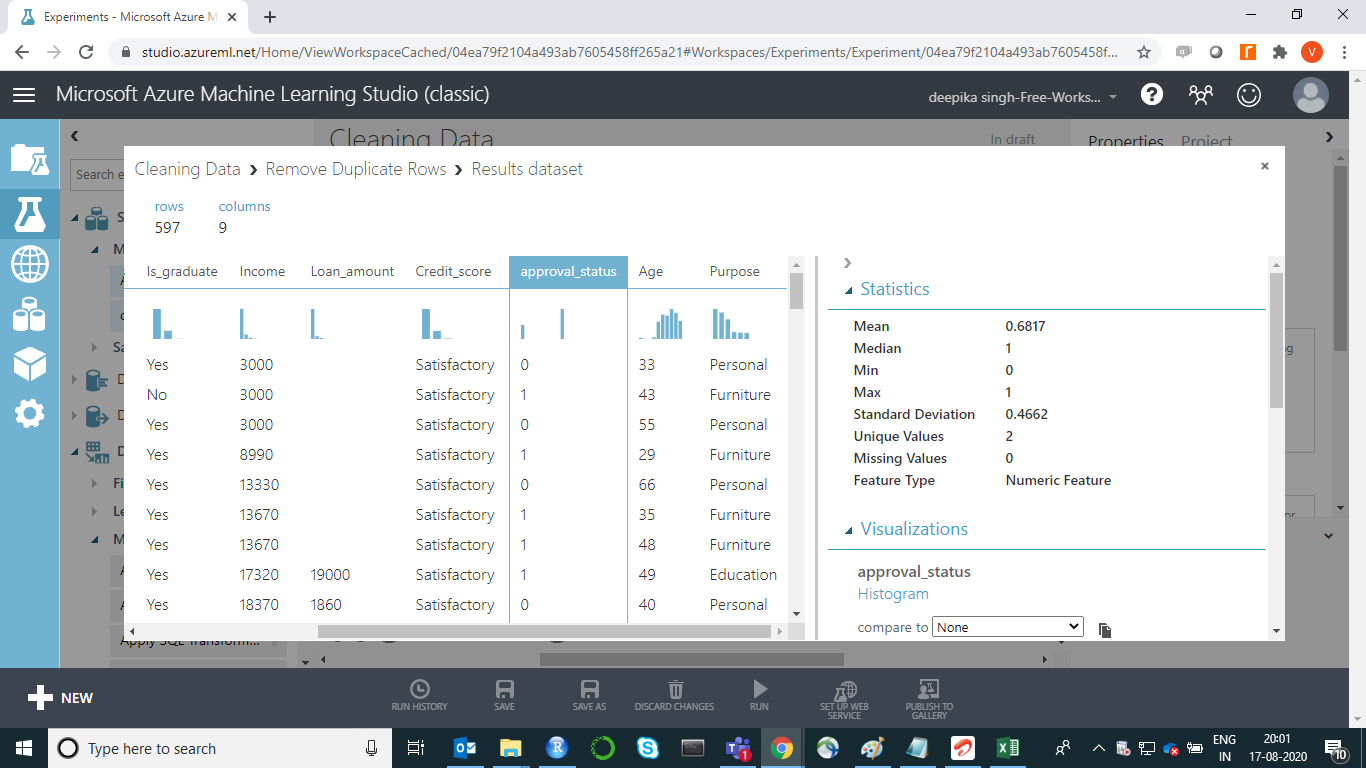
Machine learning requires the variables to have the correct data types. For example, the approval_status variable is categorical but is shown as a numeric feature.
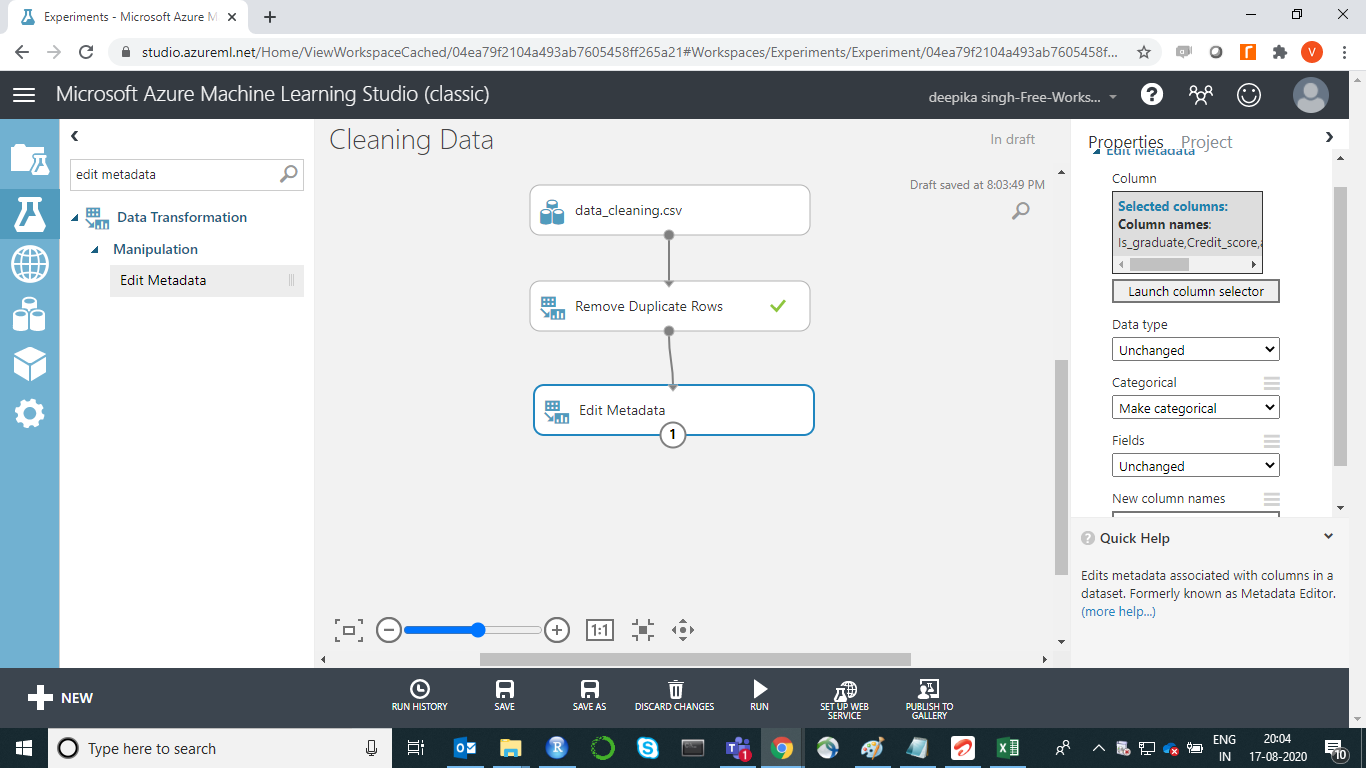
There are other variables that also need to be converted into categorical variables. Start by entering edit metadata in the search bar to find the Edit Metadata module, and then drag it in the workspace as shown below.
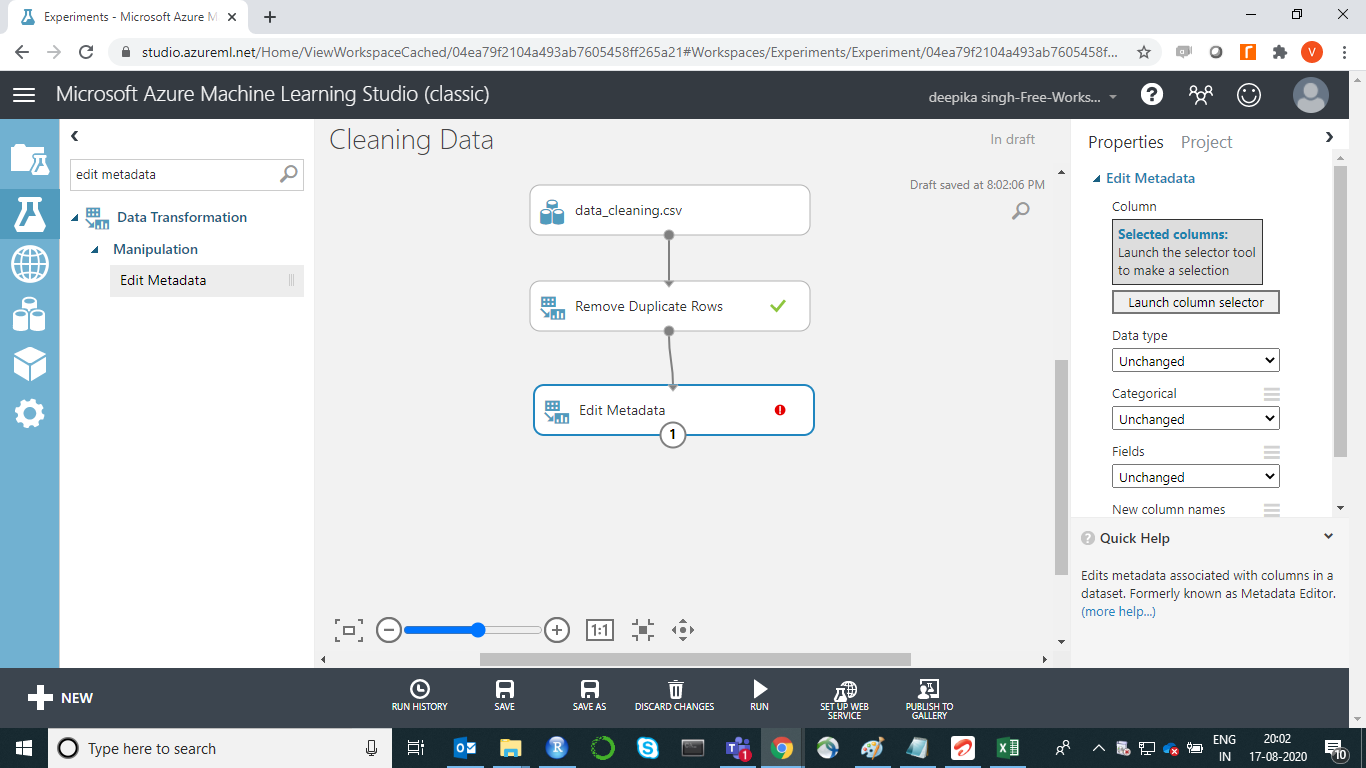
The next step is to click on the Launch column selector option placed in the right-hand side of the workspace and select the variables from the available columns to be converted into correct data types. This will generate the output below.
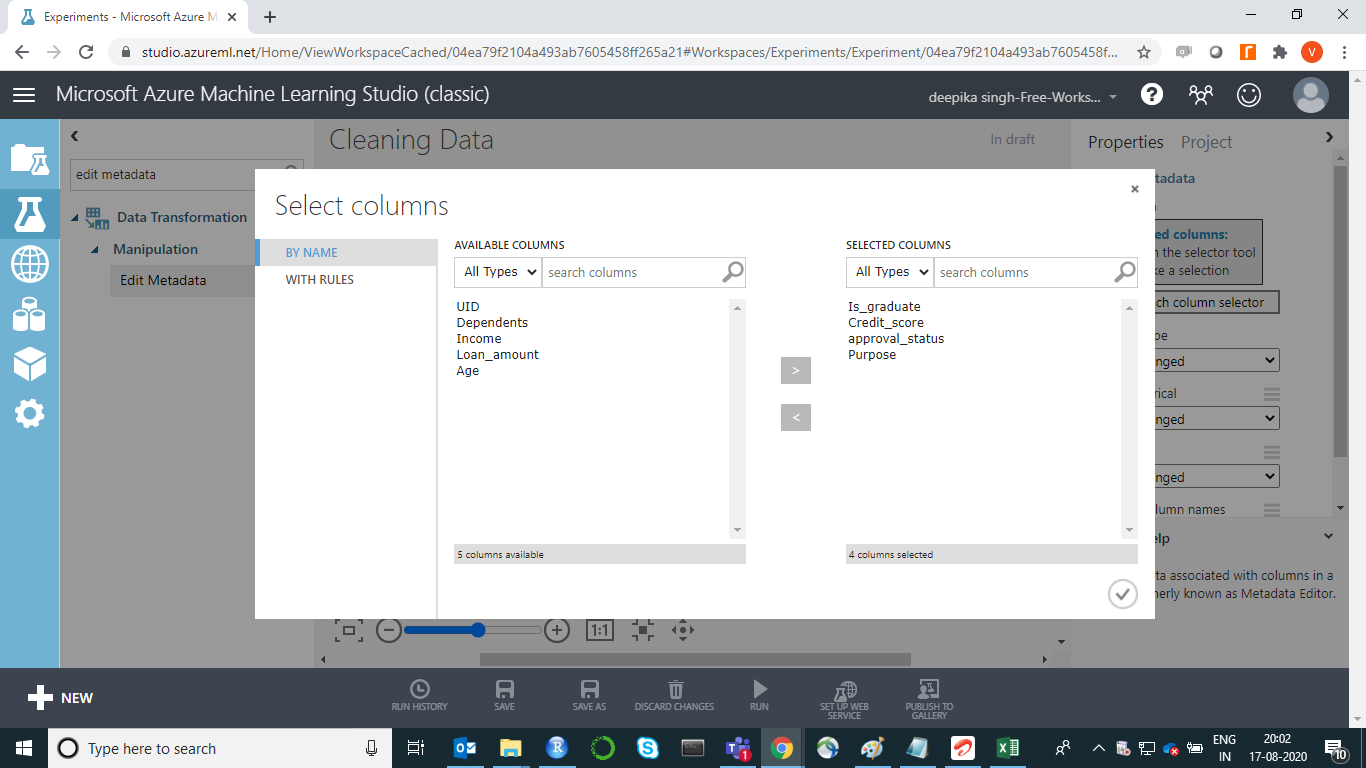
Once you have made the selection, the selected columns will be displayed in the right-hand side of the workspace under Selected columns.
Next, from the dropdown options under Categorical, select the Make categorical option. Next, click on the RUN button at the bottom of the workspace.
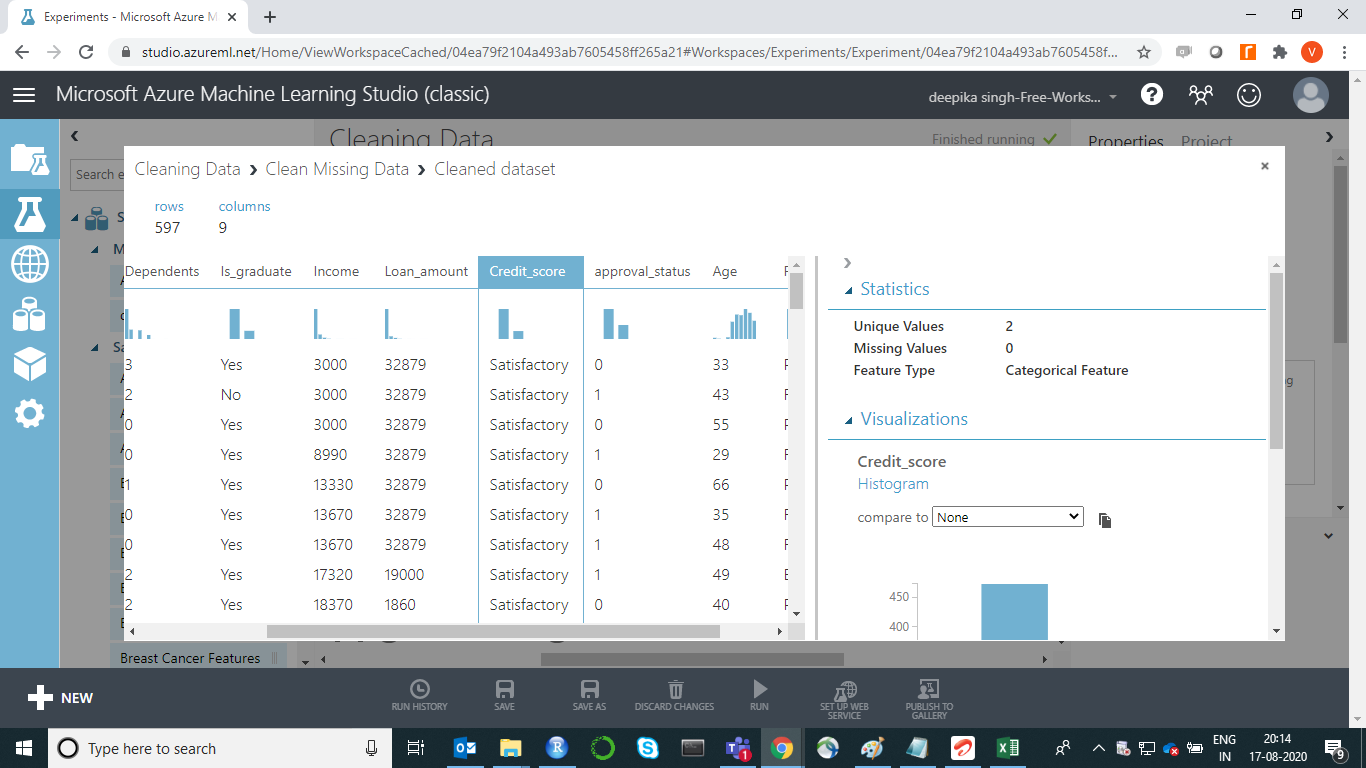
To check the results, right-click on the output port of the Edit Metadata module and click on Visualize. The output for the variable approval_status, shows that it is now a categorical variable.

Treating Missing Values
The other important data cleaning task is to treat missing values. This data has missing values in both numerical (Age, Loan_amount, and Dependents) and categorical variables (Credit_score and Is_graduate).
There are several methods of dealing with missing values. One common method is to use measures of central tendency for missing value imputation. You will use mean and mode to replace missing values in numeric and categoric features, respectively.
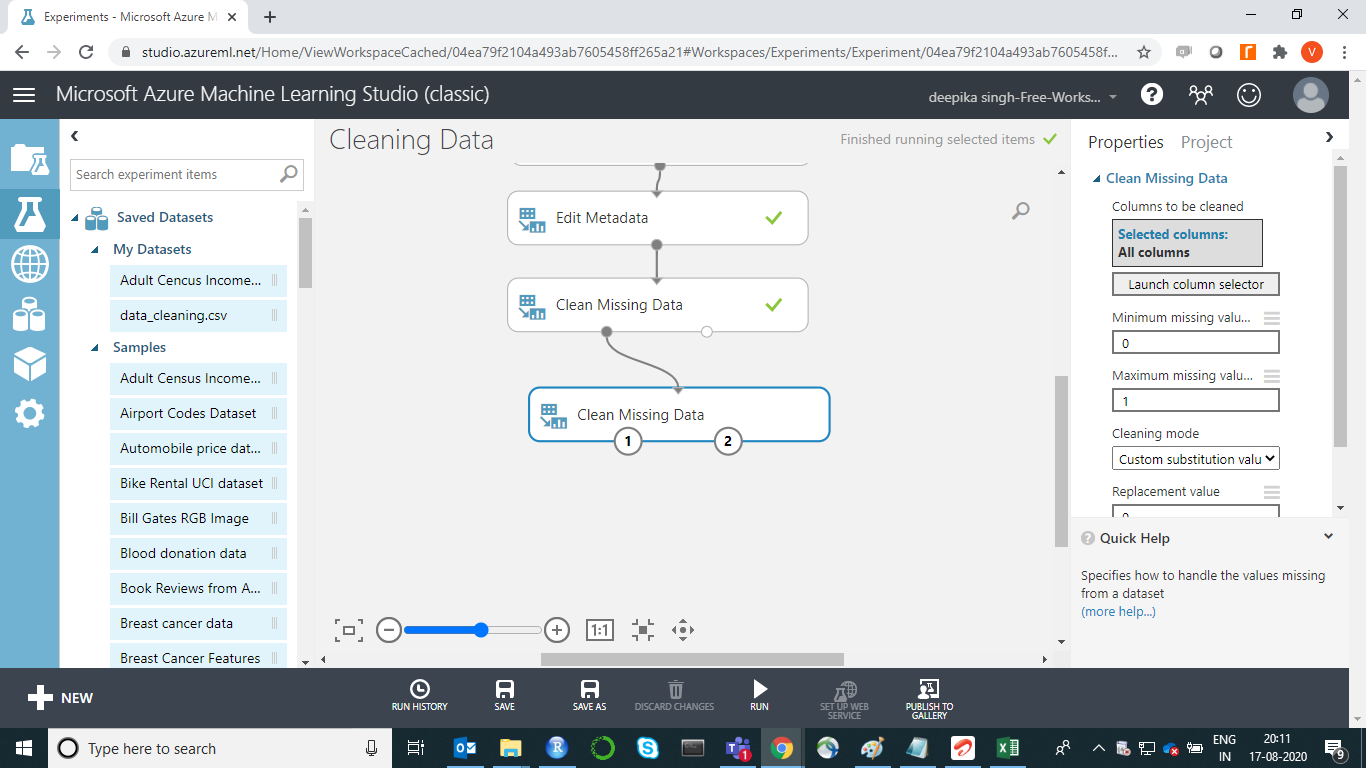
Start by searching and dragging the Clean Missing Data module into the experiment workspace. Next, connect the output port of the Edit Metadata module with the input port of the Clean Missing Data module.
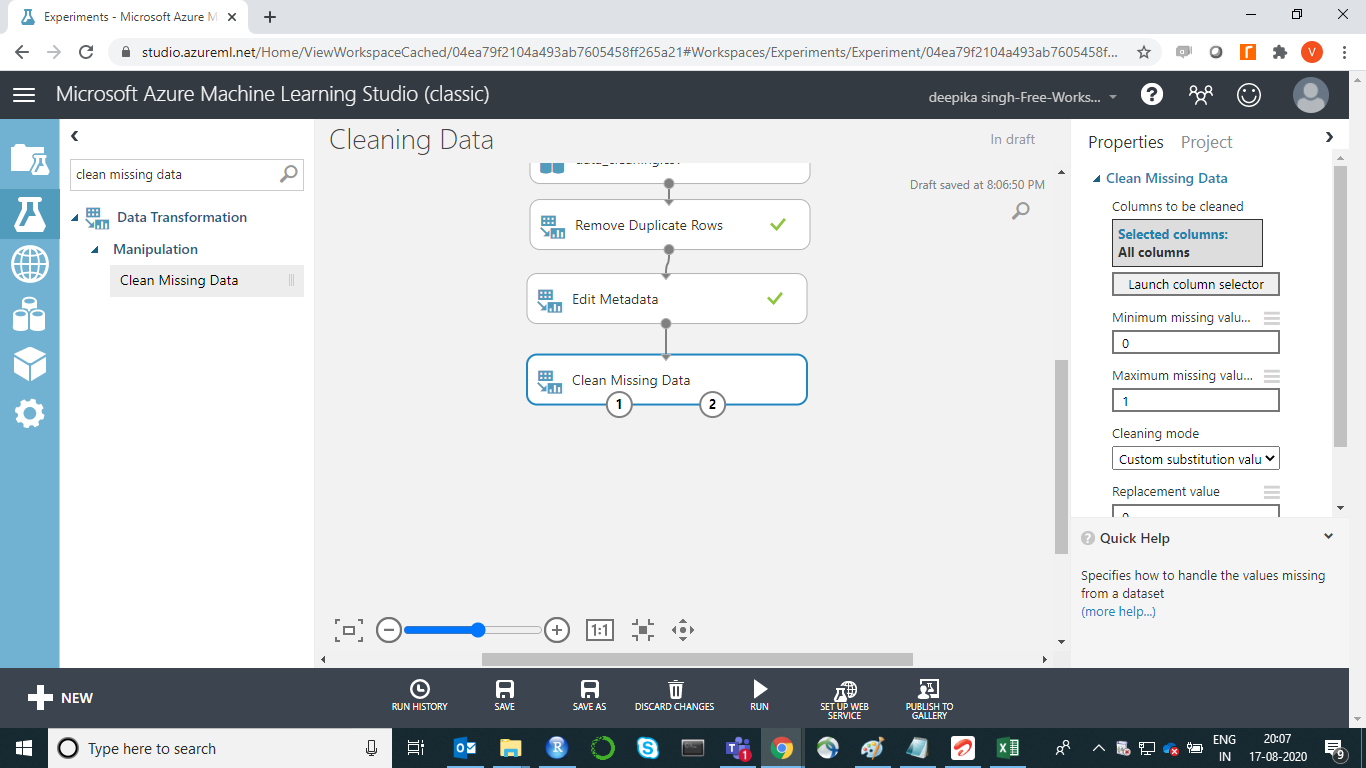
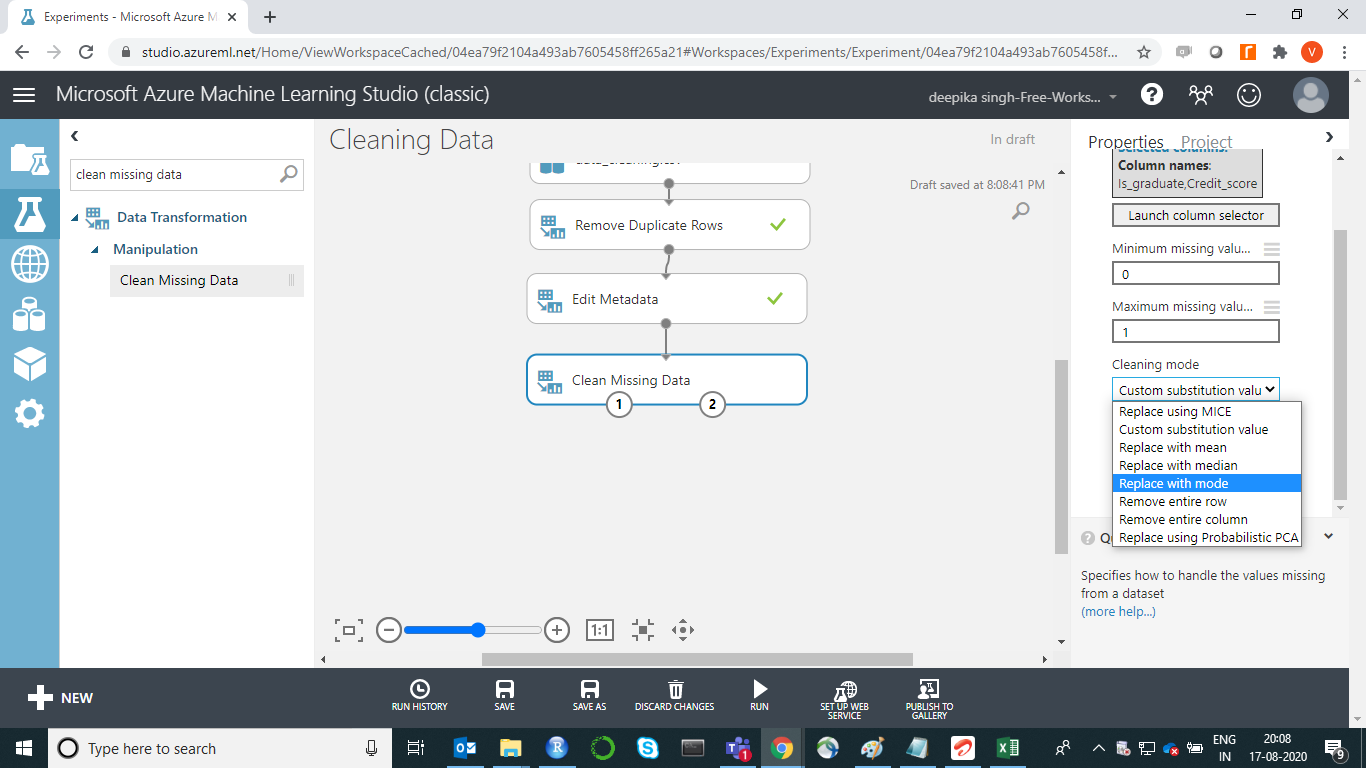
The next step is to click on the Launch column selector option, and select the categoric features which have missing values.
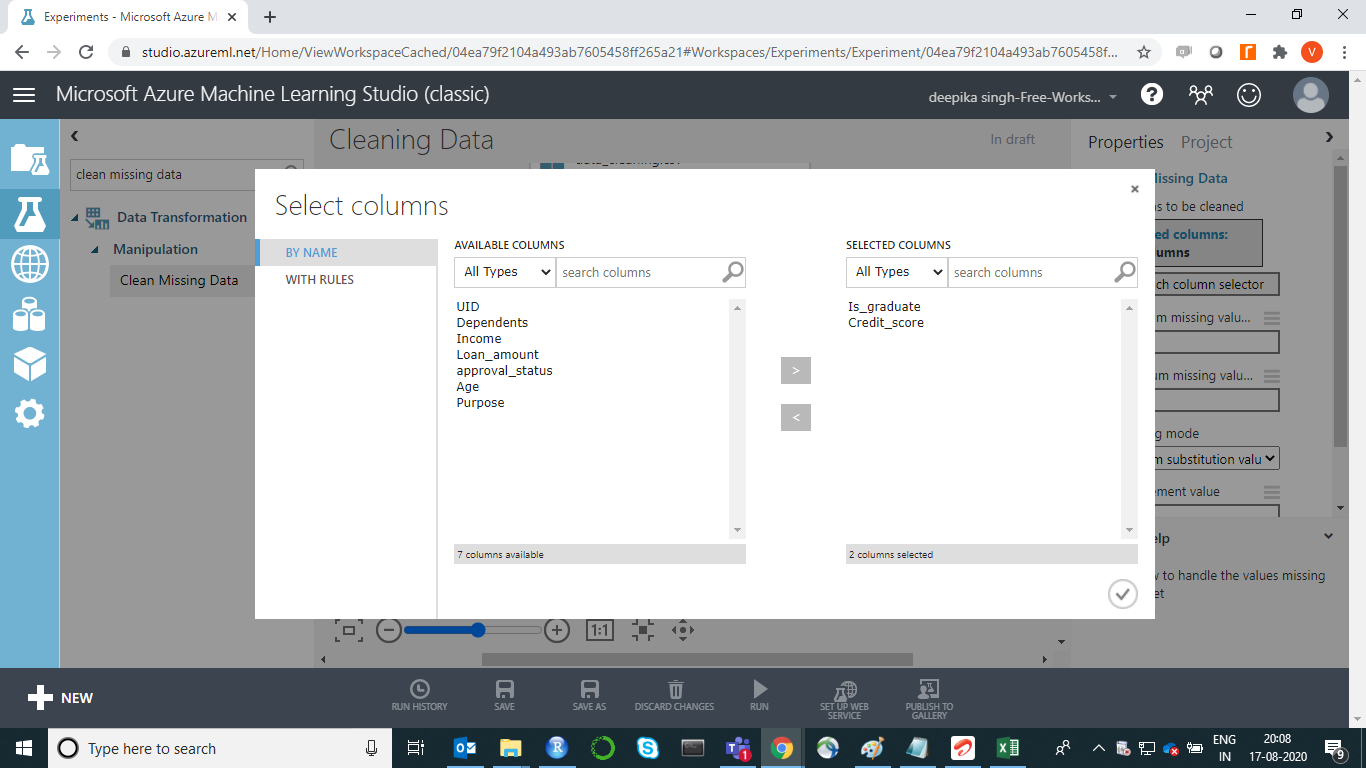
Under the Cleaning mode tab, select the Replace with mode option as shown below. Keep the default settings for all the other options.
Next, click on the RUN tab, and select Run selected option. This will only run the module that is still not executed. Next, replace missing values for numeric features. Drag the second Clean Missing Data module in the workspace.
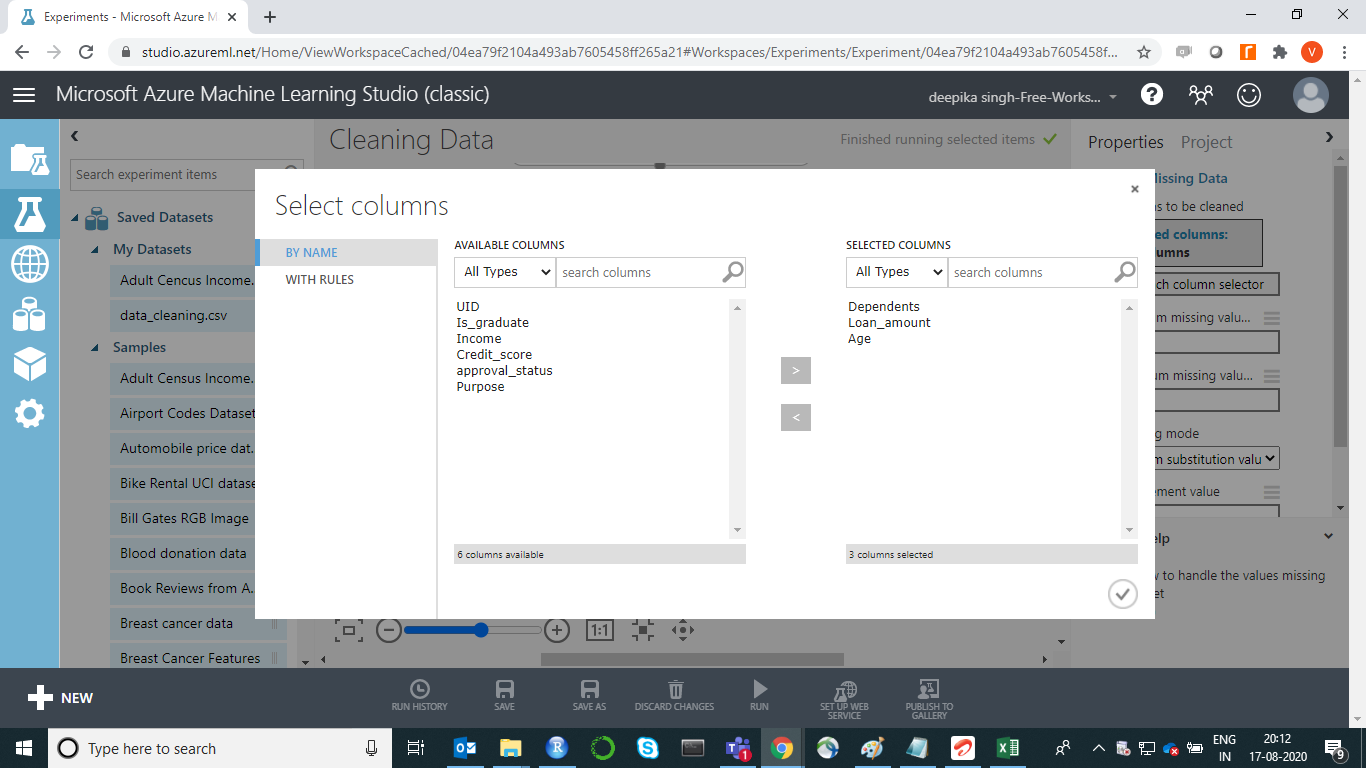
Click on the Launch column selector option, and select the numeric features that have missing values.
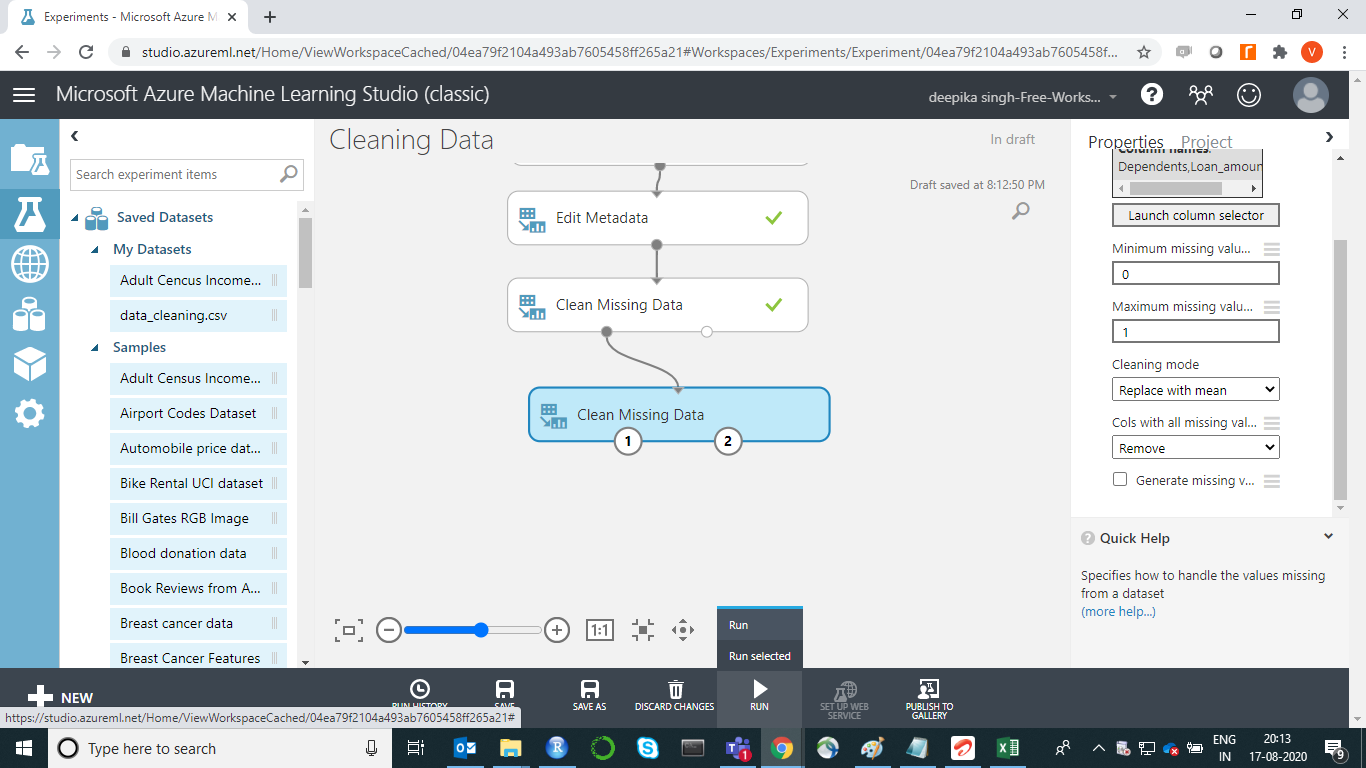
Under the Cleaning mode tab, select the Replace with mean option as shown below.
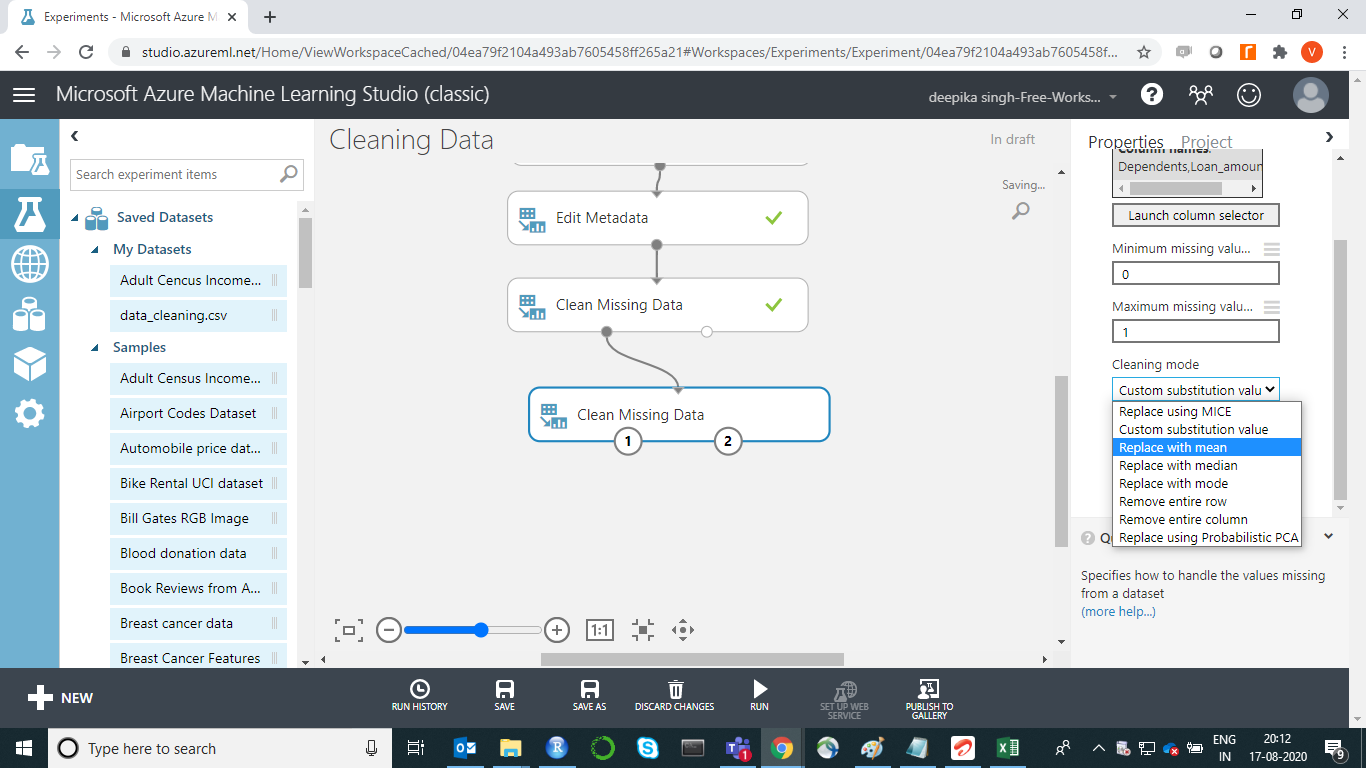
Next, click on the RUN tab, and select Run selected option.
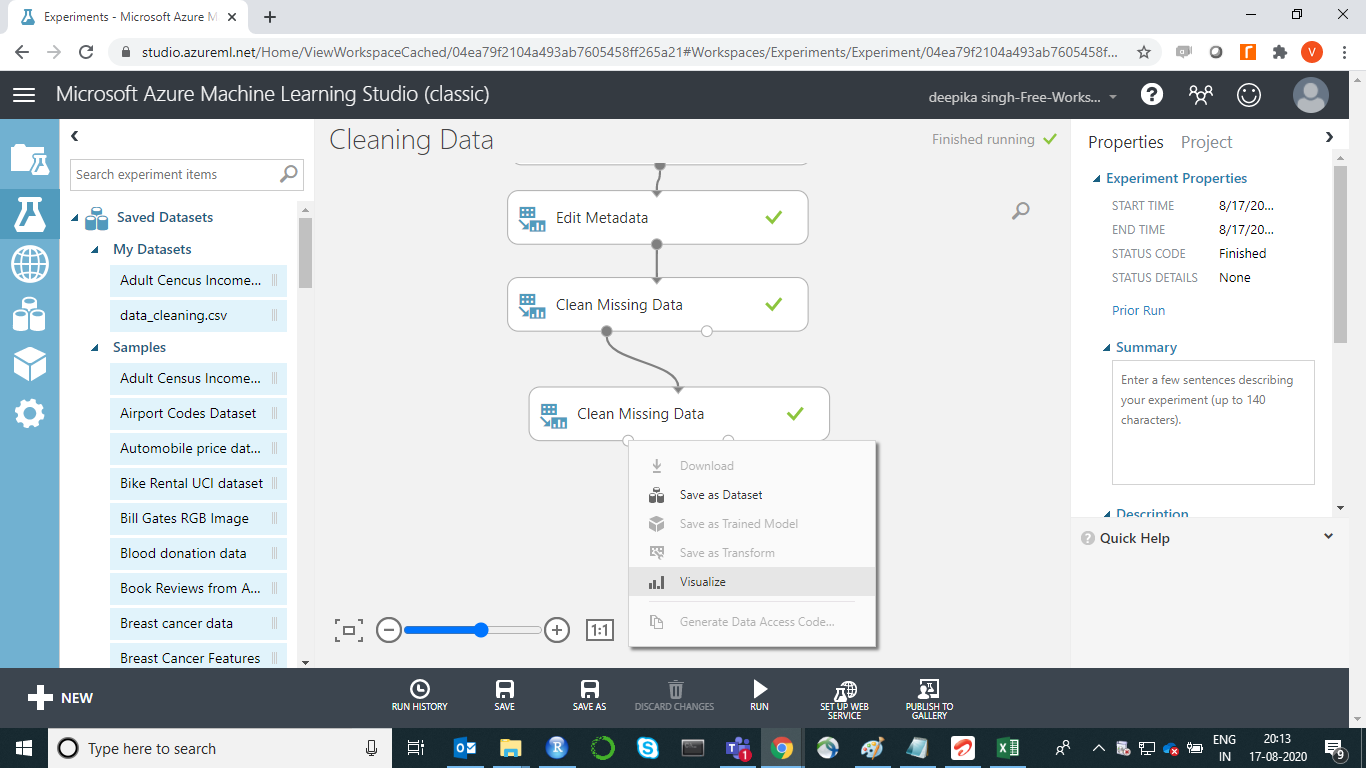
The missing data operation is performed on all the features that had missing values. To check this, right-click and select Visualize as shown below.
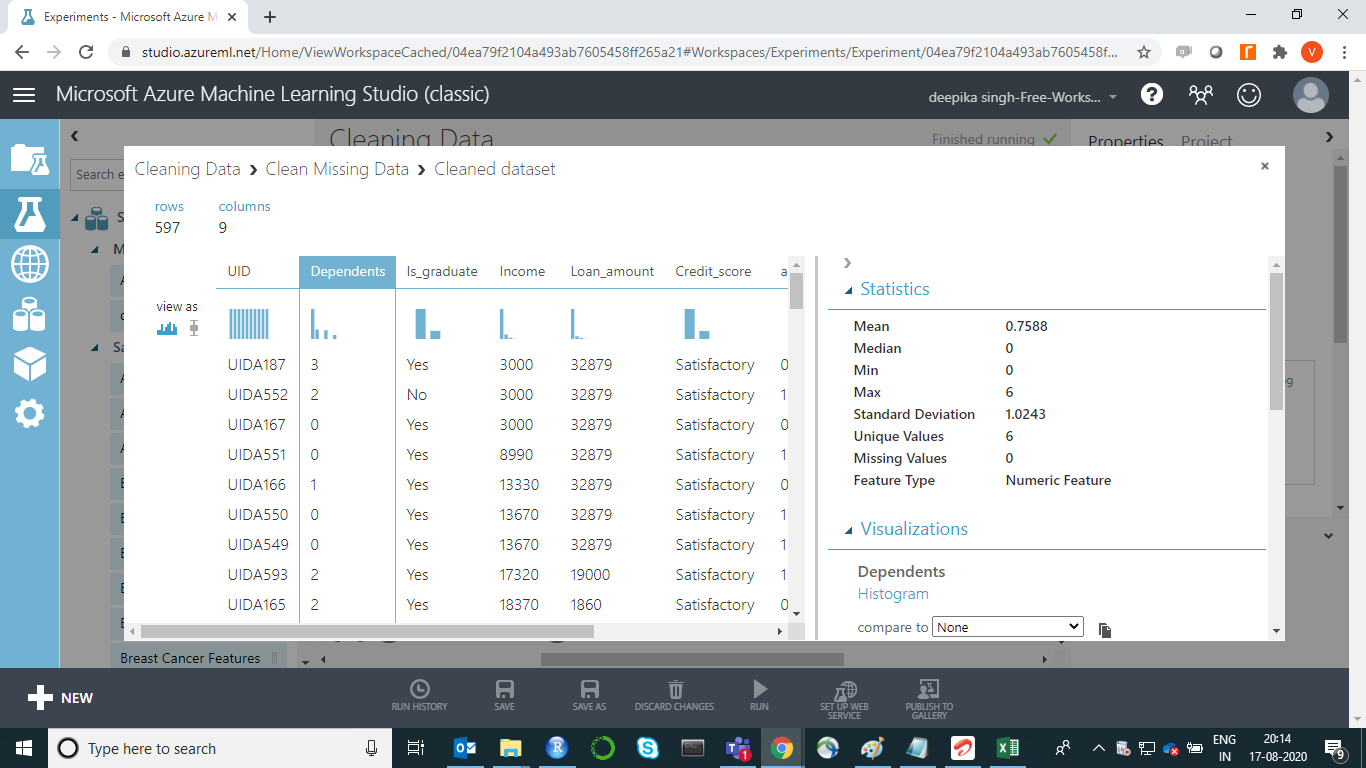
Now if you select the Dependents variable and look at Statistics on the right-hand side, you will see there are no missing values.
You can repeat the same process for other features, such as Credit_score and Age.

Conclusion
In this guide, you learned how to remove duplicates from the data, treat missing values, and convert data types in Azure ML Studio. You also learned how to load the data set from your computer system into the ML Studio and perform data cleaning steps.
To learn more about getting started with Azure Machine Learning Studio, please refer to this guide: [Getting Started with Azure ML Studio](/guides/ getting-started-with-azure-ml-studio/) .