Create a Git Repository
Jun 5, 2020 • 10 Minute Read
Introduction
If you are looking to get started as a software developer or have attempted to learn Git before but got overwhelmed by all those odd terms like “repo”, “branch”, “fork”, “commit,” and “pull”, know that you are not alone. Most people I know found Git incredibly confusing at first. Yet, Git is an essential skill that any software developer has to learn sooner or later, and very preferably sooner! After all, keeping track of code on a software project with hundreds of contributors working over the duration of many years necessitates the most powerful version control system--Git. And if you are looking for a job as a software developer, knowledge of Git can make or break your job applications.
This guide is here to teach you how to create a Git repository and clarify away all the confusing aspects of Git. Once you are finished with this guide, you will be able to expertly perform the most important task for a member of a software development team: sharing your code!
Why a Repository is a Must-have in Software Development
A repository, also known as a repo, is much more than just a folder with code. A repo contains, in an organized manner, all previous versions of code, all history and comments, all contributor information, all branches of development, and all file metadata. When a project has hundreds of contributors working on it over the span of many years, having a repo is essential!
The following sections in this guide will start by walking you through installing Git, the software that enables you to create a repository. Then, it will walk you through writing a tidbit of code and using Git to create a repository containing this code. The repository will then be pushed into Github, a hosting platform for repositories. In so doing, the code will be shared, and others will be allowed to make contributions to the project.
Installing Git
Installation in this guide will be done on a Windows machine. However, installation on Mac or Linux is not any more difficult.
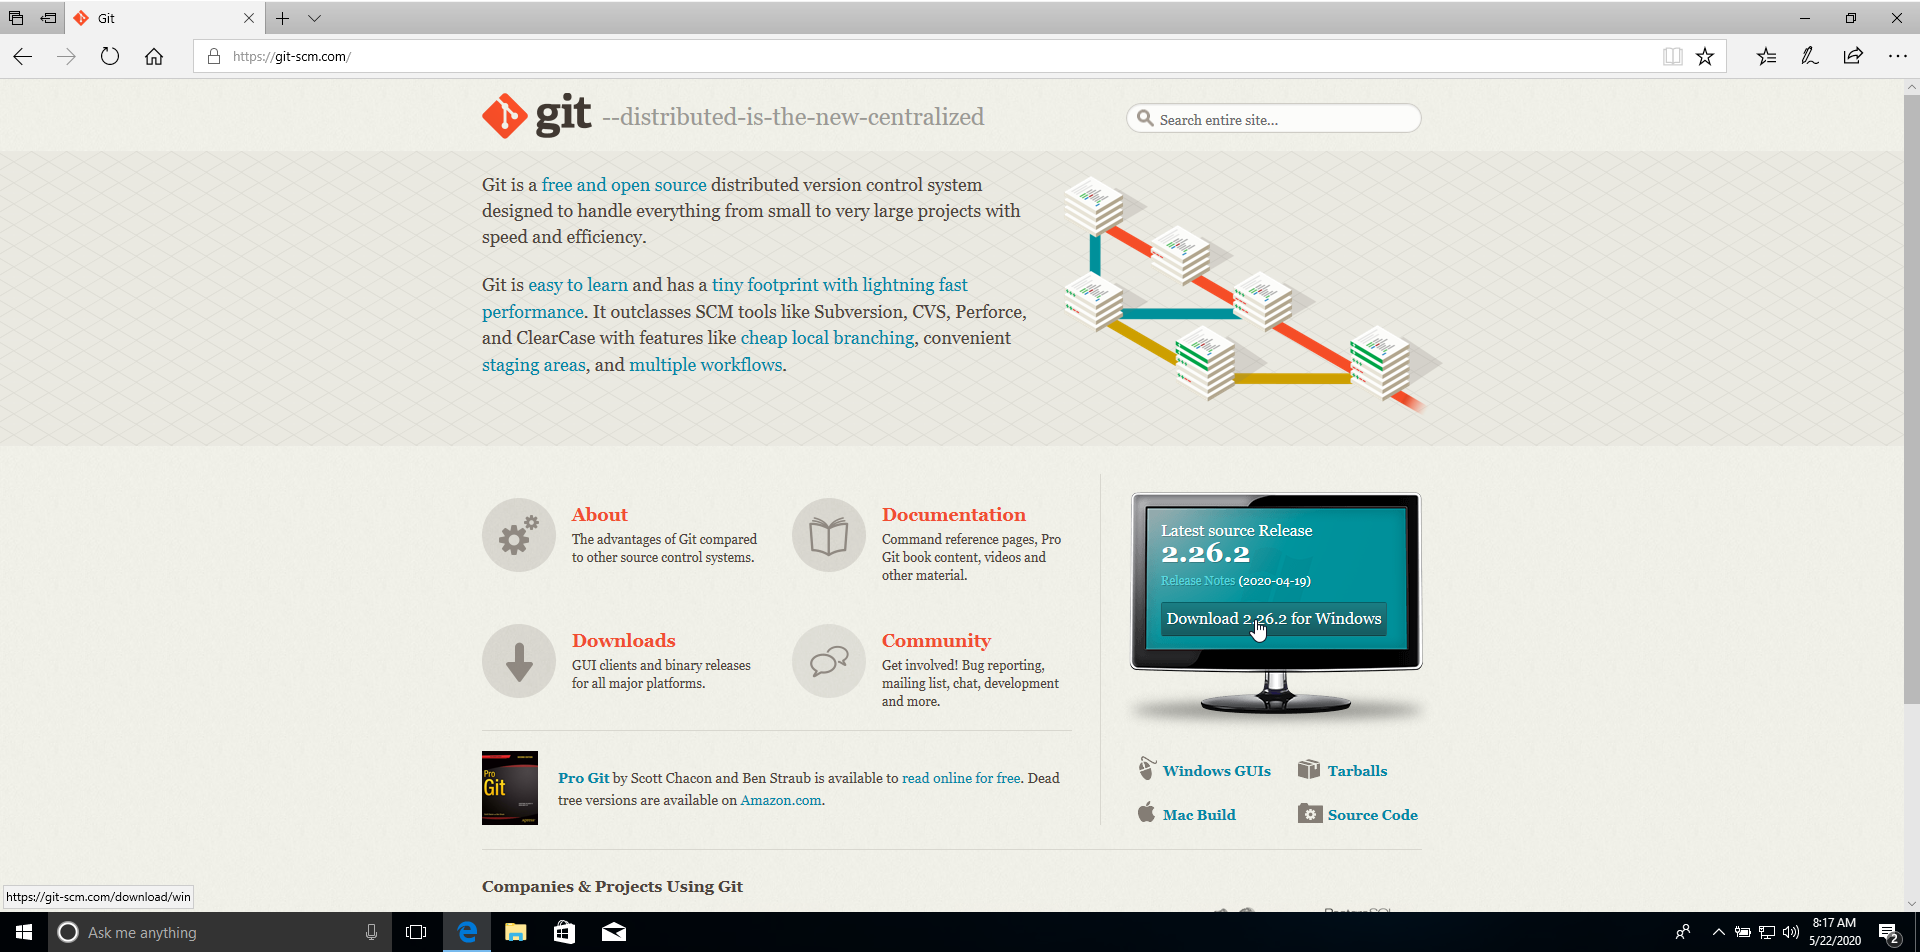
Start by heading to the Git website and downloading the latest version.
Once you've done that, install the downloaded executable.
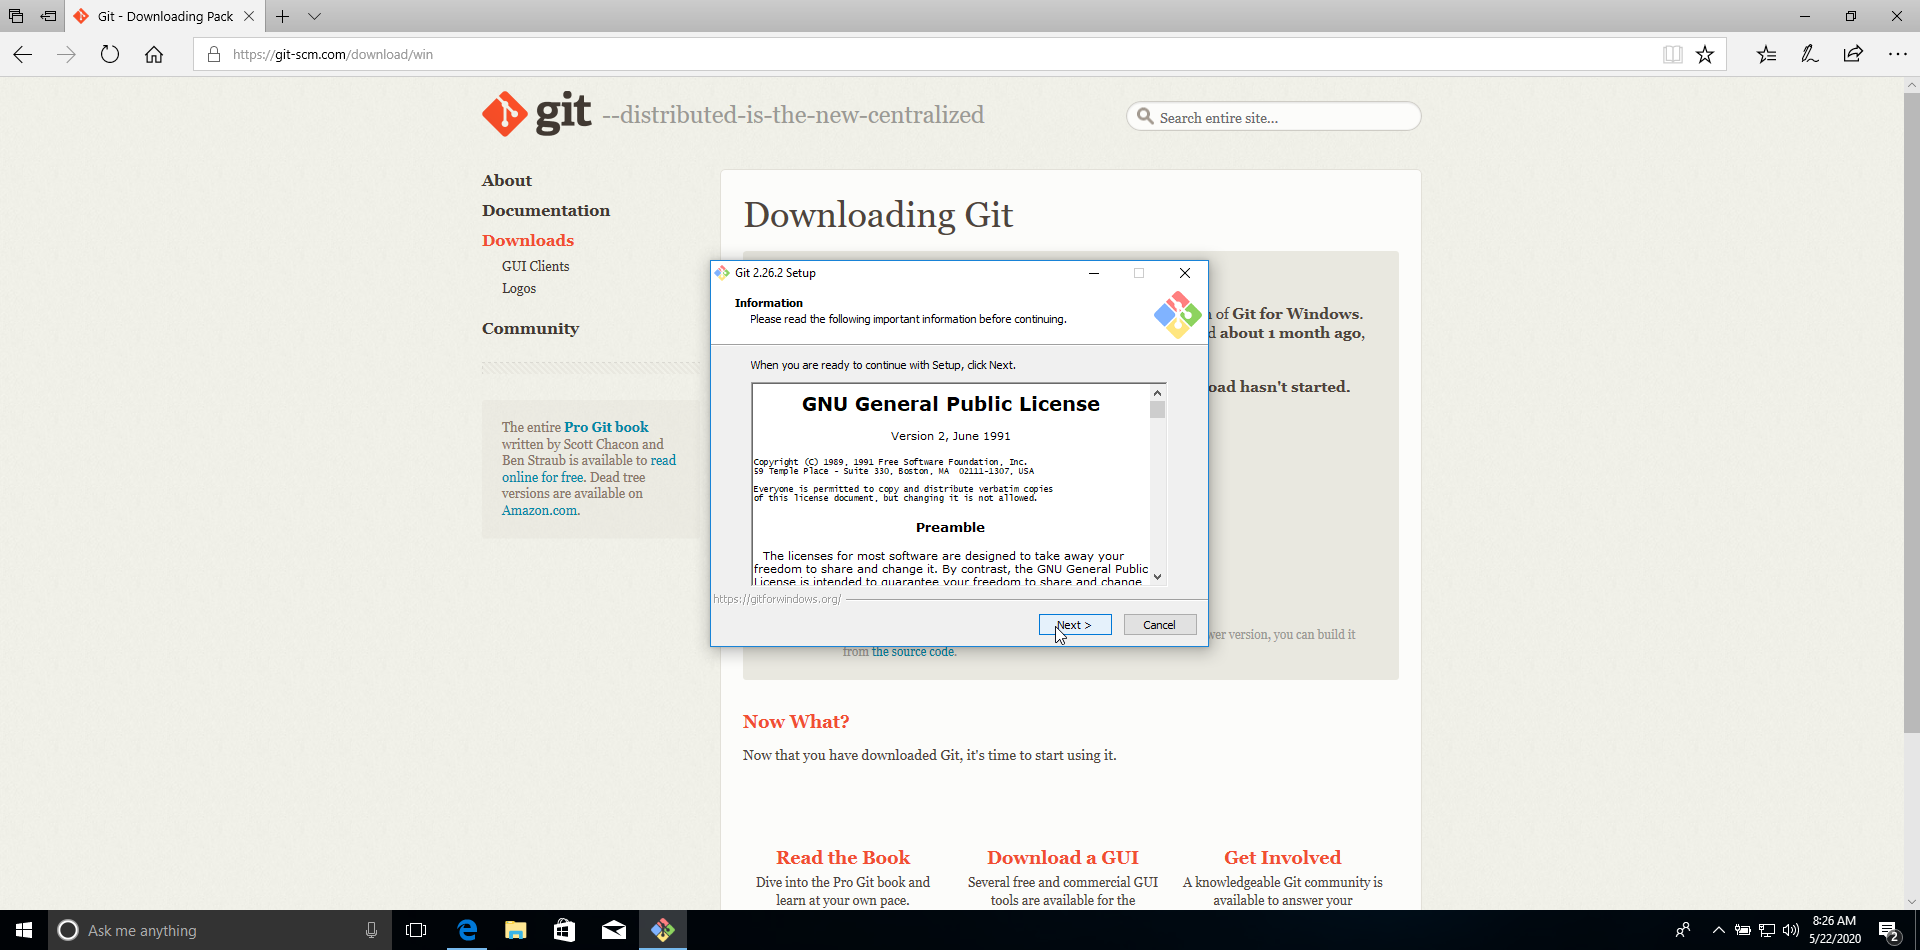
As a beginner, you should accept the defaults as they are, and hit Next until installation is complete. You will be accessing Git through the command line/terminal.
Creating a Repository
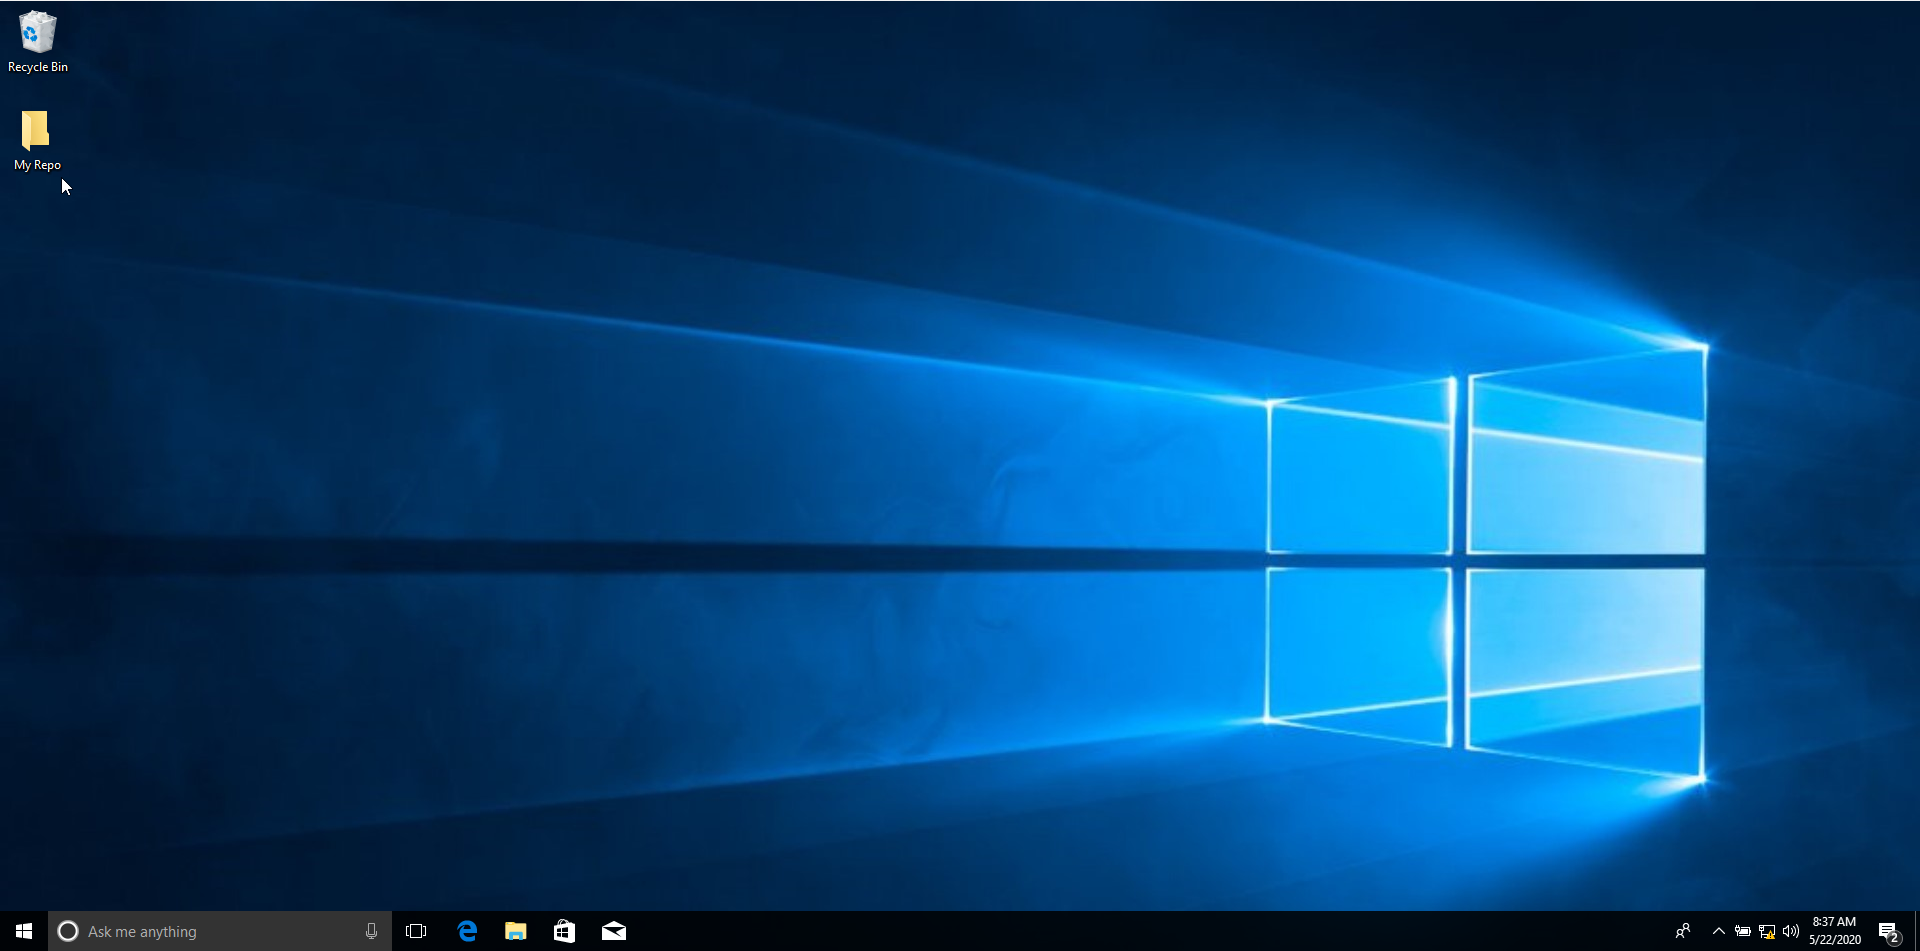
Create a folder on your desktop and name it "My Repo."
Next, create a text file containing this line of code in the folder:
print(“Hello World!”)
Name the file hello_world.py.

You now have some code in a folder. Next, you'll turn it into a repository.
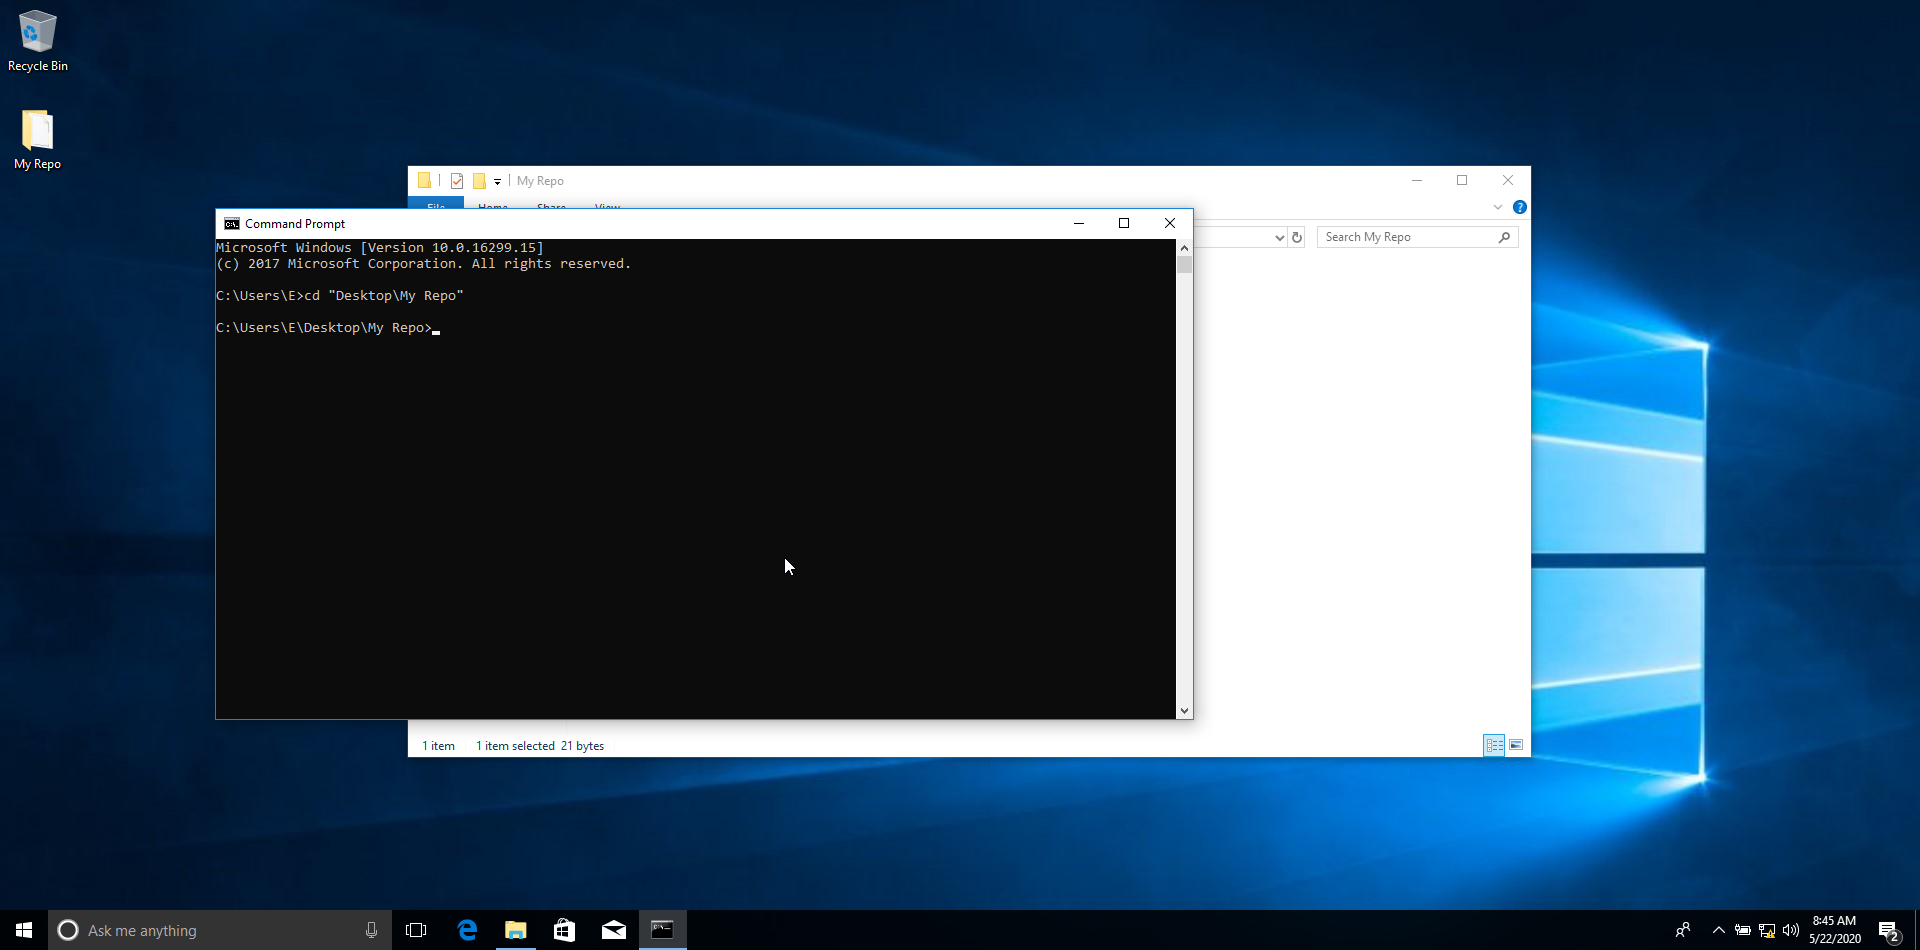
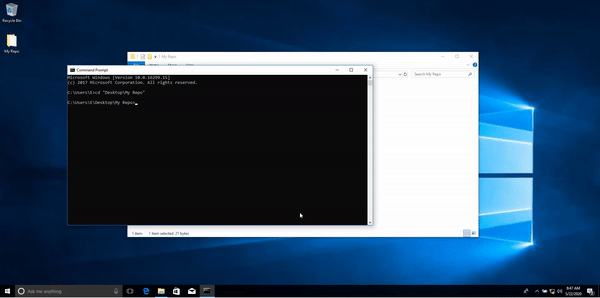
In the command line/terminal, go to the “My Repo” folder.
Before using Git, you’ll need to initialize, or configure, it by specifying who you are. This will be used in the version history so it’s clear who is making the contribution to the code. Run the command:
git config –global user.email “your email here”
The quotation marks are not needed as part of the actual command you will run.

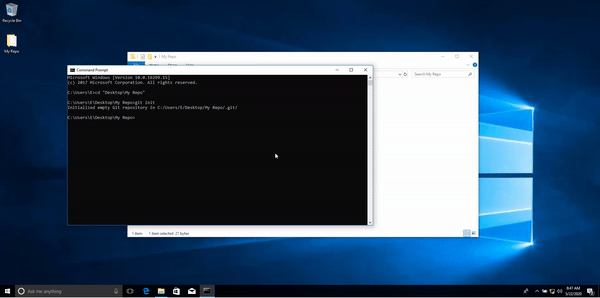
Now, programmatically convert the folder into a repository, or initialize the repository. This is simple to do. Simply run:
git init
Congratulations! You have successfully initialized a repo. Now, add your code into it.
Tracking Code
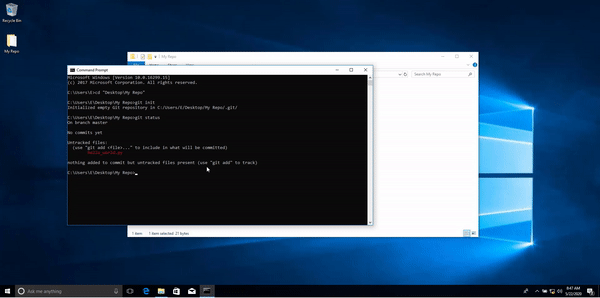
A repo will automatically monitor for file changes. However, it will not automatically record these changes. Any change that you’d like to officially record, or commit, is executed via a three-command flow that you will benefit from memorizing. To get a sense of what is happening in your repo, that is, to see the status of your repo, you can run this command at any time:
git status
You can see that Git is monitoring the changes taking place inside the folder. In particular, hello_world.py is red and untracked, meaning that it has been modified as compared with the latest commit. If you decide to create a commit (more on that later), then it will not be part of it. So as your next step, track this piece of code:
git add hello_world.py
Now if you check the status, you can see that hello_world.py is in green, and is marked as being tracked and part of the current commit. This is called staging.
Commits are like snapshots. Until a commit is made, no changes are recorded. At this point, you could unstage hello_world.py if you would like and make additional changes freely. Commit the changes you have made, which will officially add hello_world.py to the repository. Type:
git commit -m “Initial commit”
The -m flag specifies what commit message will be recorded in the repo. This is purely informational to users. You might write here “fixed bug,” “optimized code,” “added functionality to save user data,” etc. If you don't add this message, other developers won't be able to easily know what changes you have made to the code.

One of the beauties of a repo is that you can see and revert to any committed state of the code, like a snapshot. You now have two such states. The very initial one, which was empty, and the current commit, with file hello_world.py. In the future, if you make additional changes and commits, you'll still be able to go back to the commit you have just made. Isn’t that nice?
Publishing Your Repo
Now you have finished creating a local repo. This section will discuss how to share it with others, as well as how to host this repo so you can access it from other devices.
The most common platform for hosting Git repos is called Github. This example will go over how to host your repo on this platform.
First, start by creating a Github account. Once you are finished doing so, click the plus icon on the top right and select New Repository. Fill in the name and description of your repo.
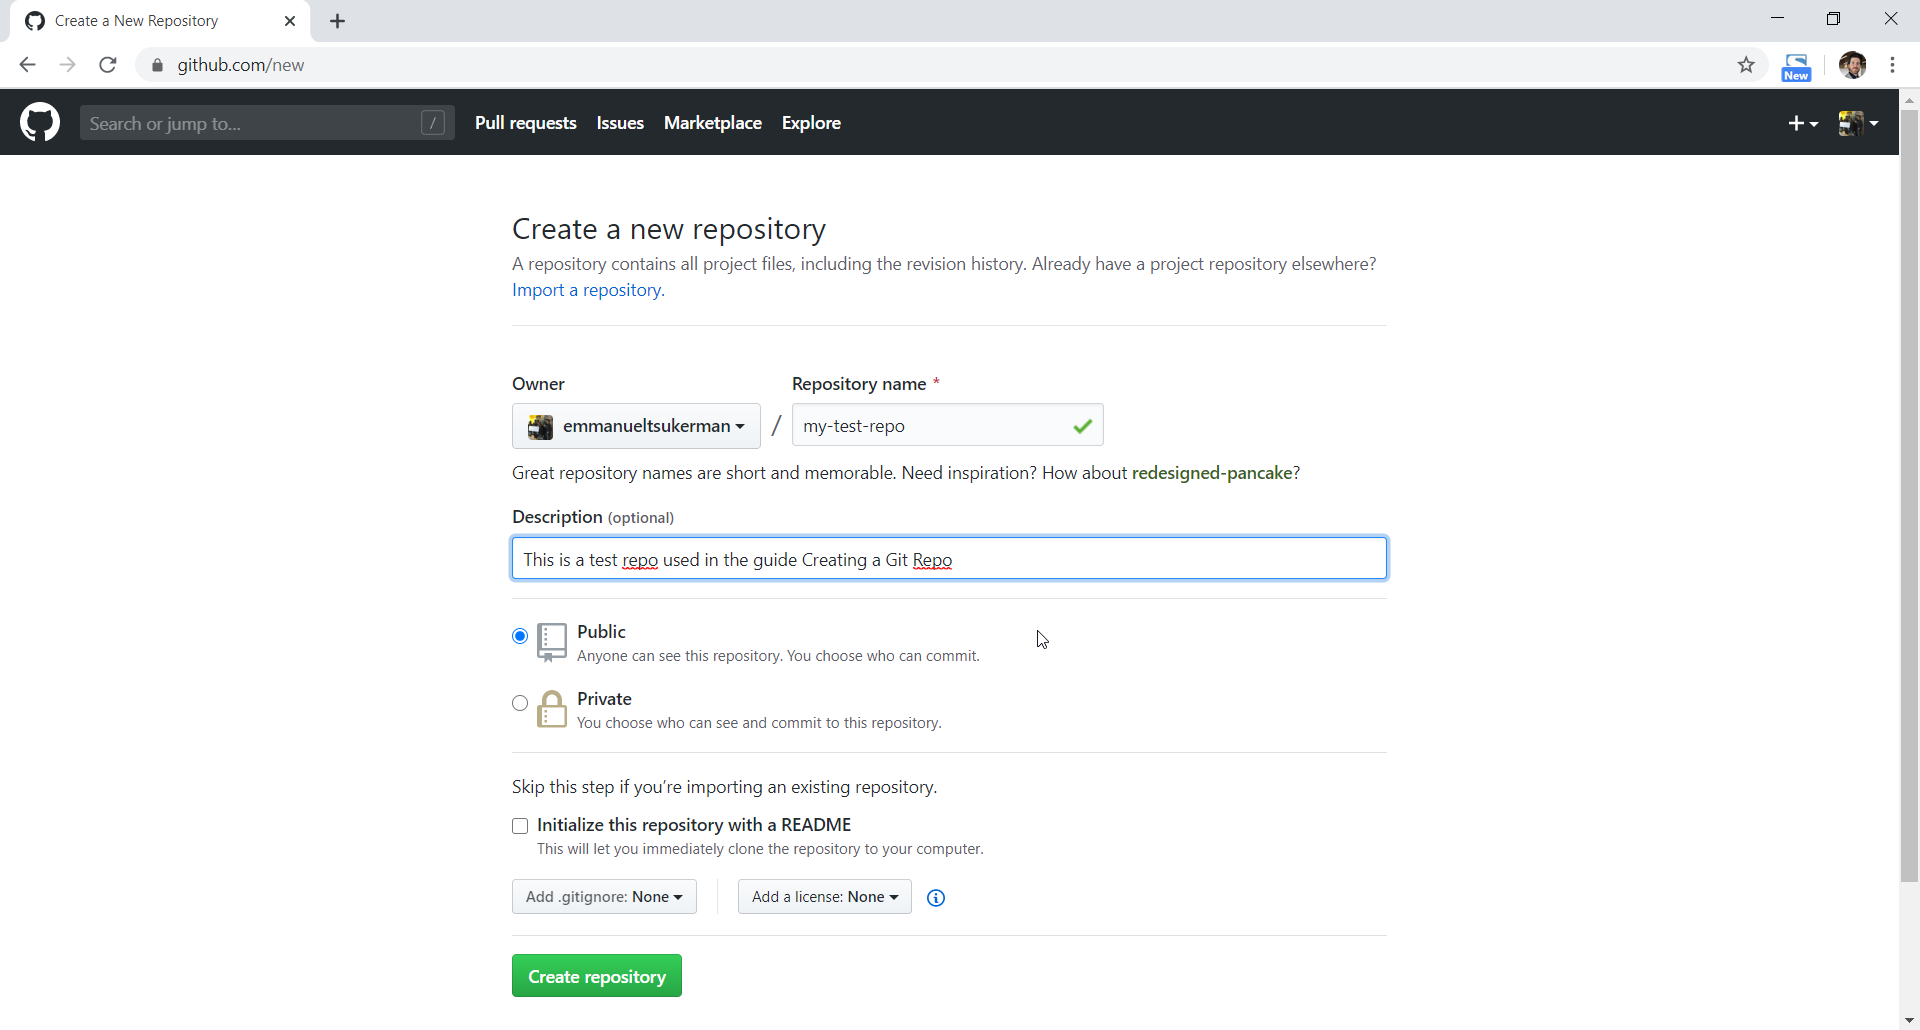
Then hit the green Create repository button. Follow the instructions under “…or push an existing repository from the command line” to upload, or push, your own repo. Click the copy button and then paste the commands into the command line (making sure you’re in the repo folder). The first command,
git remote add origin "link to your repo"
sets the destination to where the repo will be pushed. In this case, that destination is Github. The second command actually pushes the repo to Github.
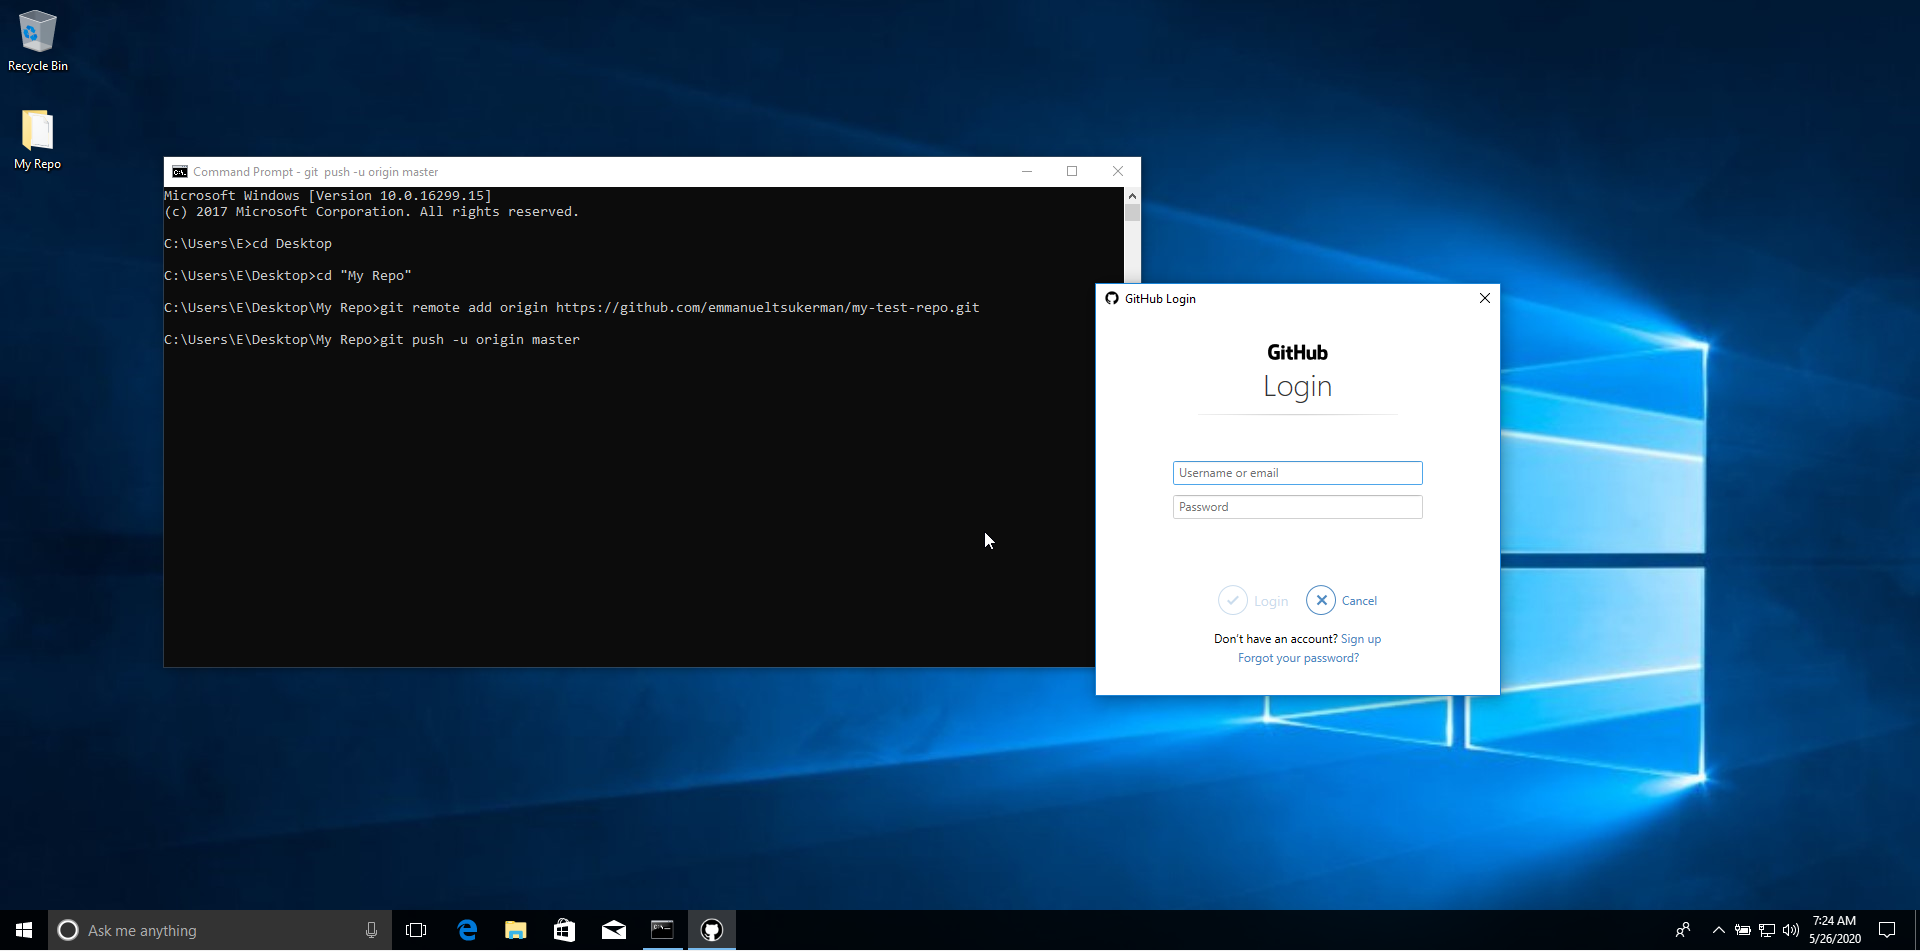
A login prompt will appear. Once you have logged in, your repo will have been pushed.
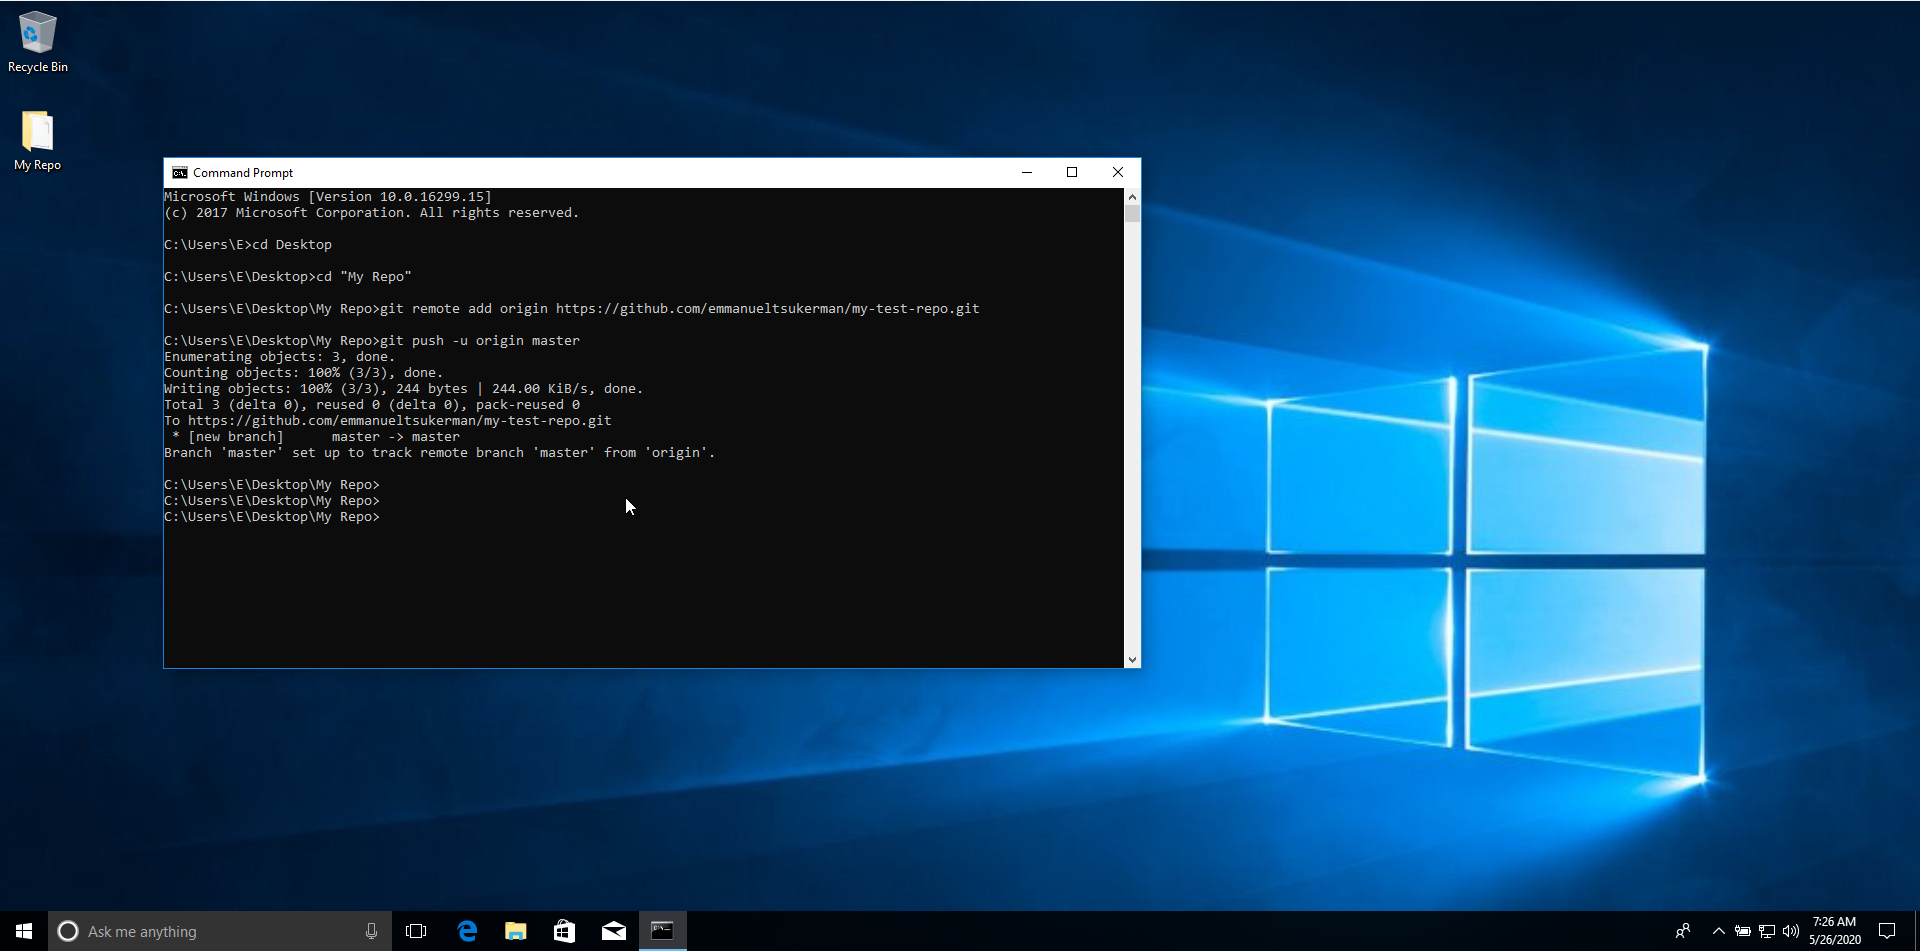
Finally, you can examine the repo on Github. Refresh the Github page for your repo. You will see the code you have created.
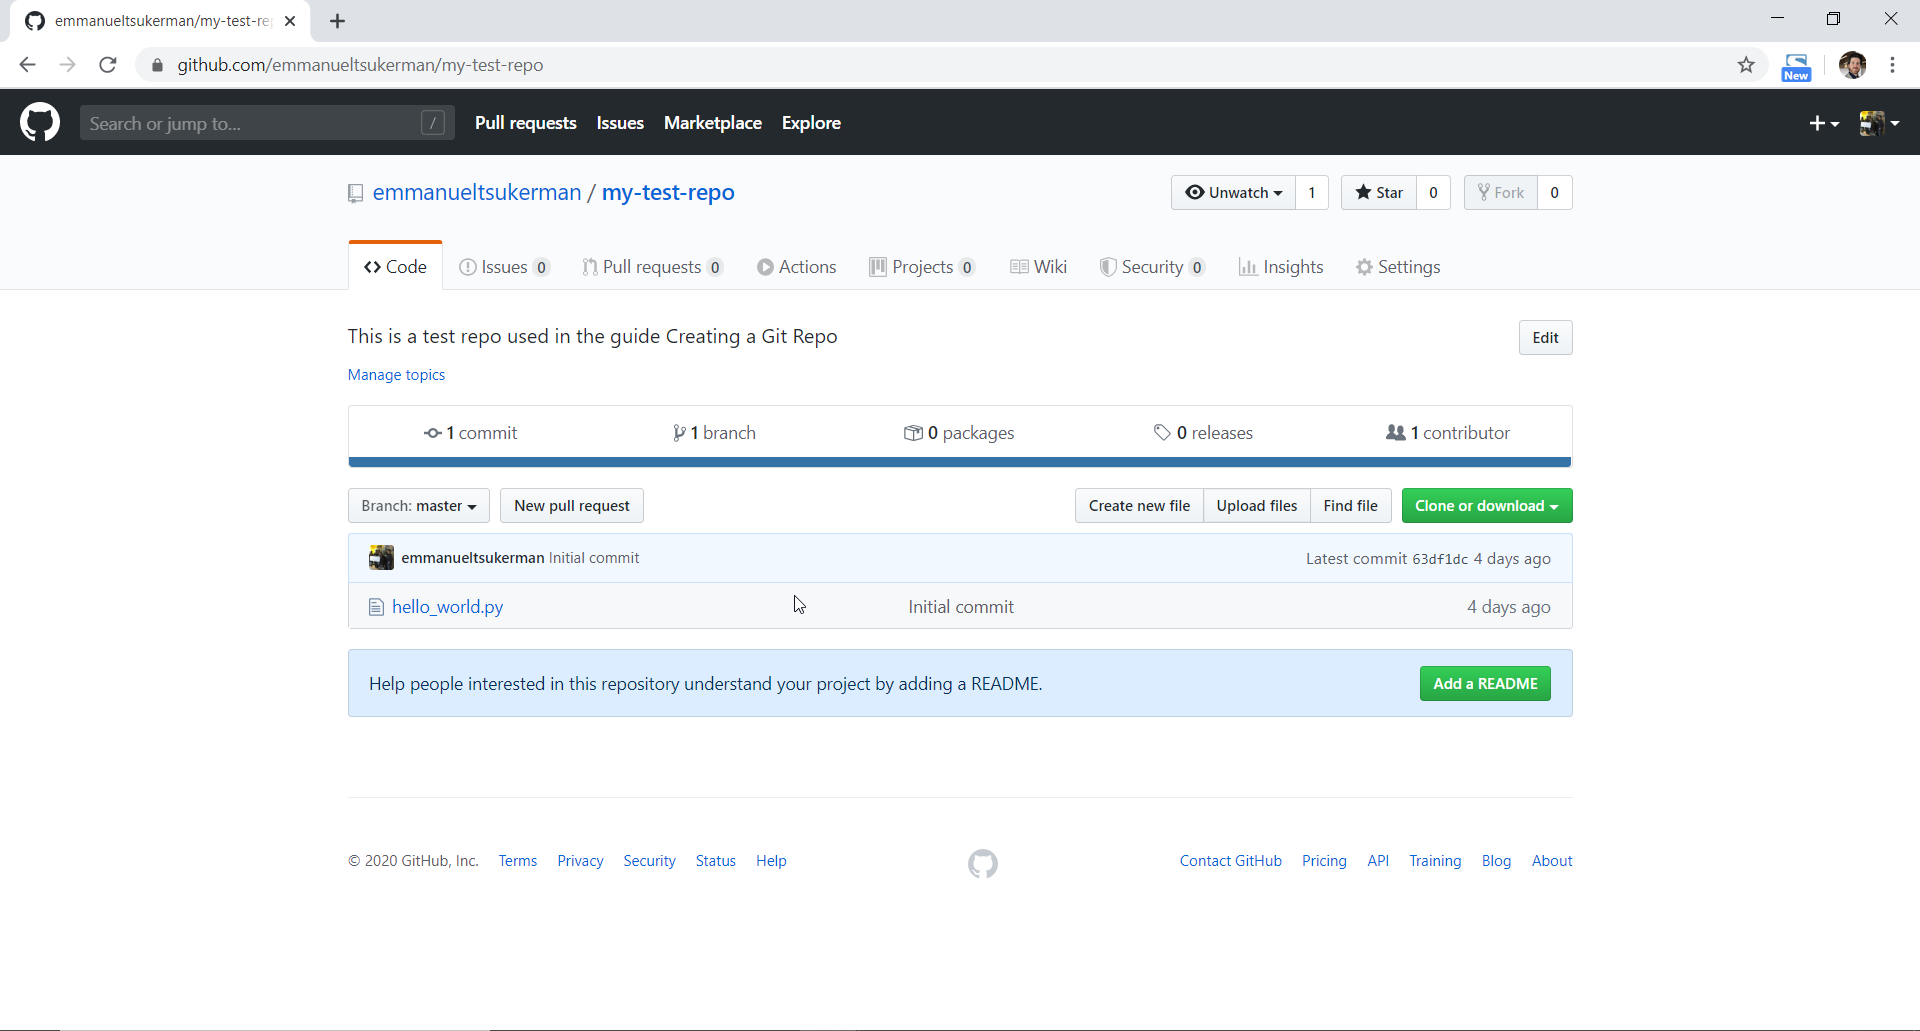
Congratulations! You have successfully created and shared a Git repository. Since you have set this repo to be public, anyone on the web can access this code and make contributions.
Conclusion
Learning how to create a repository on Git and sharing your code with others is a challenging but rewarding skill to learn, which you now possess. Another important aspect of Git is making contributions to existing work, or branching. Knowing how to branch will allow you to be productive from day one in your role as software developer. To learn how to make contributions to Git repositories, see our guide on branching code. For a comprehensive video overview of Git, see our [Git Fundamentals course] (https://app.pluralsight.com/library/courses/git-fundamentals/table-of-contents).
Advance your tech skills today
Access courses on AI, cloud, data, security, and more—all led by industry experts.
