Text Preprocessing in Azure Machine Learning Studio
Implementing NLP is difficult because text data is different from tabular transactional data. In this guide, you will learn how to preprocess text data in Azure Machine Learning Studio.
Oct 17, 2020 • 11 Minute Read
Introduction
Natural Language Processing (NLP) is ubiquitous and has multiple applications. For example, a few use cases include email classification into spam and ham, chatbots, AI agents, social media analysis, and classifying customer or employee feedback as positive, negative, or neutral.
Despite these many applications of NLP, implementation remains difficult because text data is different from tabular transactional data. Cleaning text data is also difficult because you deal with natural language. This is where text processing is helpful to clean the text corpus and make it ready for further operation. In this guide, you will learn how to preprocess text data in Azure Machine Learning Studio.
Problem Statement and Data
In this guide, you will take up the task of automating reviews in medicine. Medical literature is voluminous and rapidly changing, which increases the need for reviews. Often such reviews are done manually, which is tedious and time-consuming. You will try to address this problem by building a text classification model that will automate the process.
The dataset you will use comes from a Pubmed search, and contains 1,748 observations and four variables, as described below.
-
title: Variable that consists of the titles of papers retrieved.
-
abstract: Variable that contains the abstracts of papers retrieved.
-
trial: Variable indicating whether the paper is a clinical trial testing a drug therapy for cancer.
-
class: Target variable that indicates whether the paper is a clinical trial (Yes) or not (No)
Start by loading the data into the workspace.
Loading Data
Once you have logged into your Azure Machine Learning Studio account, click on the EXPERIMENTS option, listed on the left sidebar, followed by the NEW button.

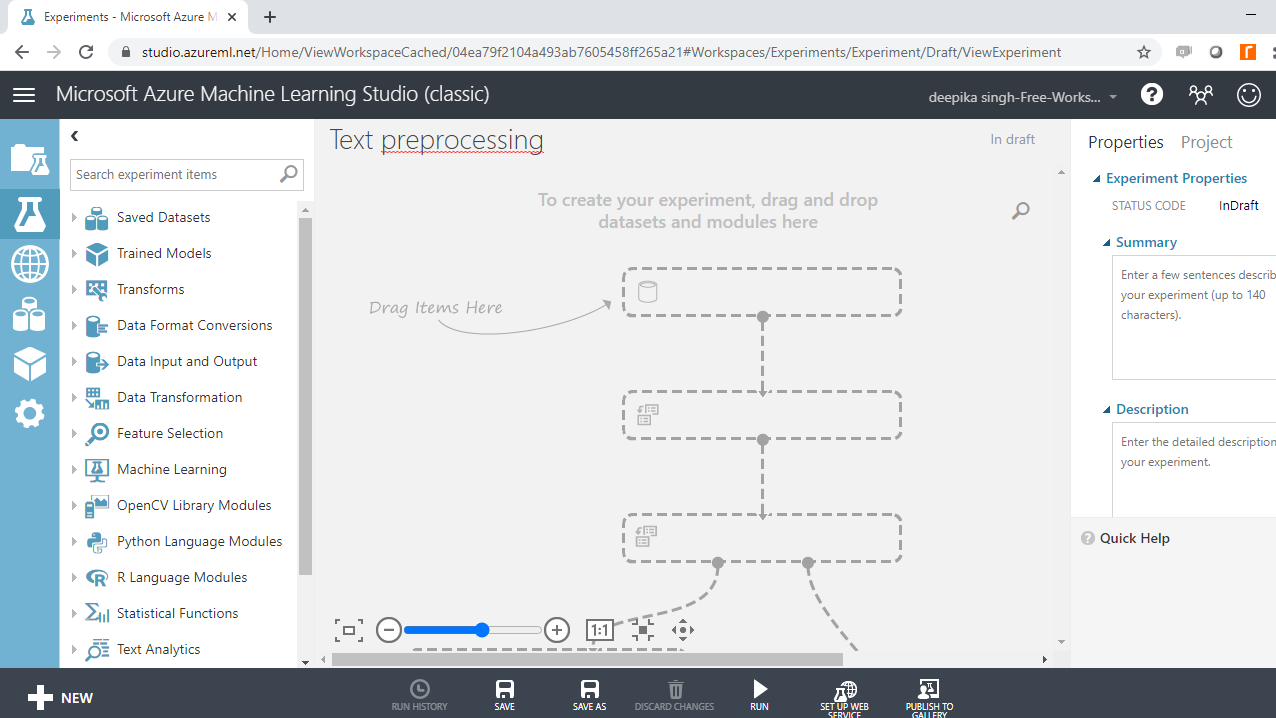
Next, click on the blank experiment and a new workspace will open. Give the name Text preprocessing to the workspace.
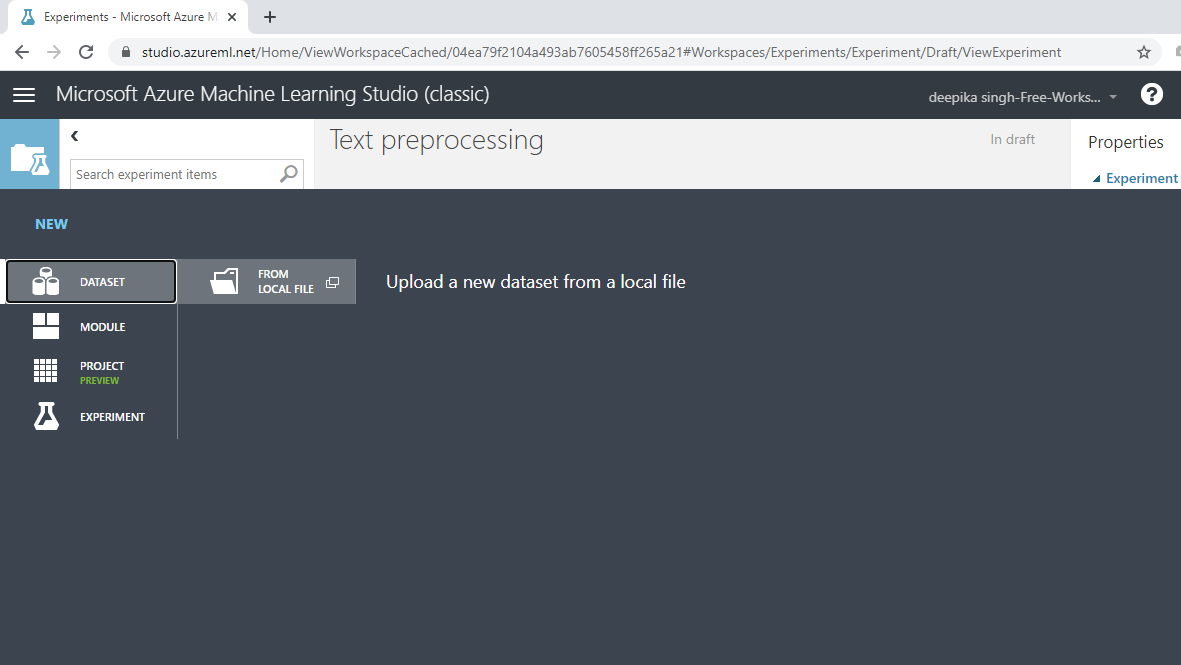
Next, load the data into the workspace. Click NEW, and select the DATASET option shown below.
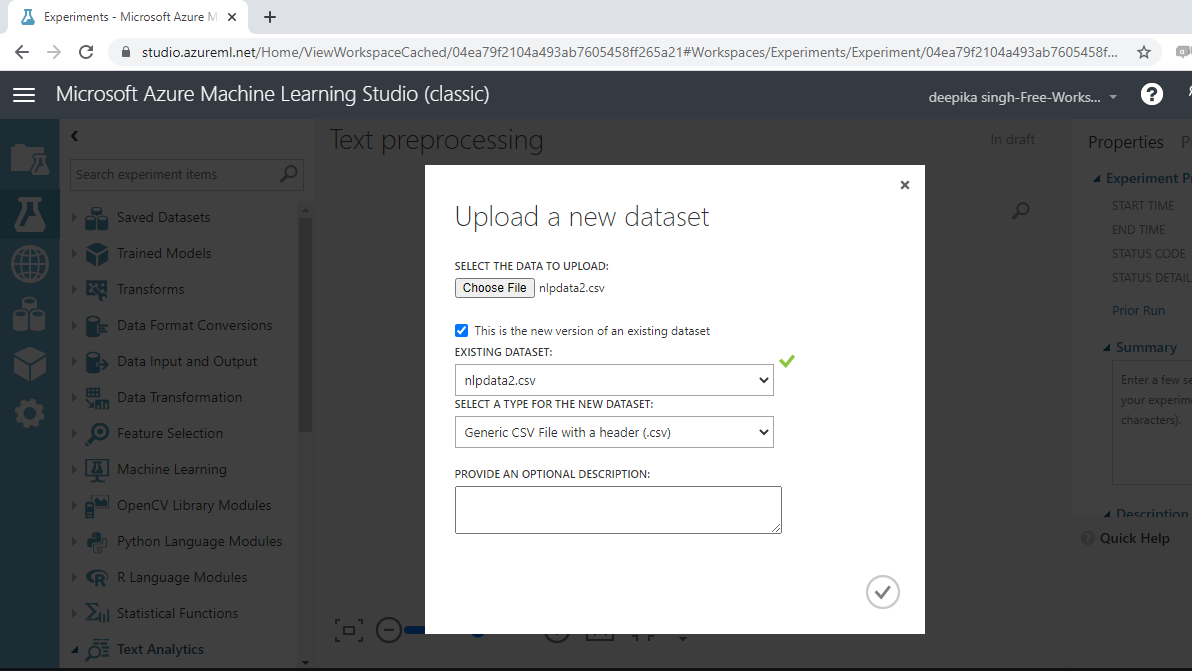
The selection above will open the window shown below, which can be used to upload the dataset from the local system.
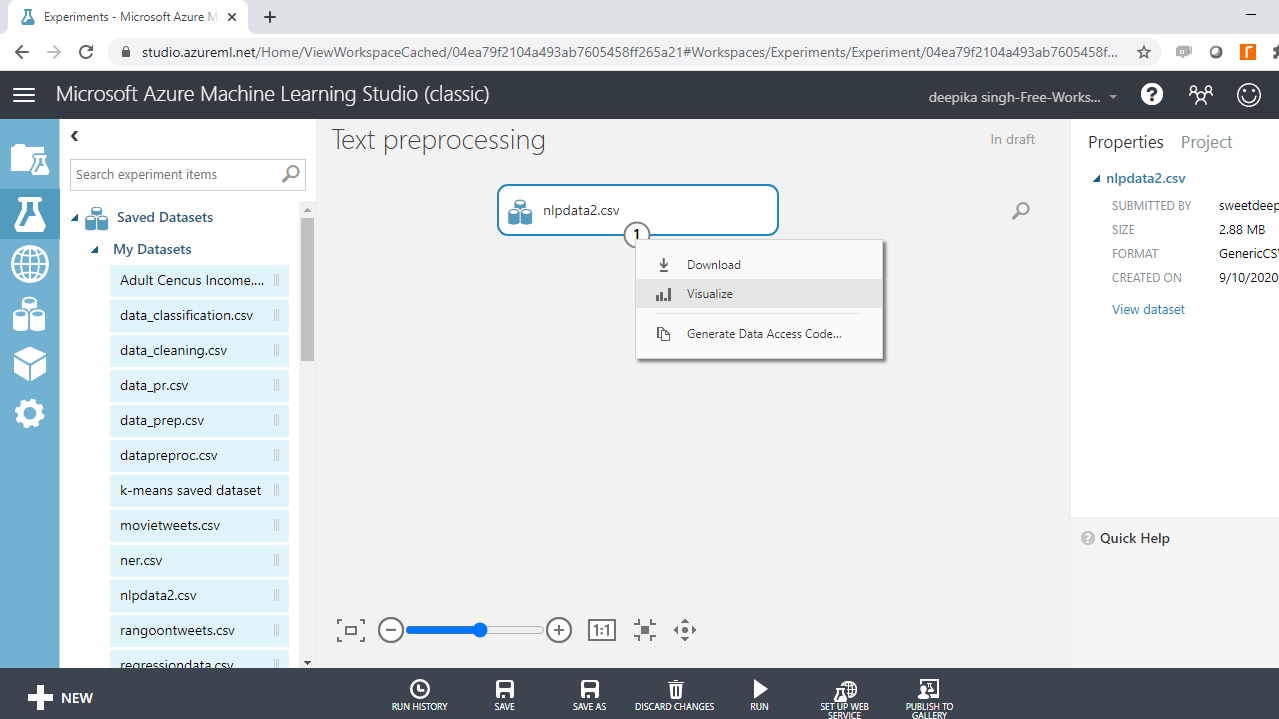
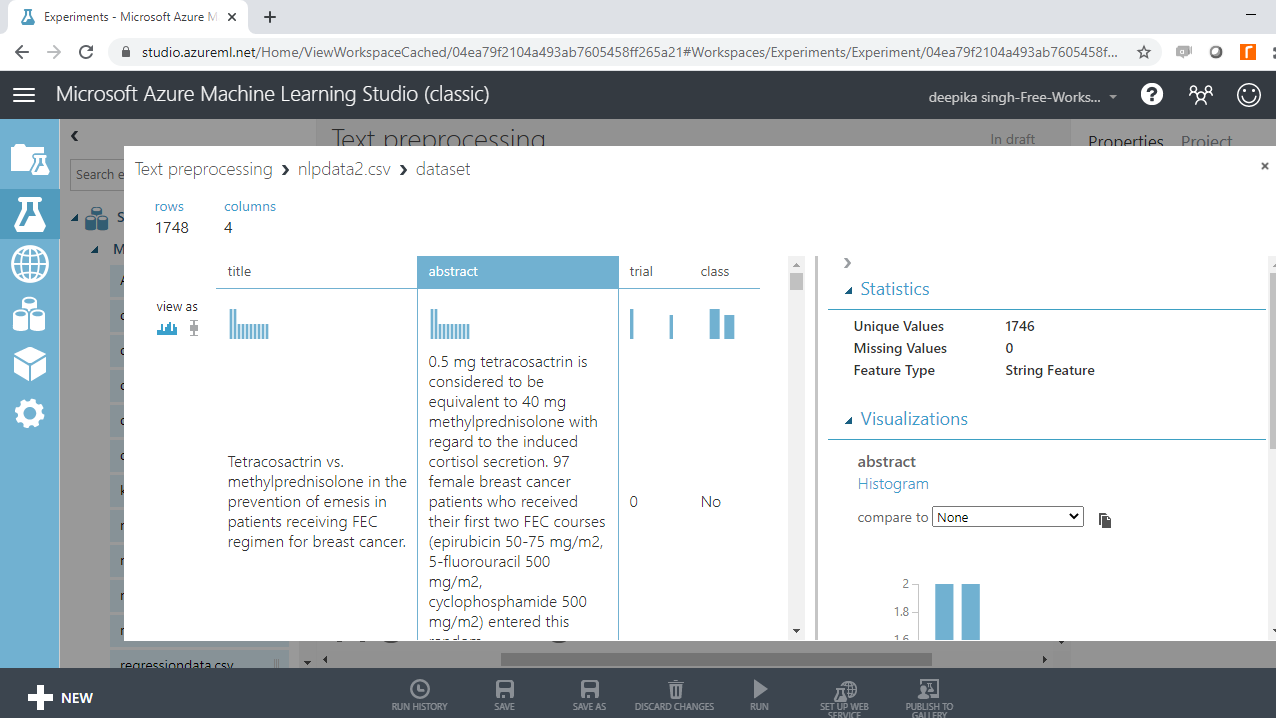
Once the data is loaded, you can see it in the Saved Datasets option. The file name is nlpdata2.csv. The next step is to drag it from the Saved Datasets list into the workspace. To explore this data, right-click and select the Visualize option as shown below.
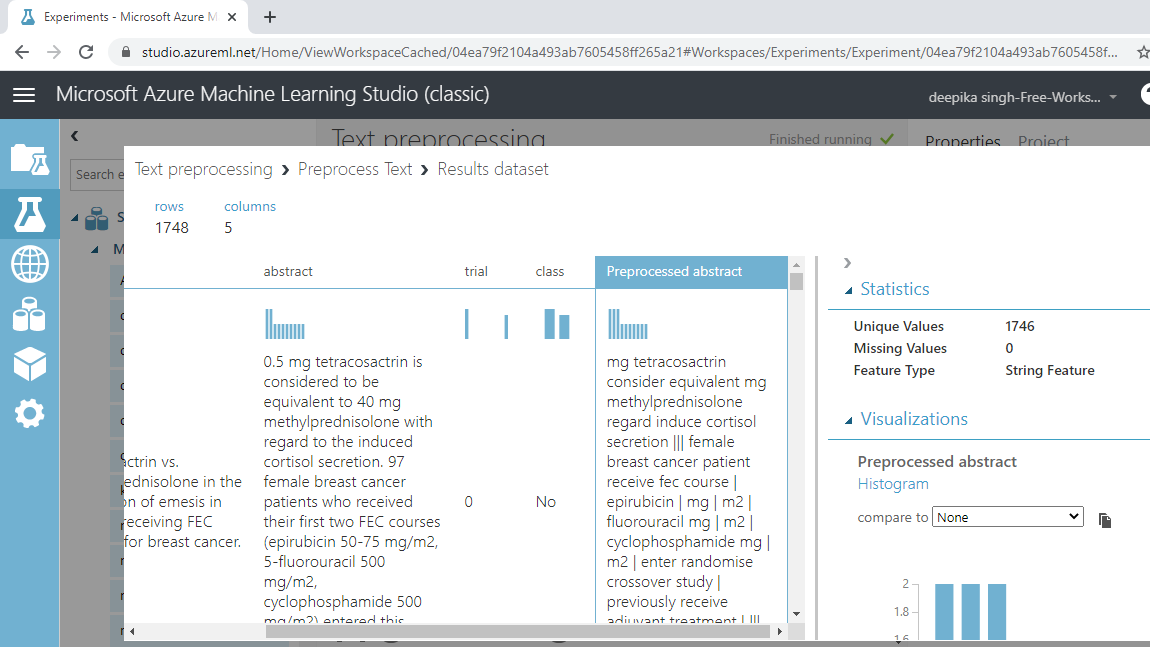
You can see there are 1748 rows and four columns.
Prepare Text
It is important to pre-process text before you run the module to extract key phrases from the corpus. The most common pre-processing steps are:
-
Remove stop words: These are unhelpful words like 'the', 'is', 'at'. They are not helpful because the frequency of such stop words is high in the corpus, but they don't help in differentiating the target classes. The removal of stop words also reduces the data size.
-
Detect Sentences: This inserts a sentence boundary mark while performing analysis. The sentence terminator is represented by three pipe characters: |||.
-
Remove punctuation: The rule of thumb is to remove everything that is not in the form of x,y,z.
-
Normalize case to lowercase: Words like 'Clinical' and 'clinical' need to be considered as one word, so they are converted to lowercase.
-
Remove special characters: Non-alphanumeric special characters are replaced with the pipe | character.
-
Expand verb contractions: This is an important feature applied to verb contractions. For example, selecting this option will replace the phrase "wouldn't buy this product" with "would not buy this product".
-
Stemming: The goal of stemming is to reduce the number of inflectional forms of words appearing in the text. This causes words such as “argue,” "argued," "arguing," and "argues" to be reduced to their common stem, “argu”. This helps decrease the size of the vocabulary space.
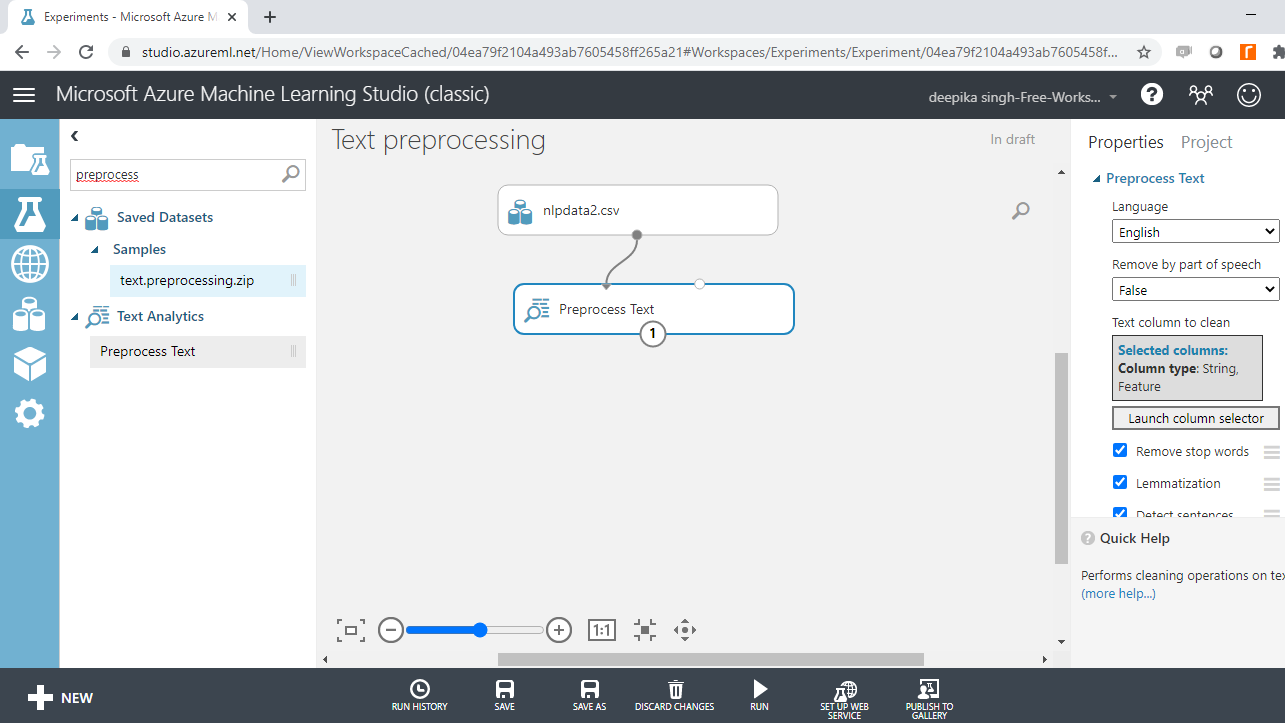
The Preprocess Text module is used to perform the above as well as other text cleaning steps.
Preprocess Text Module
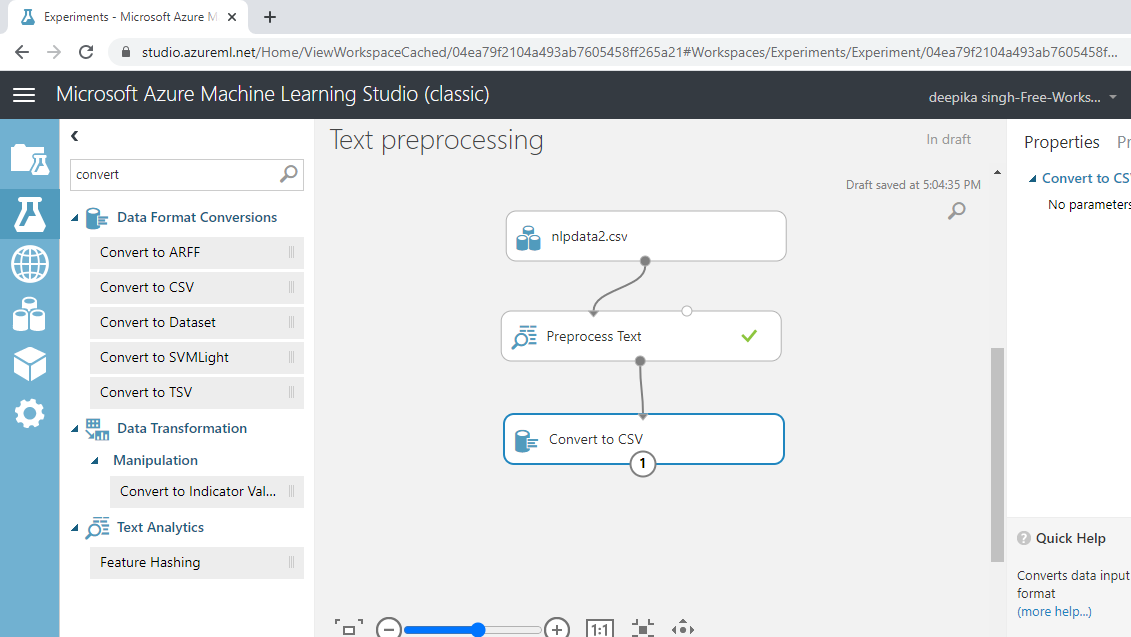
Search and drag the module into the workspace. Connect it to the data as shown below.
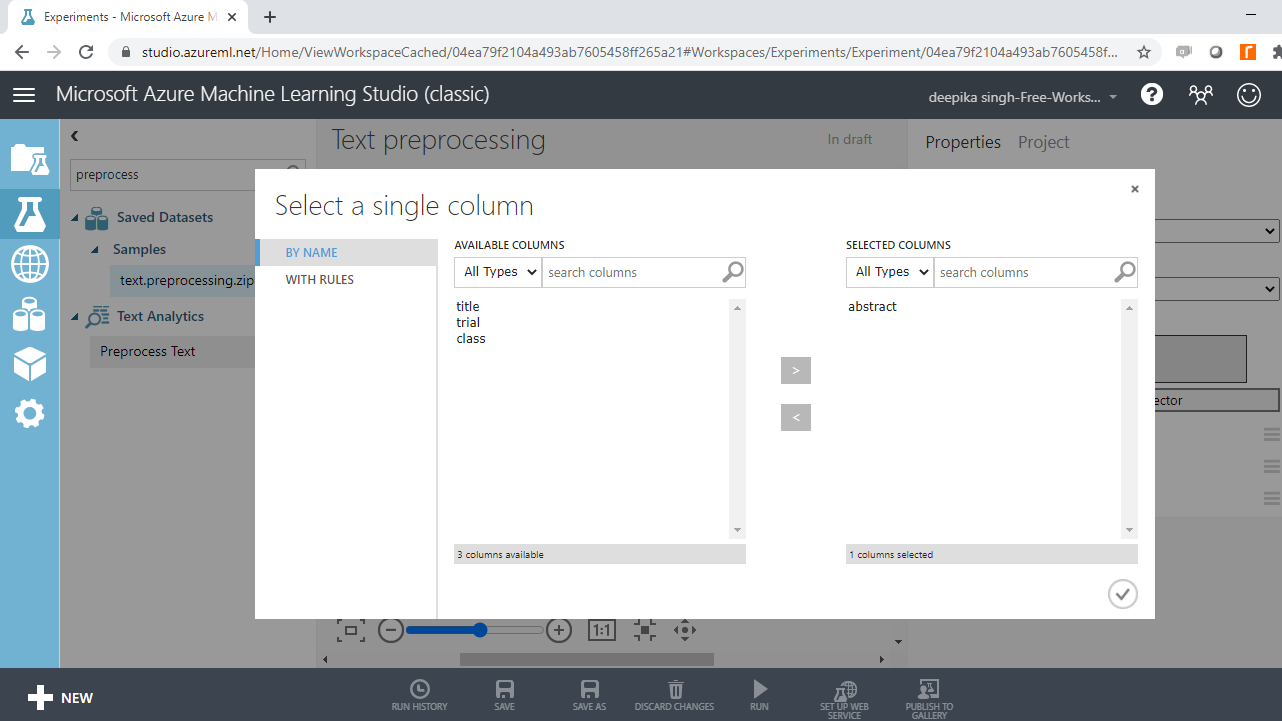
You must specify the text variable to be preprocessed. To do this, click on the Launch column selector option, and select the abstract variable.
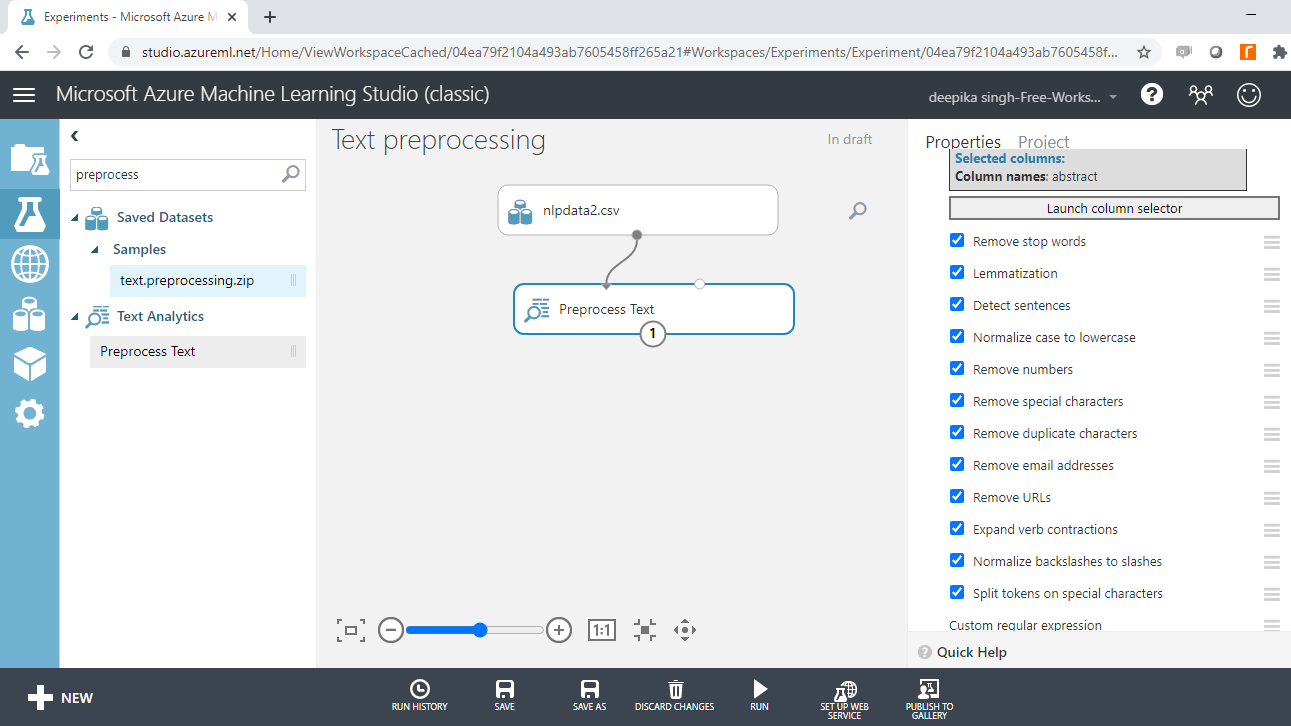
After you have selected the column, you can create the preprocessing plan. Select the options you want to keep in the text preprocessing module. In this case, you can keep all the options, as shown below.
Run the experiment and click on Visualize to see the result.

You can look at the result below. The Preprocessed abstract variable contains the processed text. If you compare it with the abstract variable, you can see the difference pre- and post-text preprocessing.
Sometimes, it may be more convenient to download and explore the changes in detail. Search and drag the Convert to CSV module into the workspace.
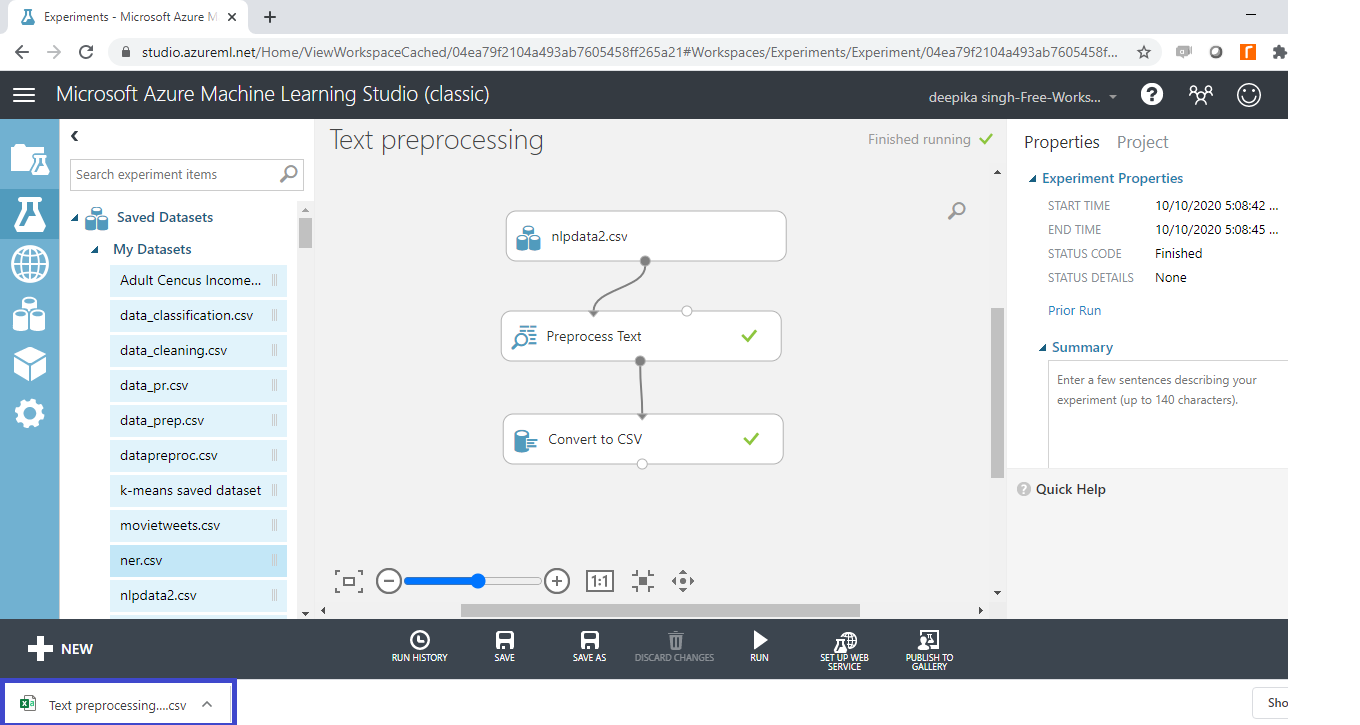
Run the experiment and click the Download option.
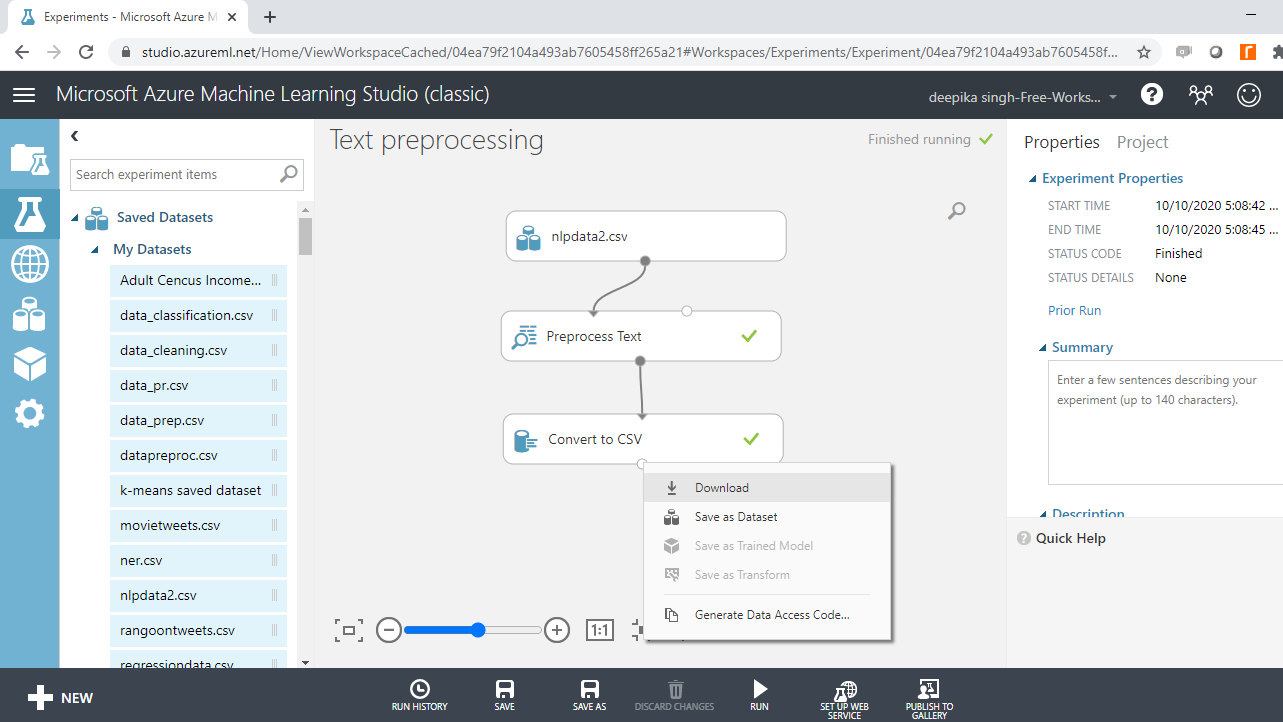
This will download the resulting data into your system. The file name is Text preprocessing. This is highlighted in the blue box below.
Open the file and click on any cell in the original abstract variable. This is the text before running the preprocessing module.
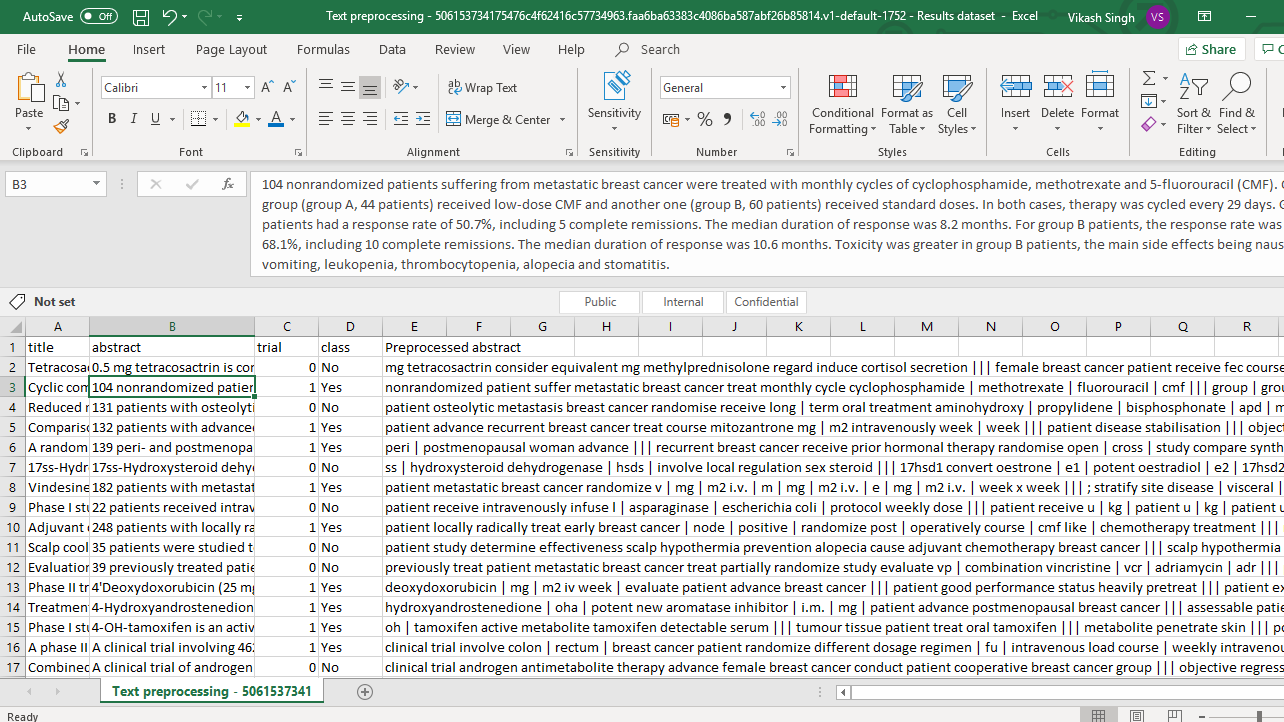
The text highlighted in the above image is given below for better visibility.
104 nonrandomized patients suffering from metastatic breast cancer were treated with monthly cycles of cyclophosphamide, methotrexate and 5-fluorouracil (CMF). One group (group A, 44 patients) received low-dose CMF and another one (group B, 60 patients) received standard doses. In both cases, therapy was cycled every 29 days. Group A patients had a response rate of 50.7%, including 5 complete remissions. The median duration of response was 8.2 months. For group B patients, the response rate was of 68.1%, including 10 complete remissions. The median duration of response was 10.6 months. Toxicity was greater in group B patients, the main side effects being nausea, vomiting, leukopenia, thrombocytopenia, alopecia and stomatitis.
Now, click on the corresponding cell of the new Preprocessed abstract variable.
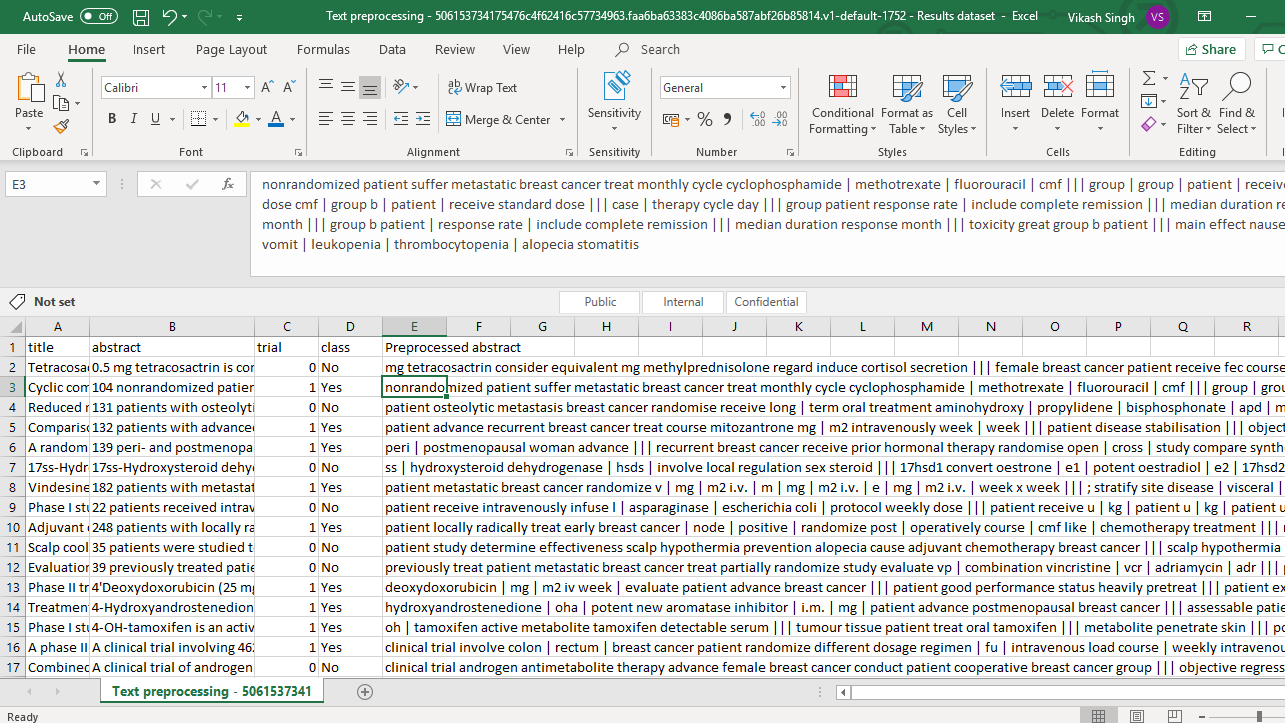
Again, the text highlighted in the above image is given below for better visibility.
nonrandomized patient suffer metastatic breast cancer treat monthly cycle cyclophosphamide | methotrexate | fluorouracil | cmf ||| group | group | patient | receive low | dose cmf | group b | patient | receive standard dose ||| case | therapy cycle day ||| group patient response rate | include complete remission ||| median duration response month ||| group b patient | response rate | include complete remission ||| median duration response month ||| toxicity great group b patient ||| main effect nausea | vomit | leukopenia | thrombocytopenia | alopecia stomatitis.
You can see the difference between the abstract and Preprocessed abstract variables. The new variable is more compact, concise, has sentence boundaries, and is more comprehensible.
Conclusion
Text cleaning is one of the most challenging areas of natural language processing. In every application of text analytics, such as email classification, sentiment analysis, key phrase extraction, or visualizing text data, you will be required to perform text cleaning.
In this guide, you learned how to perform text preprocessing in Azure Machine Learning Studio. You can learn more on this concept with guides on other technologies like Python and R.
To learn more about data science and machine learning using Azure Machine Learning Studio, please refer to the following guides:
Advance your tech skills today
Access courses on AI, cloud, data, security, and more—all led by industry experts.
