
- Course
Ionic 6 Fundamentals
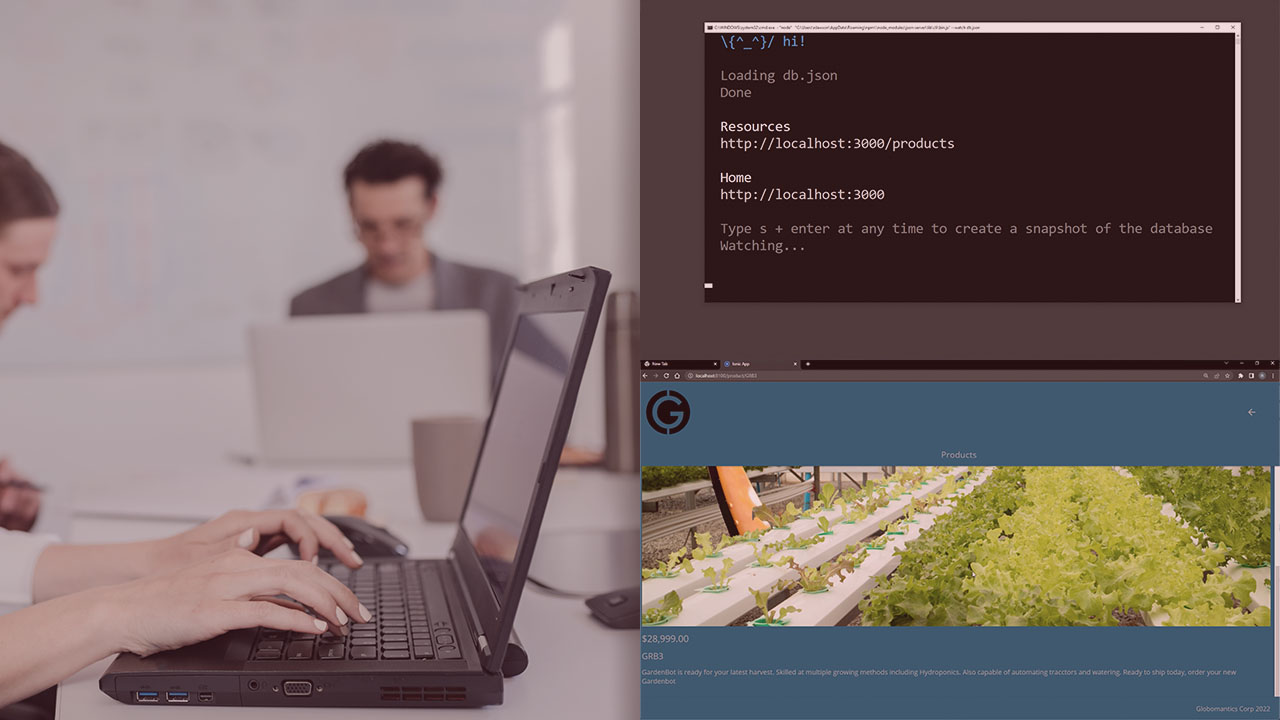
Ionic is a framework that allows JavaScript developers to build mobile apps. This course will teach you to use Ionic to build a mobile app ready for release to the App stores.
Beginner
- Course
Ionic 6 Fundamentals
Ionic is a framework that allows JavaScript developers to build mobile apps. This course will teach you to use Ionic to build a mobile app ready for release to the App stores.
Beginner
Get started today
Access this course and other top-rated tech content with one of our business plans.
Try this course for free
Access this course and other top-rated tech content with one of our individual plans.
This course is included in the libraries shown below:
- Core Tech
What you'll learn
Web developers can use their existing skills to build mobile apps. Ionic is a mature framework with a solid ecosystem that makes building mobile apps easier. In this course, Ionic 6 Fundamentals, you will discover the fundamentals of Ionic and prepare to build your own apps. First you will learn to set up a development environment and create an Ionic app. Second, you will learn about various components available in Ionic and how to use them. Third, you will finish the app and learn how to deploy it to the appropriate app store. Finishing this course will provide you with the skills to build your own apps with Ionic.
Ionic 6 Fundamentals
Beginner
Table of contents
After over 16 years in IT, Reggie finally decided to follow a long-term dream of learning to code. The path Reggie chose led him to pick up JavaScript, and building Web and mobile apps.
