Deploy a React App to Azure
Sep 3, 2020 • 14 Minute Read
Introduction
According to Azure's official documenatation, "Microsoft Azure is the freedom to build, manage and deploy applications on a massive, global network using your favorite tools and frameworks."
Whether you are working on a side project or a startup, Azure can be the one destination for all your needs, including deployment, storage, scaling, security, and more.
This guide will walk you through the step-by-step process of deploying a React app to Azure App Service and streamline CI/CD using Azure DevOps. This guide uses a React app made with react-bootstrap; you can read more about it here.
Creating an App Service
To deploy a React app, you first need to create an _app service _ on Azure. As the name suggests, an app service is a platform for building, deploying, and scaling web apps.
Here are the steps:
- If you haven't already created an account on Azure, you can opt for a free account to follow this guide.
- On your Azure dashboard, select App Services and then click Add.

- You will be asked to configure this app service.
For Subscription, choose your free subscription. Create a new Resource Group for this app. This guide uses the Resource Group named react-example-deploy.
Give a unique name to your app; this guide uses rbtutorial. For Publish choose Code.
Select Node 10.14 as Runtime Stack and Windows as Operating System.
Finally, please select the closest region to you or leave it at default.
.png)
- Leave App Service Plan as default and hit Review+Create. After the review is complete, you will need to select Create.
.png)
After a few minutes, your new app service will be live, and you will see a message like this.
.png)
You can visit {yourAppServiceName}.azurewebsites.net to see it in action. You can see a default page from Microsoft based on the Runtime Stack you chose. Your React app will be deployed on this same URL.
Configuring Azure DevOps
According to Azure's official docs, "Azure DevOps is a software as a service (SaaS) platform from Microsoft that provides an end-to-end DevOps toolchain for developing and deploying software."
Here, we will use Azure DevOps to streamline continuous integration and continuous deployment in our app.
Creating an Azure DevOps Organization
If you have already created an Azure DevOps Organization, feel free to skip this subsection. Here are the steps you need to follow to create an Azure DevOps organization:
-
Sign in to Azure DevOps.
-
Click New organization.
.png)
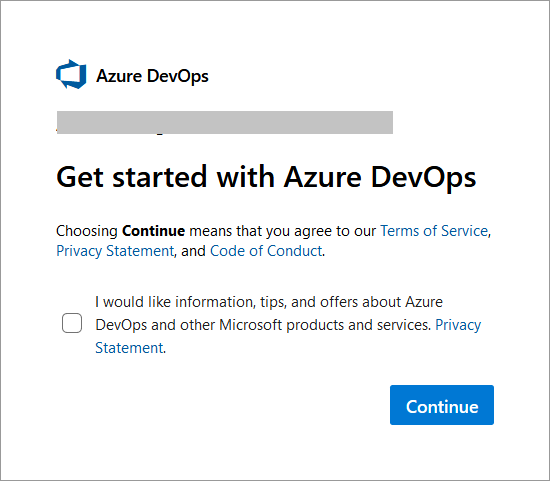
- You will be asked if you want to continue. Select Continue.
- Then you will be asked to give your organization a unique name. Enter a unique name and hit Continue. This guide uses an organization named ReactExampleDeploy.
.png)
Your organization is now created and can be accessed at https://dev.azure.com/{yourorganization}, where yourorganization is your organization's name.
Creating a Project
On your Azure DevOps organization dashboard, create a new project. Give a unique name to your project and then hit Create project.
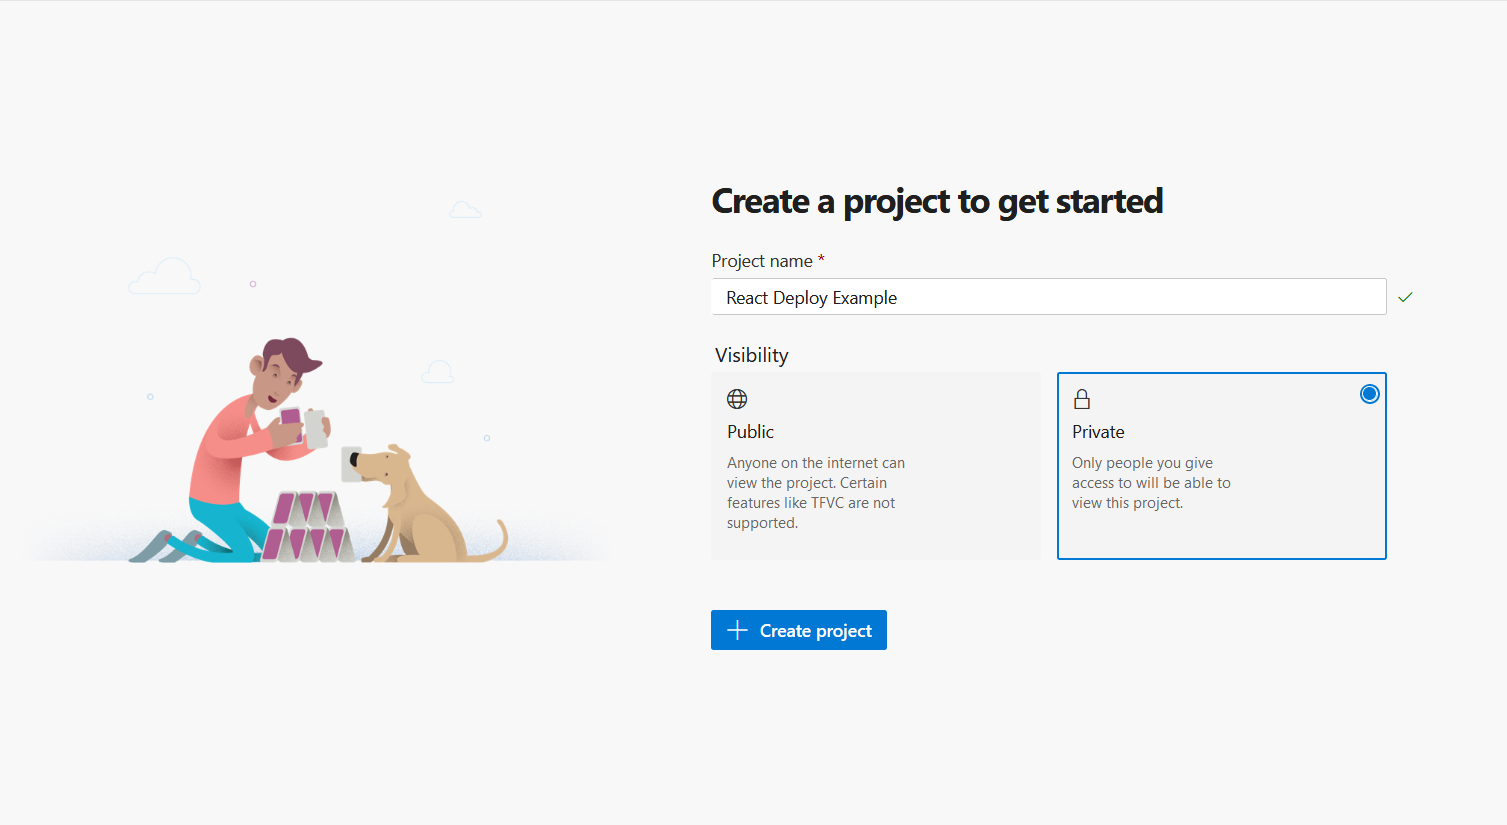
With this, your project will be created.
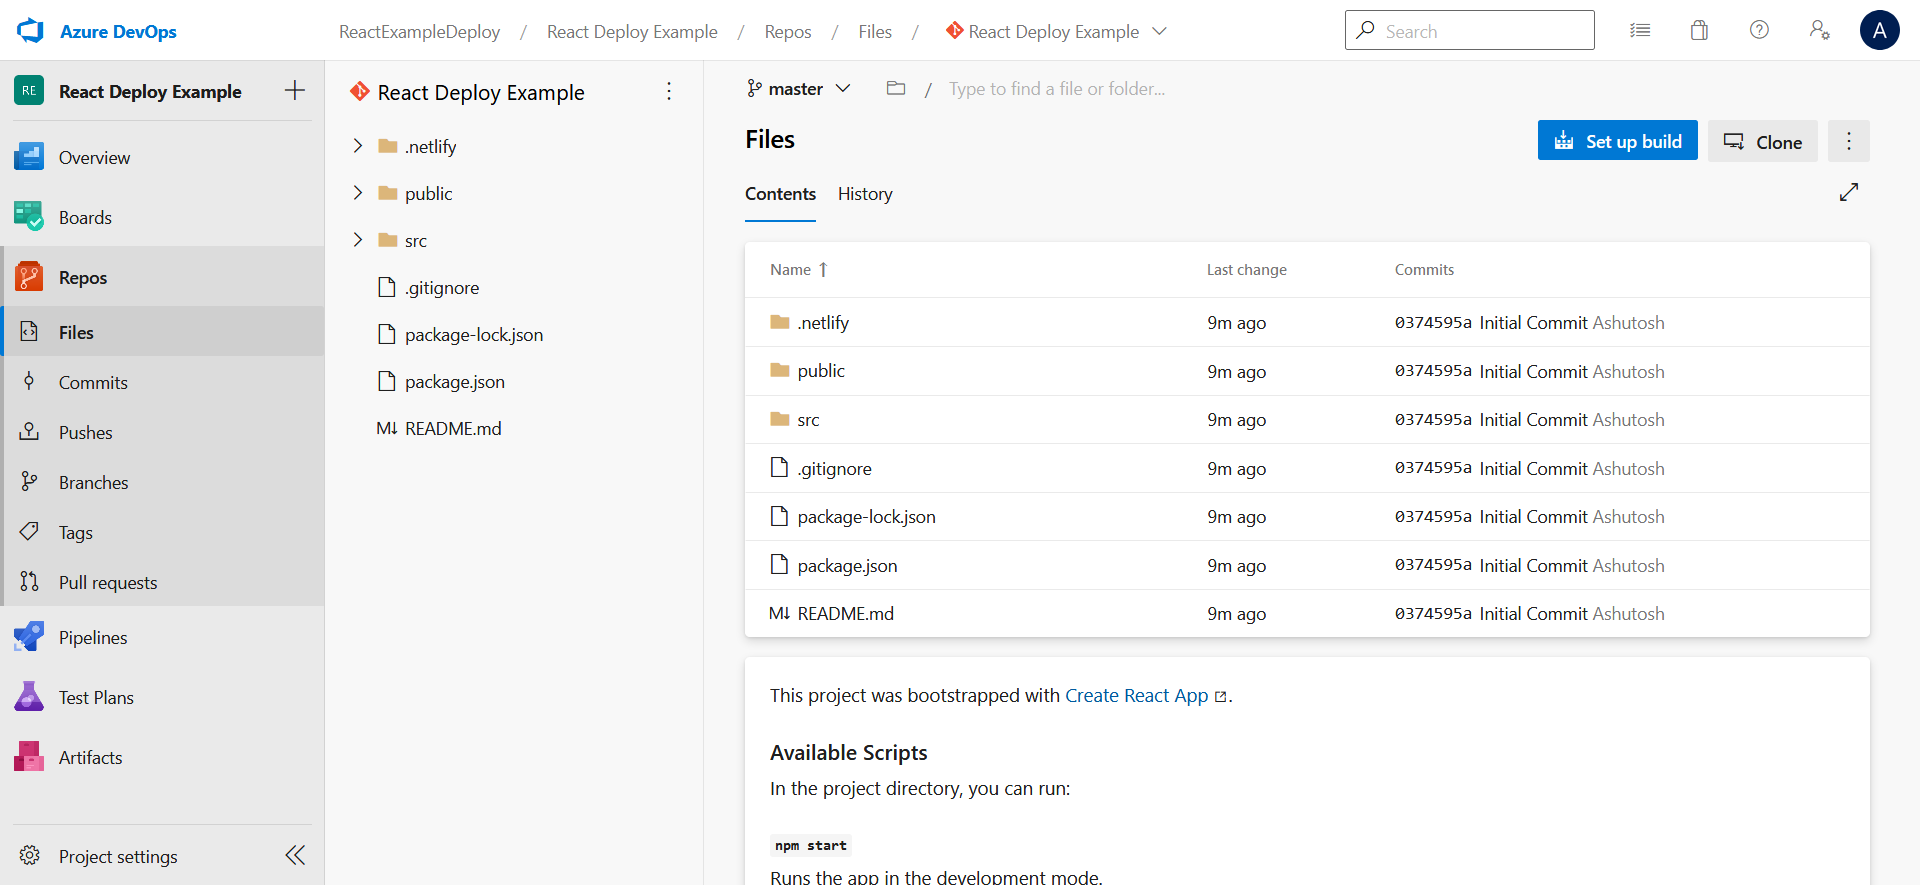
Pushing the React Project
You will now push the React app from your local machine to the project you just created via Command-Line.
Here are the steps you need to follow.
- In your app's root directory, run the following commands.
      git init
git add .
git commit -m "Initial Commit"
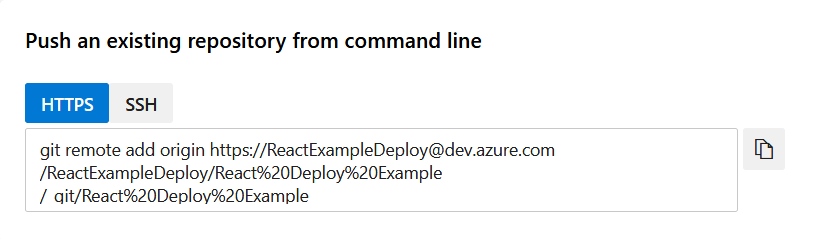
- On your project dashboard, go to Repos. Copy the code under Push an existing repository from command line and run the same in your command line. You may be asked to log in into your Azure account to proceed further.
Now that you have pushed your app to the Azure DevOps project, the next step is to create a pipeline for building artifacts and a release pipeline to deploy the React app.
Creating a Build Artifact Pipeline
According to Azure's documentation, "Using Azure Pipelines you can run builds, perform tests, and deploy code (release) automatically to various development and production environments."
Here are the steps to create a build artifacts pipeline.
- Click the Pipelines tab and then Create Pipeline.
- When asked, "Where is your code?", choose the Use the classic editor option.
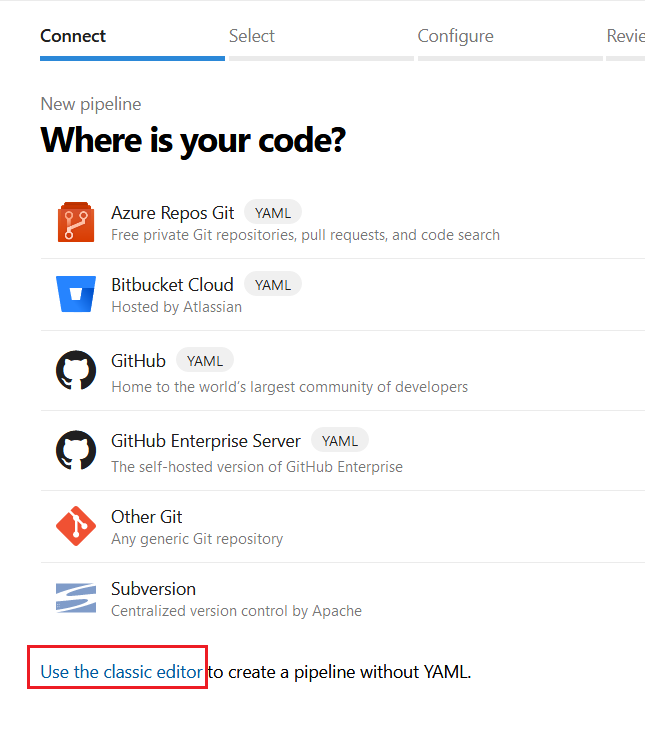
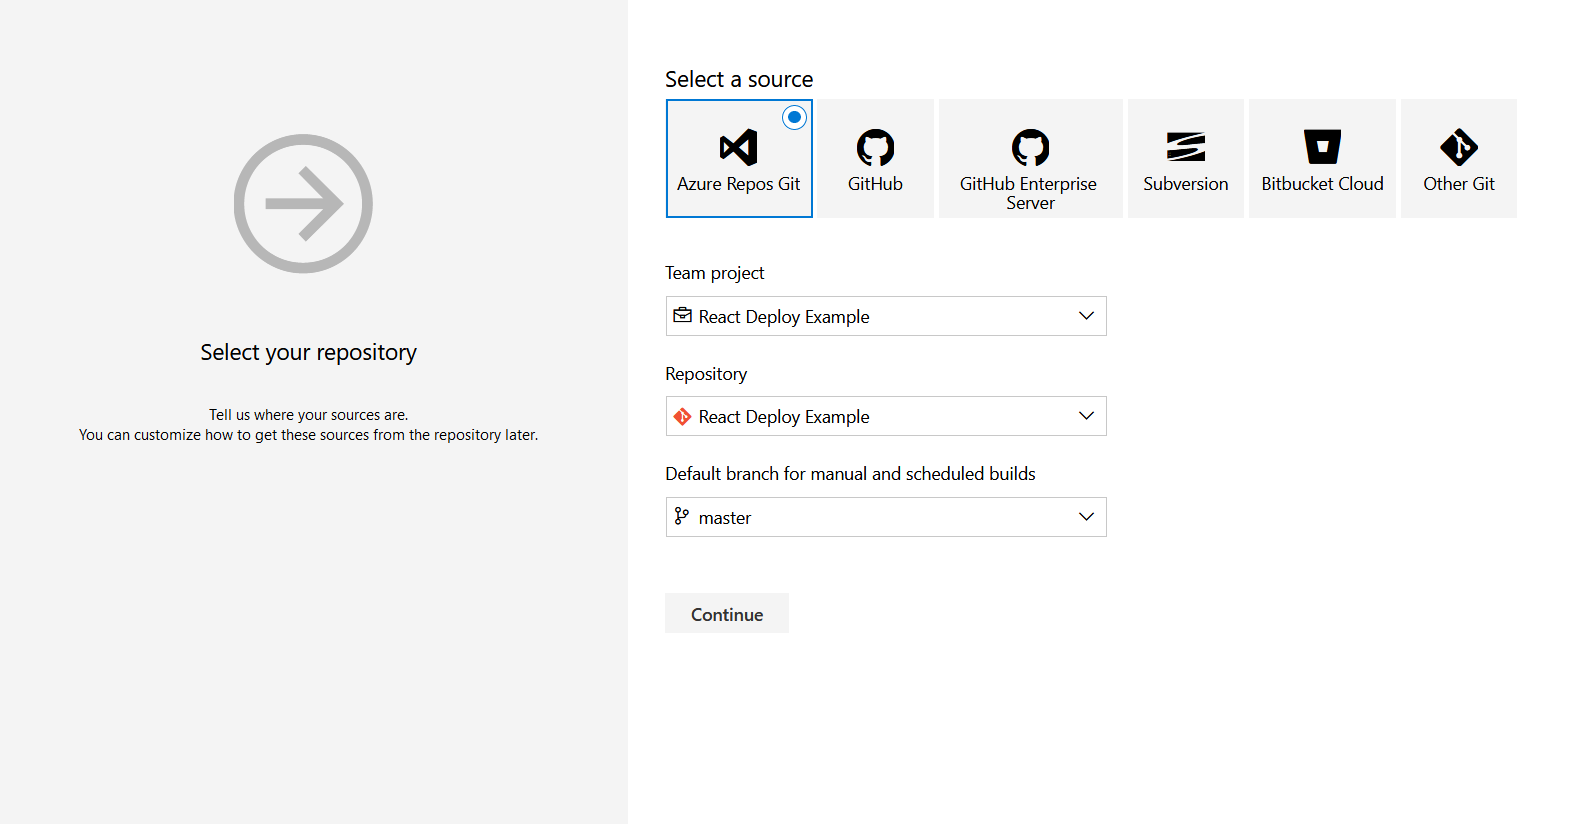
- Choose Azure Repos Git as the source, leave everything else as default, and hit Continue.
- When asked for a template, choose Empty job.
.png)
- Now add tasks to Agent job 1. Click on the + sign.
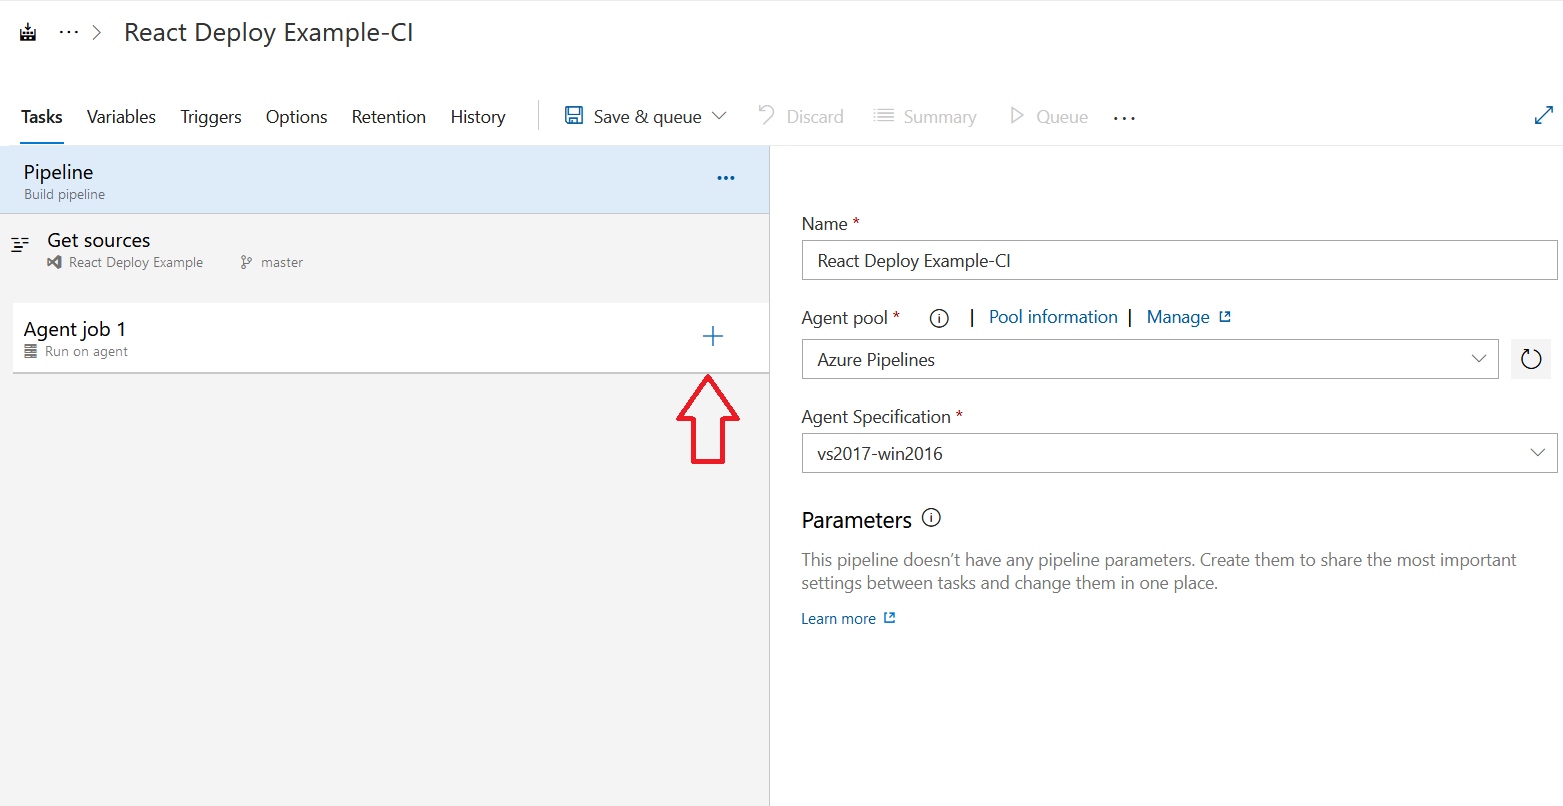
Search for "npm" and add the npm task twice.
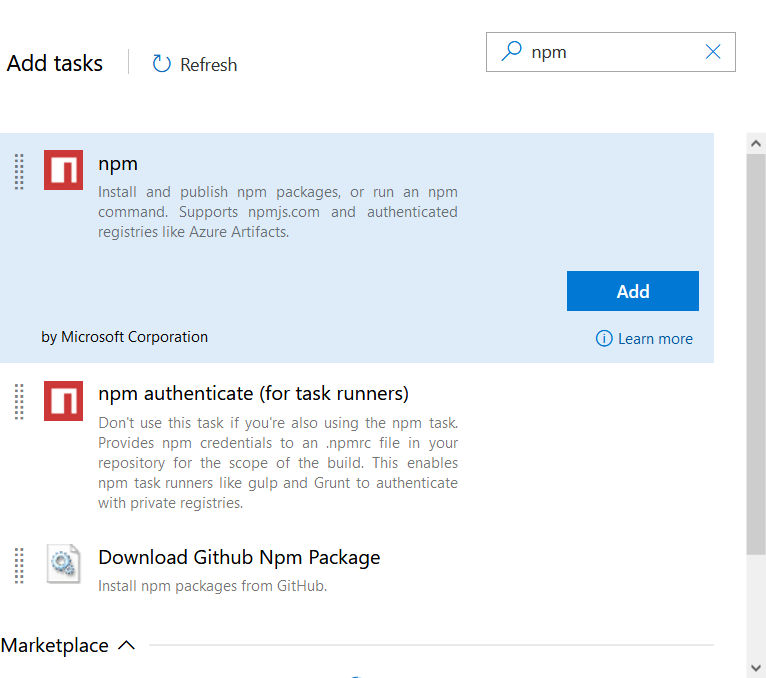
You may ask, why twice? Because this task is for installing the packages, you need another task for building the project; there is no default task present, so you need to create a custom task for this.
Click on the second npm task and configure it as follows.
- Change the Display name to npm run build.
- Change the Command to custom.
- In Command and arguments add run build.
.png)
- Now, search for Publish build artifacts and add it to Agent job 1.
.png)
Click on Publish build artifacts and change Path to publish to build.
.png)
- Head over to the Triggers tab and select Enable continuous integration. You can leave everything else at default.

- Finally, click Save & queue and again hit Save & queue.
.png)
On the Run pipeline modal, leave everything at default and hit Save and run.
.png)
After a few minutes, the pipeline will finish running successfully. You can check under the Pipelines tab to verify it.
Creating Release Pipeline
A release pipeline will deploy the artifacts that were built in the last section. You can read more about it here.
Here are the steps to create a release pipeline:
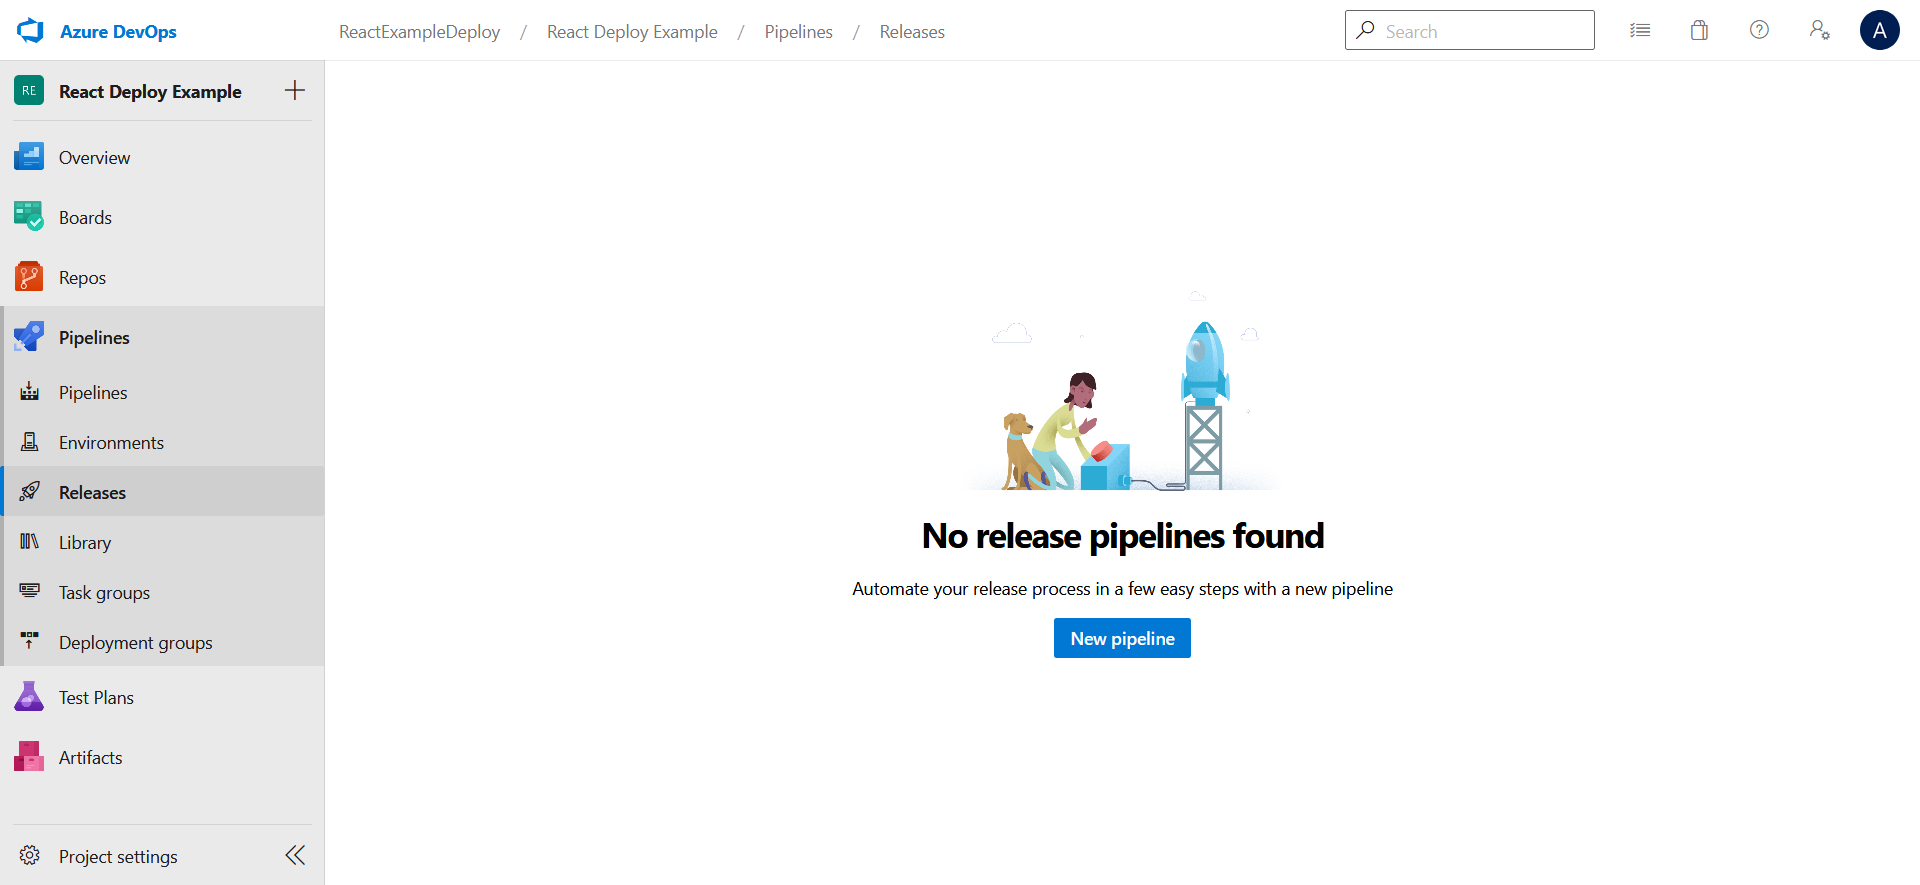
- Go to Pipelines → Releases and click New pipeline.
- Select Azure App Service Deployment and hit Apply.
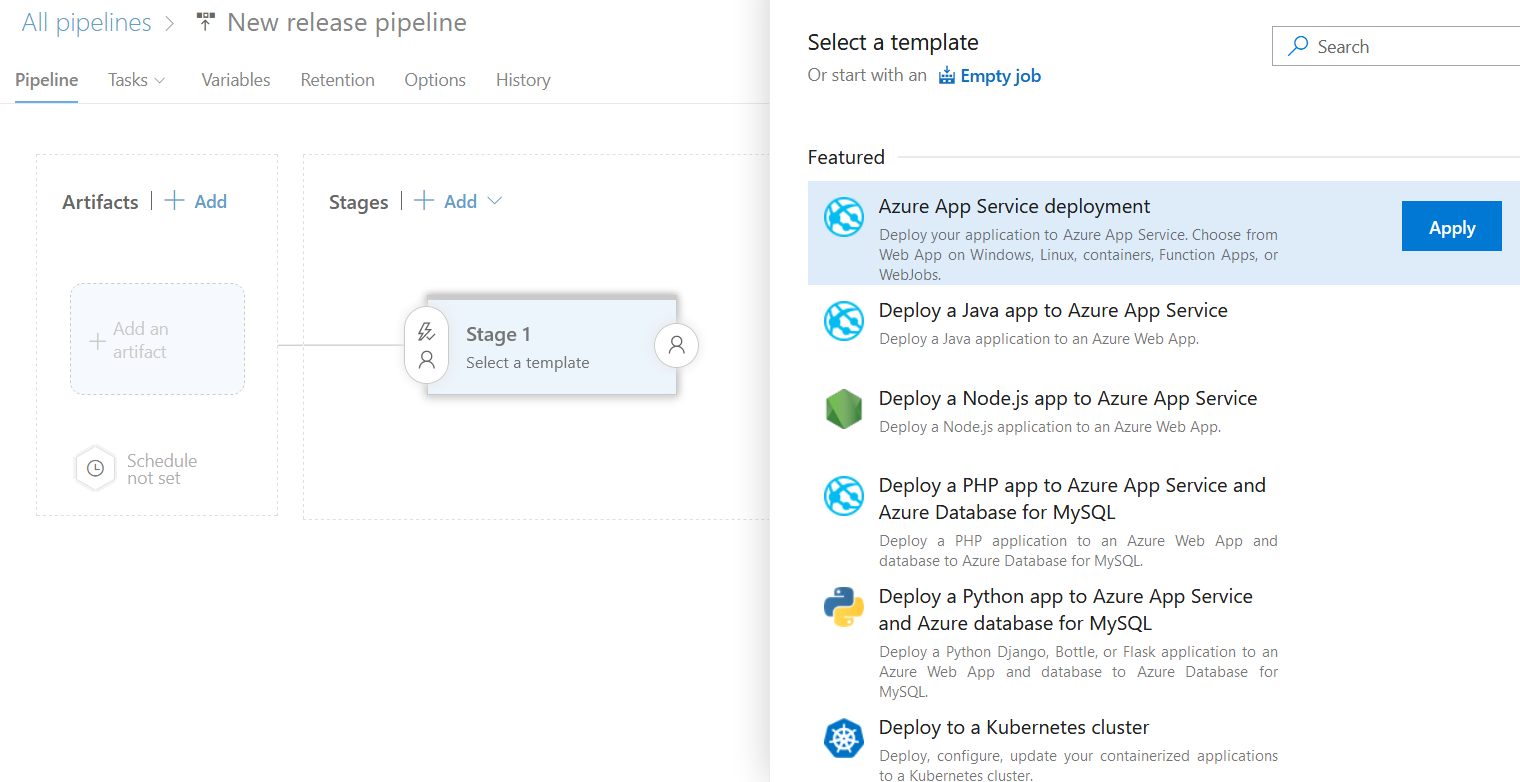
You will be asked to name the Stage. Enter Production and close the modal.
.png)
- Now, click on Add an artifact.
.png)
For Source, choose the pipeline you created in the last section, i.e., React Deploy Example-CI. Leave everything else at default and hit Add.
.png)
- To configure continuous deployment, click on the lightning icon in Artifacts.
.png)
Enable the first disabled option, enter master in Build branch, and close the modal.
.png)
- Under Stages click 1 job, 1 task .
.png)
You will be asked to configure Deploy Azure App Service.
.png)
Choose the Azure subscription based on your subscription. You may need to click Authorize and authorize the subscription.
.png)
For App service name, choose the app service that you created in the first section, i.e., rbtutorial.
.png)
Click on Deploy Azure App Service, and under Package or folder enter:
$(System.DefaultWorkingDirectory)/_React Deploy Example-CI/drop
.png)
- Finally, click Save.
.png)
Leave the modal that appears at default and hit OK.
.png)
Now, click Create release, which will appear to the Save button's right side.
.png)
Another modal will appear. Leave it at default, and hit Create.
.png)
After a few minutes, your app will be deployed at {yourappservicename}.azurewebsites.net, which in this case is https://rbtutorial.azurewebsites.net/.
Since you have configured CI/CD, you can update the app on your local machine and push the commit to the repo, which will trigger a new release, and your React app will be updated.
Conclusion
In this guide, we discussed the step by step process of deploying a React app to Azure streamlined with CI/CD.
As a next step, you should try to explore all the different features that Azure offers.
Here are some additional resources that can be helpful.
Happy coding!
Advance your tech skills today
Access courses on AI, cloud, data, security, and more—all led by industry experts.
