Face Detection Made Easy with Azure Cognitive Services
Azure Cognitive Services' Face service exposes a pre-trained facial detection model via a REST API that you can integrate into any application.
Oct 29, 2020 • 8 Minute Read
Introduction
We always want to put a name with a face. The face is one of the easiest ways for humans to recognize someone they know. That's because there are so many features that make a face unique. Can a computer detect and interpret faces the same way that a human does? The field of computer vision has been working on this. In many cases, the answer is yes! But it's a difficult task to implement. That's why Azure Cognitive Services offers the Face service. It exposes a pre-trained facial detection model via a REST API that you can integrate into any application.
There are actually two face services in Azure Cognitive Services. The Azure Computer Vision Service can detect different objects in images, including faces. However, it only returns limited data about the detected faces, such as age, gender, and the bounding rectangle. The Face Service will do much more. It to predicts age and gender, and it also detects facial features such as the location of the eyes and nose. It also attempts to interpret the emotion of the facial expression and score how happy or sad a person is. And it can recognize the identity of a person by the structure of their face. In this guide, we will discuss the Face Service and not the Computer Vision Service.
Setup
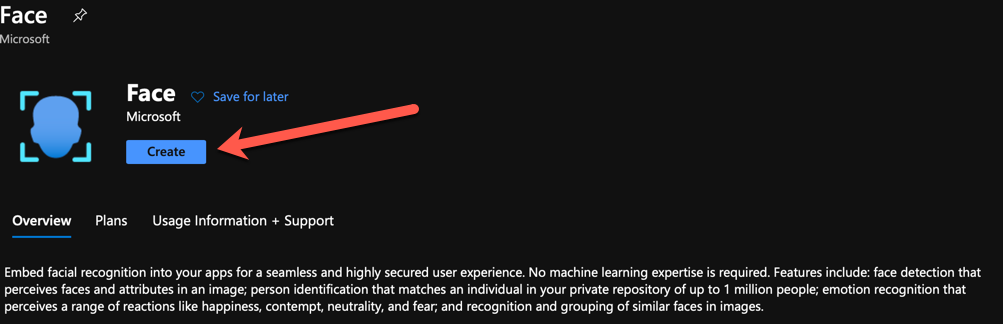

In a few minutes, you'll have a new instance of the Face service. Click on the Go to resource button to see the detail of the instance.

The keys are like passwords, thus they are hidden. These will identify the user of the service to Azure. You'll send one of these keys when calling the endpoint of the service. The endpoint is just a URL. Copy one of the keys and the endpoint as you'll need them soon. In your C# project, add the NuGet package Microsoft.Azure.CognitiveServices.Vision.Face.2.6.0-preview.1, which is the latest release as of this guide. At the top of the Main method, add variables for the key and endpoint.
      var key = "{YOUR_API_KEY}";
var endpoint = "{YOUR_ENDPOINT}";
Using the Face Service
Create a FaceClient from the Microsoft.Azure.CognitiveServices.Vison.Face namespace. The FaceClient accepts an ApiKeyServiceClientCredential that uses the key from the Azure portal to identify your account.
      var faceClient = new FaceClient(
	new ApiKeyServiceClientCredential(key)
);
The endpoint is set with a property on the FaceClient instance.
faceClient.Endpoint = endpoint;
There are a number of methods on the FaceClient to detect faces. You might have a web application that uploads images from the user and sends the image data to the service. A simpler way that will be enough for this demo is to send the Face Service a URL of an image. Here is one from Unsplash: https://source.unsplash.com/pQV8dGHrOLU
This is a picture of a young woman, so let's see if Azure agrees. Pass the URL of the image to the DetectWithUrlAsync method. This method is async so it has to be awaited, and the Main method must also be marked as async.
      static async Task Main(string[] args)
{
  // ...
  var faces = await faceClient.Face.DetectWithUrlAsync(
  	"https://source.unsplash.com/pQV8dGHrOLU"
  );
}
The faces are a List of DetectedFace, each of which has a FaceAttributes property from which we can get the predicted age and gender of the subject of the photo.
      foreach (var face in faces)
{
  Console.WriteLine($"Age: {face.FaceAttributes.Age}, Gender: {face.FaceAttributes.Gender}");
}
There is a problem. If you try to run the application now, it will crash. You must explicitly tell the Face Service the attributes you wish it to return. The attributes you need are stored in a List of FaceAttributeType.
      var returnedAttributes = new List<FaceAttributeType?>
{
  FaceAttributeType.Age, FaceAttributeType.Gender
};
The DetectWithUrlAsync method accepts the FaceAttributes in the returnFaceAttributes parameter.
      var faces = await faceClient.Face.DetectWithUrlAsync(
  "https://source.unsplash.com/pQV8dGHrOLU",
  returnFaceAttributes: returnedAttributes
);
Running the application, Azure returns an age of 24 and a gender of female.
Other Attributes
The Face Services supports many more attributes. For example, add FaceAttributeType.Hair to the returnFaceAttributes list, and the Hair property of the FaceAttributes of the DetectedFace will contain data about the hair, if any, associated with the face, such as the color.
      foreach (var hairColor in face.FaceAttributes.Hair.HairColor)
{
  Console.WriteLine($"Hair color: {hairColor.Color.ToString()}");
}
Why does the hair color contain more than one color? That's because hair color is subjective, and sometimes people color their hair with multiple shades. So each hair color is accompanied by a Confidence score and stored in descending order.
      foreach (var hairColor in face.FaceAttributes.Hair.HairColor)
{
  Console.WriteLine($"Hair color: {hairColor.Color.ToString()}, Confidence: {hairColor.Confidence}");
}
Azure will predict that the young lady's hair is most likely brown followed by red. It is also very confident that her hair is not white, as it has a confidence score of 0.
If the HairColor property has no predictions, it means the subject in the photo does not have any hair.
The service can also detect facial hair and glasses. See the documentation for more about those attributes.
Detecting emotion is also a feature of the Face Service. Add the Emotion FaceAttributeType to the list. The Emotion property of the FaceAttributes has eight properties, each for a different emotion:
- Anger
- Contempt
- Disgust
- Fear
- Happiness
- Neutral
- Sadness
- Surprise
Each of these has a score, not unlike the Confidence score for the hair color.
Console.WriteLine($"{face.FaceAttributes.Emotion.Anger"});
Evaluating each one will show that Azure predicts the subject's emotion is most likely neutral.
Where to Go From Here
There is a difference between facial detection and facial recognition. This guide has demonstrated facial detection, which will look for any face. If you want to look for a specific face, that is when you use face recognition. You'll need to have multiple pictures from different perspectives of any face you want to recognize. You'll use those to train the service to distinguish between that face and others. The Face Service can also detect faces inside of a video stream in real time.
Summary
The Azure Cognitive Services face service lets you integrate facial recognition or detection into any application, no computer vision knowledge required. This makes a lot of sense for devices like smartphones that have a camera built in. It would be simple to take the code explained in this guide and use it in a Xamarin application to select pictures of people who are smiling. Thanks for reading!
Advance your tech skills today
Access courses on AI, cloud, data, security, and more—all led by industry experts.
