Train Custom Machine Learning Models with Google Cloud
Jul 8, 2020 • 9 Minute Read
Introduction
Machine learning is hard. You have to choose an algorithm, set hyperparameters, train a model, test the model, and more. A majority of machine learning needs fit into a set of predefined categories, such as object detection and sentiment analysis. There are a number of services that offer access to large, pre-trained models through a REST API for a small amount of money, and these will be adequate in many situations. But what if you have data from a niche area those models were not trained on?
Google Cloud AutoML
When you need to train a model on data specific to your business, take a look at Google Cloud AutoML. Using Google Cloud AutoML, you provide Google a set of training data, tell Google what kind of problem you need to solve (such as object detection or sentiment analysis), and then click a button to train the model. You don't need to know anything about object detection or sentiment analysis other that the input and output.
Google Cloud AutoML supports a number of often-used machine learning scenarios:
- Natural Language Processing - This involves document classification, entity extraction, and sentiment analysis in bodies of text.
- Computer Vision - This involves object detection and image classification.
- Video Intelligence - This involves classification and object tracking in a video.
- Translation - This involves translating text from one language to another.
When to Use Google Cloud AutoML
Google Cloud AutoML is useful whenever you need to extend the capabilities of a Google Cloud AI service. Google Cloud already offers a REST API for computer vision. You can upload an image and Google will return a prediction of what is in the image, such as a teddy bear or a mountain.
Some cases need more specific results. For example, a mechanic shop might want to automate tire inspections. Instead of having employees go through the lengthy and subjective process of manually inspecting tires for wear and damage, they could take a picture of a tire with a mobile device and let a machine learning model determine what kind of damage there is and the extent of the damage.
If you were to take a picture of a tire and upload it to the Google Cloud Vision API, chances are likely that it would recognize a tire in the image. But would it be able to distinguish between a good tire and a damaged tire? Probably not. And it definitely would not be able make a prediction as to how severely a tire is damaged.
What the mechanic needs is a machine learning model trained on pictures of good tires and damaged tires. By providing Google Cloud AutoML with a set of those pictures, the mechanic would just need to tell Google to train a model for classification. Google Cloud AutoML would try different algorithms, find the one that worked the best, and train a model using it. After the model is trained, it can be automatically deployed.
Sentiment Analysis
Let's take a look at a common machine learning task, sentiment analysis, and how to train a custom model using Google Cloud AutoML.
First, you'll need some data. Google Cloud AutoML can take a long time to train a model, as much as several hours. Therefore, I am going to use as small a dataset as possible for this guide. A popular dataset for sentiment analysis is a set of movie reviews from the Internet Movie Data Base, or IMDB. As the process of acquiring data is outside the scope of this guide, I'll refer the reader to this Github Gist. It will download the files for the dataset and combine them into a training dataset and a test dataset. You can run it locally or in Google Colab and download the files as a CSV.
Next, in the Google Cloud Platform console, scroll down in the sidebar to the left until you get to the Artificial Intelligence section and click Natural Language. The next page is where you select the type of natural language problem to train the model on. Click the Get started link under AutoML Sentiment Analysis.
Click the Datasets link on the left to bring up a list of the datasets imported to the natural language service. After that, click the New Dataset link at the top of the page.
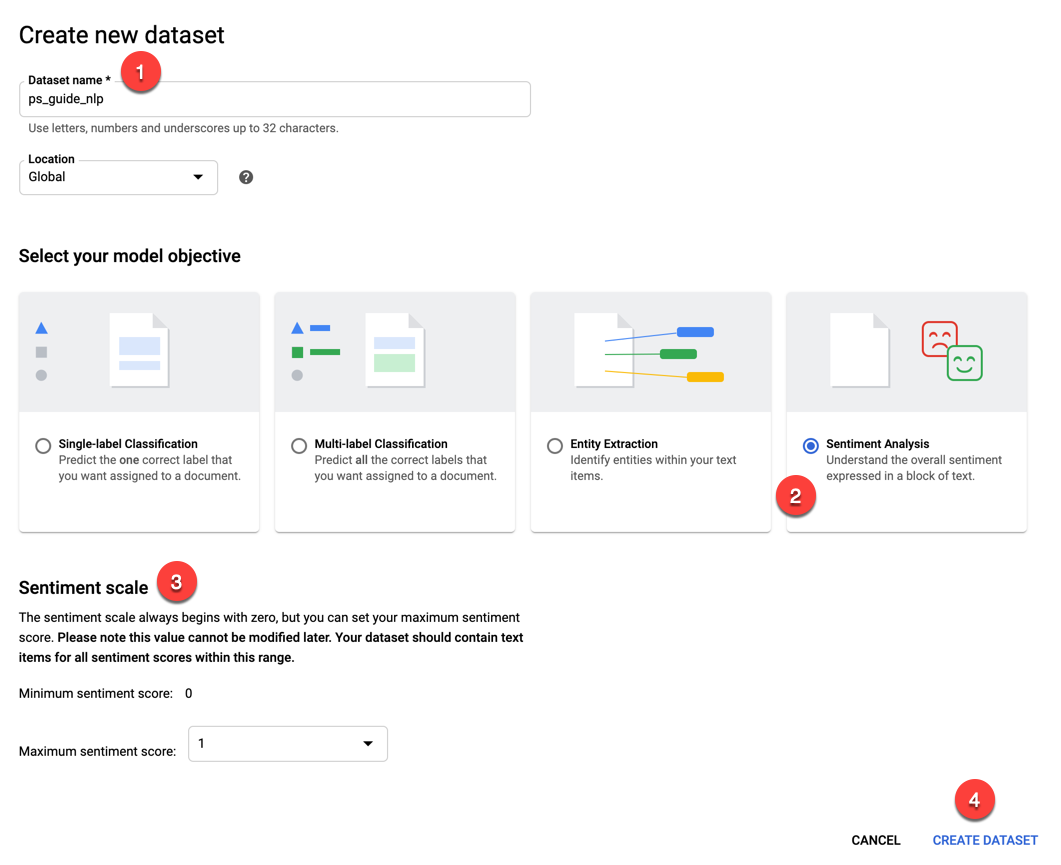
- Give the new dataset a name. I'll use ps-guide-nlp.
- For the model objective, select Sentiment Analysis.
- This will display the Sentiment scale section. It lets you specify the upper bound of the sentiment score. The minimum will always be 0, which is the most negative. As the IMDB dataset uses 1 as the upper bound, leave the default values.
- Click the Create Dataset button.
On the next page, under the Import tab, you will choose how to get the CSV file generated from the Gist into Google Cloud. You could upload a ZIP file or use a file already uploaded to Google Cloud Storage. But in this case, choose the first option to upload a CSV from your local machine (1). Click the Select Files button (2) to navigate to the CSV file, and then click the Browse button (3) to select a destination bucket in Google Cloud Storage. Click the Import button (4) to upload the CSV file and store it in Google Cloud Storage.

The import process can take some time. For me, it took about 15-20 minutes. Expect to see this progress bar for a while.
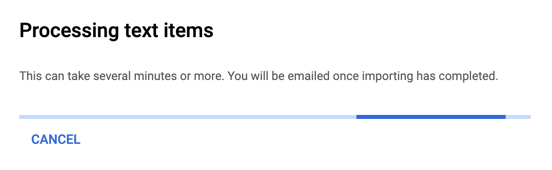
As the message says, you will receive an email after the import.
After the import is complete, you can view the imported items and some statistics under the Items tab.
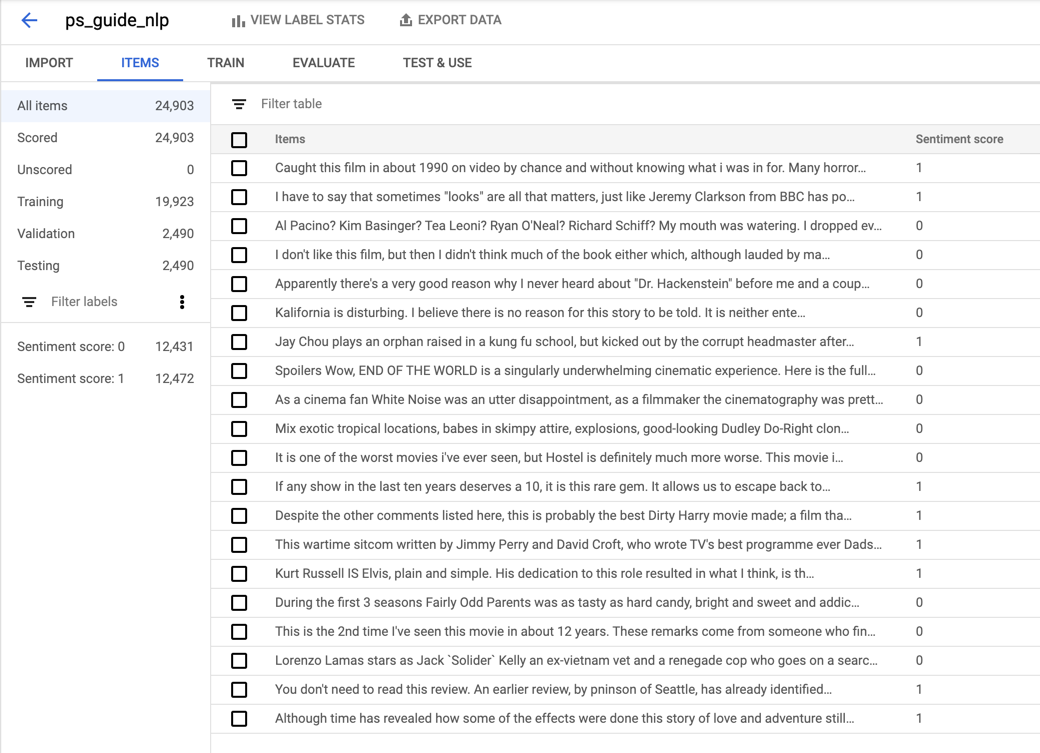
As you can see, each item has a review and a sentiment score. The sentiment score is either 0 or 1, with 0 being negative and 1 being positive. The imported dataset contained just under 25,000 items, and the sentiment scores are equally distributed with roughly half the dataset for each.
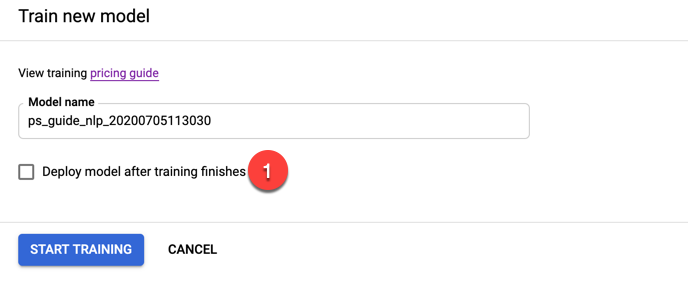
Under the Train tab, click the Start Training button.
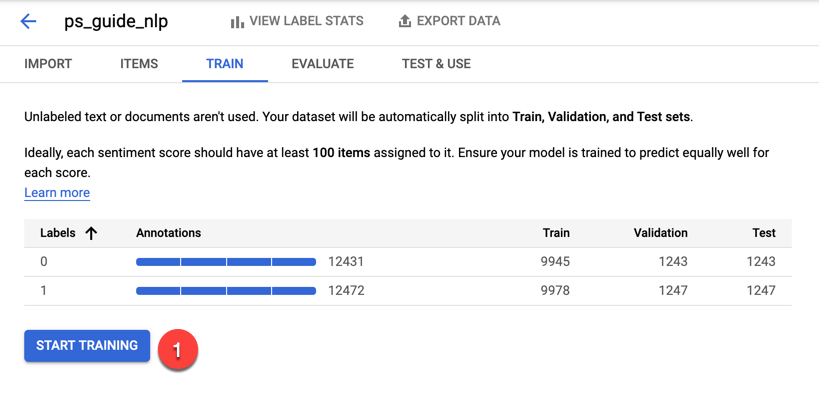
In the panel that opens to the right, uncheck the box to automatically deploy the model, and click the Start Training button.
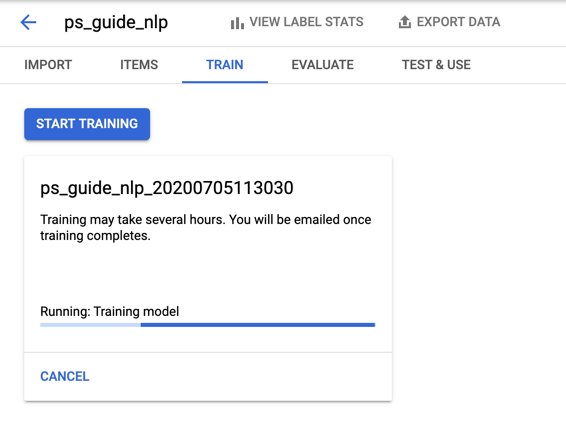
Once training is complete, you can view the results under the Evaluate tab.
Google Cloud AutoML used about 10% of the dataset for testing (1). A detailed discussion of precision and recall is beyond the scope of this guide, but this model scored relatively high on both, thus the model made fewer false positive and false negative predictions (2). The confusion matrix (3) shows the ratio of correct to incorrect predictions. If there are high percentages along the diagonal, the model is doing relatively well.

Under the Test & Use tab, you can deploy your model. Click the Deploy Model link and again ... wait. (This is the last time, I promise.)
When the model is deployed, you can enter text in the textbox and get a prediction of 0 for negative or 1 for positive sentiment. First, try a negative comment.
"I've never watched such garbage!"
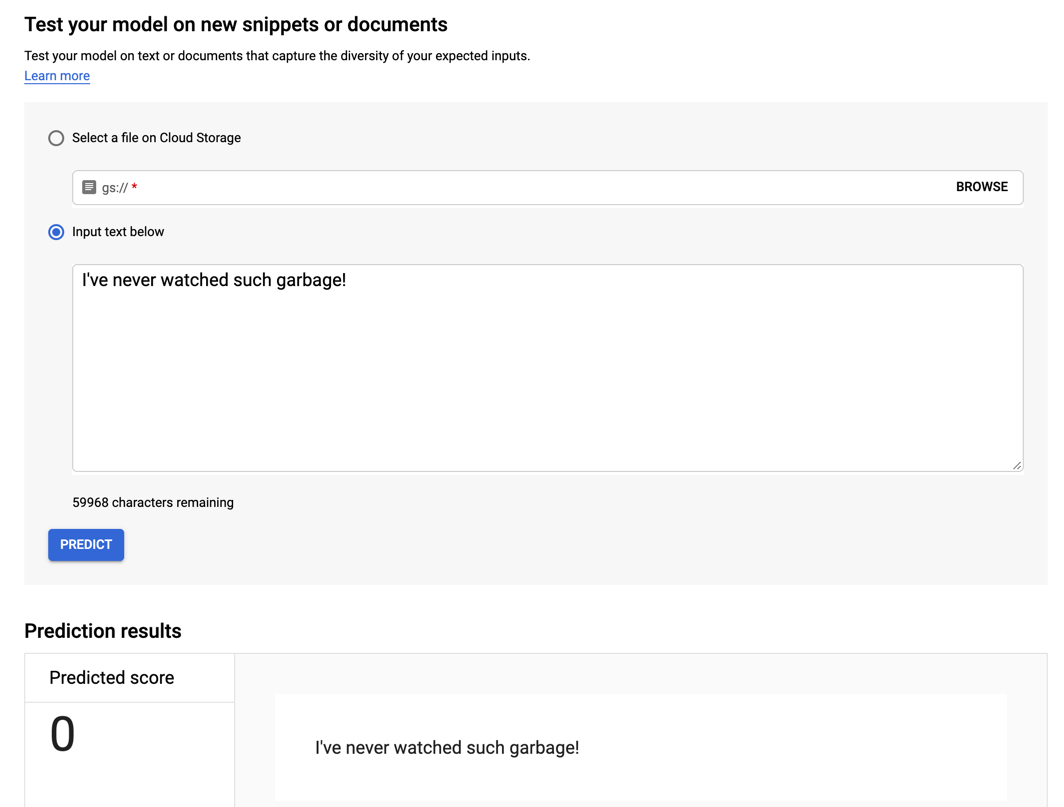
While I've heard worse reviews, this is definitely negative and the model confirms it.
How about a positive review?
"This film made me feel warm and fuzzy!"
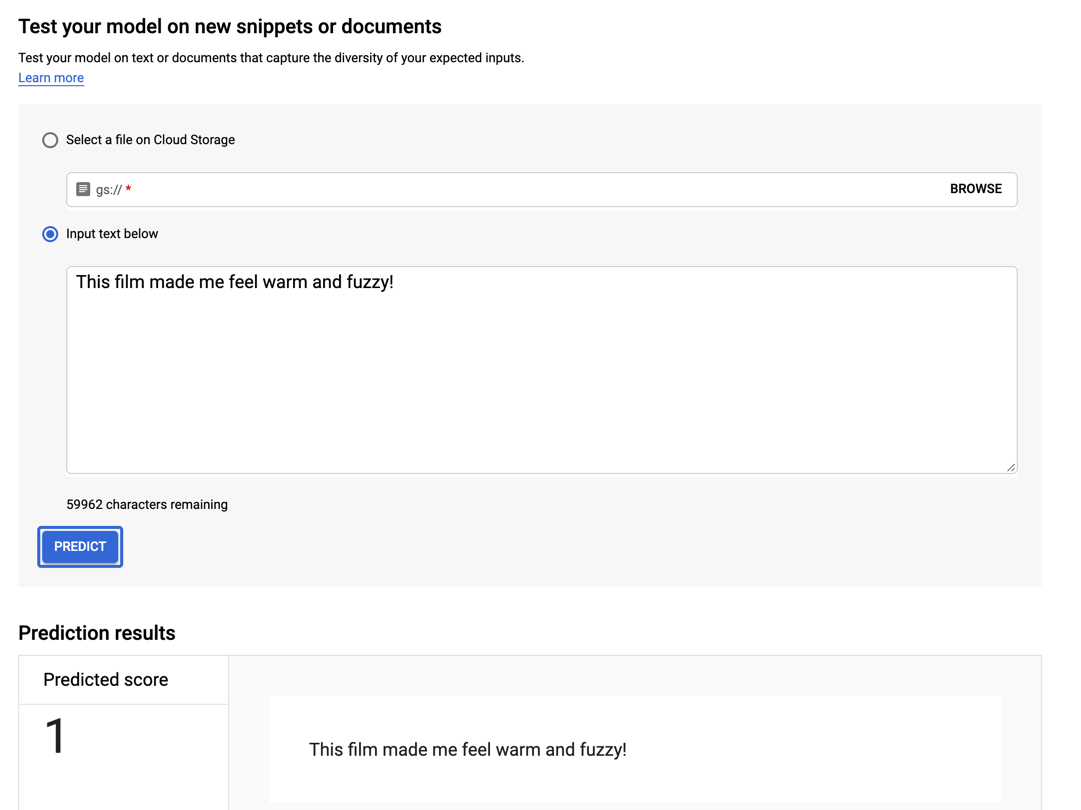
And this statement produces a positive prediction from the model.
Below the prediction results are instructions for getting predictions via a REST API and sample Python code. Also, be sure to remove the deployment when you are done to avoid being charged.
Conclusion
Obviously, the hardest part of using Google Cloud AutoML is waiting. But that is time you don't have to spend yourself trying and training and evaluating. And you don't need to have any prerequisite machine learning background to do it. It's not as inexpensive as services like the Google Cloud Vision API, but it's also more special-purpose. What you gain in flexibility you have to pay extra for. At the same time, it's a nice solution between the generic models that are frozen in time and building your own solution from scratch. Thanks for reading!
Advance your tech skills today
Access courses on AI, cloud, data, security, and more—all led by industry experts.
