Using Jupyter Notebooks with Azure Machine Learning
Aug 27, 2020 • 9 Minute Read
Introduction
If you are a data scientist, or are even interested in data science and machine learning, you should be using Jupyter notebook. It's super easy to install Jupyter notebook locally and begin exploring data science. Sooner or later, you're going to need compute power, or even a GPU. And you might want to collaborate with colleagues. It's easy to get Jupyter notebook installed on a web server as well, but this opens up a lot of security risks. Azure Machine Learning offers a managed environment to host Jupyter notebooks that takes care of these problems and allows you to focus on data science. This guide will discuss hosting, creating and using Jupyter notebooks with Python.
Getting Set Up
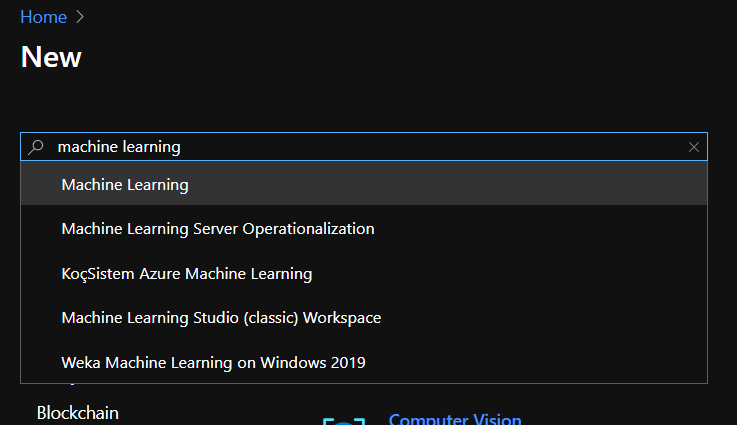
To host a Jupyter notebook in Azure Machine Learning, you'll first need to create a workspace. In the Azure Portal, search for "machine learning" in the Azure Marketplace.
The form to configure a workspace is fairly straightforward. Take note of the Workspace edition dropdown which has two options: Basic and Enterprise.
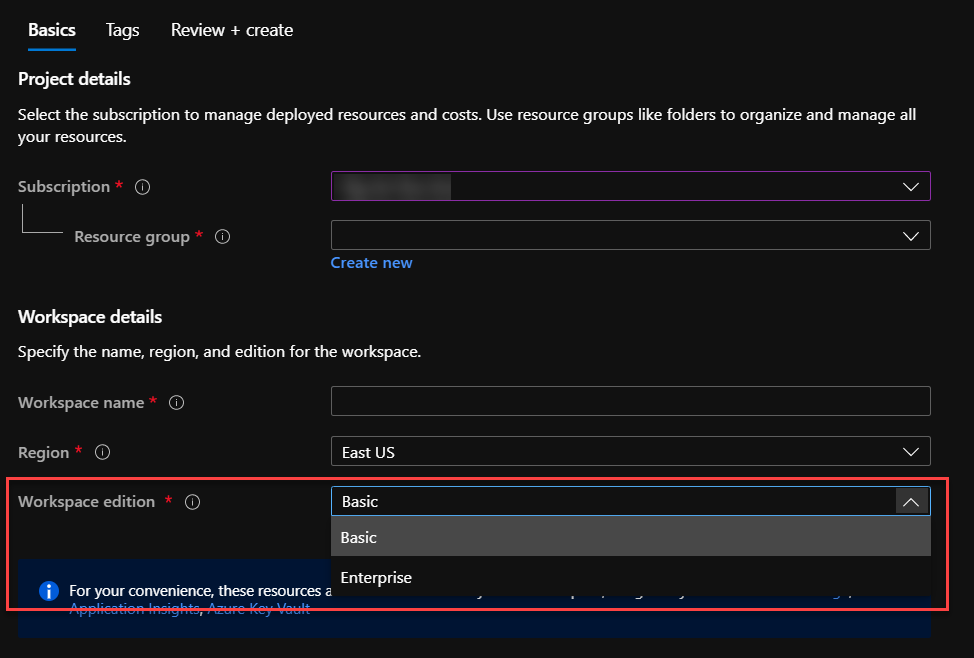
The Enterprise edition adds some features, such as lifecycle management, and also comes with additional costs. For following the example in this guide, the Basic edition will be fine. Also, as of the time of writing, the Enterprise edition is still in preview. Provisioning and deployment of a workspace takes only a few minutes. To actually access the workspace, go to https://ml.azure.com. There you can select a workspace to use.
Creating a Notebook
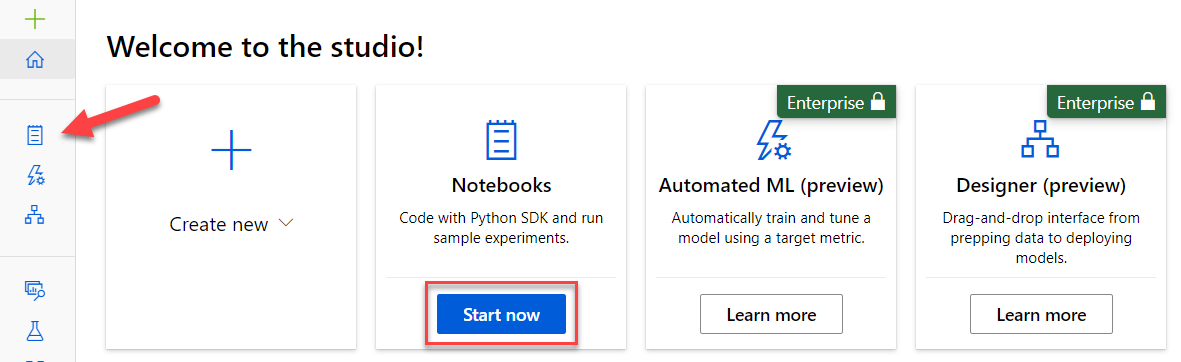
On the Azure Machine Learning home page, click the Start Now button under Notebooks or the Notebooks icon in the sidebar.
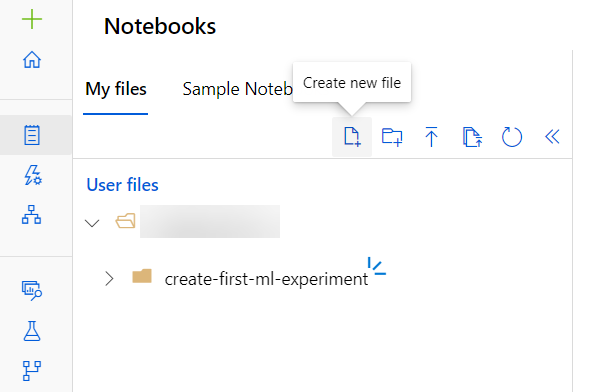
This will open up the File Explorer Pane. On the left are two tabs, My Files and Sample Notebooks. In the Sample Notebooks tab, there are a number of pre-made notebooks that you can clone and experiment with.
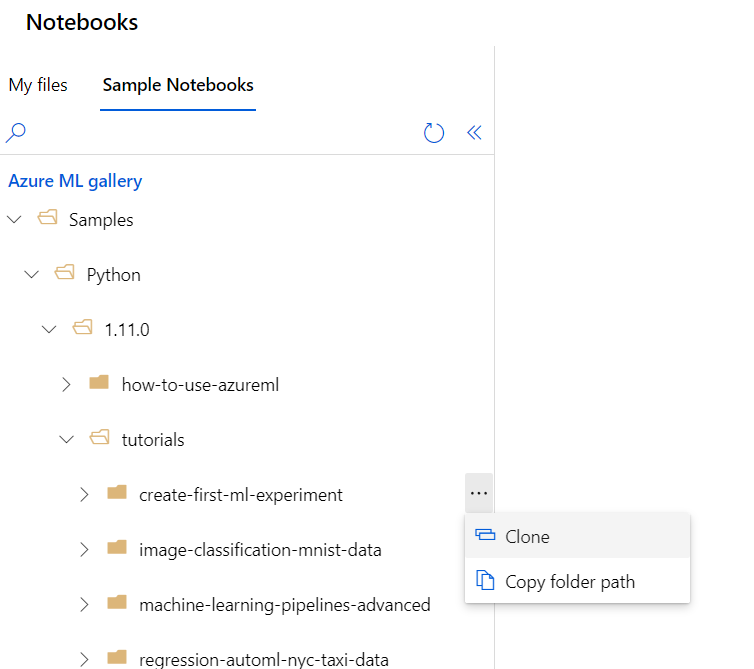
The cloned path will show up in the My Files tab, where you can also manage your notebooks including creating a new one.
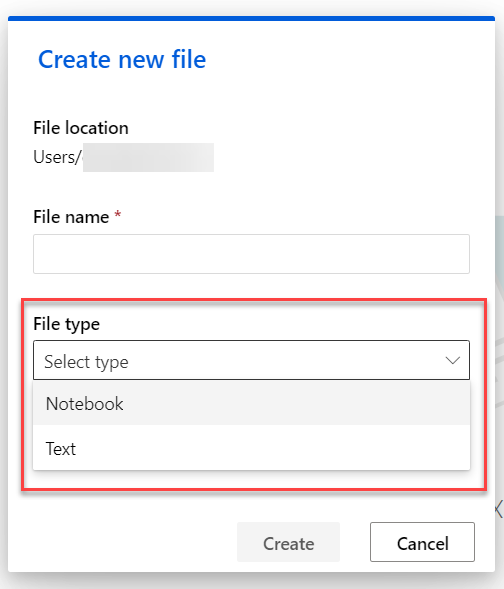
This will open a dialog for you to enter a file name and select the type of file, which can be Notebook or Text.
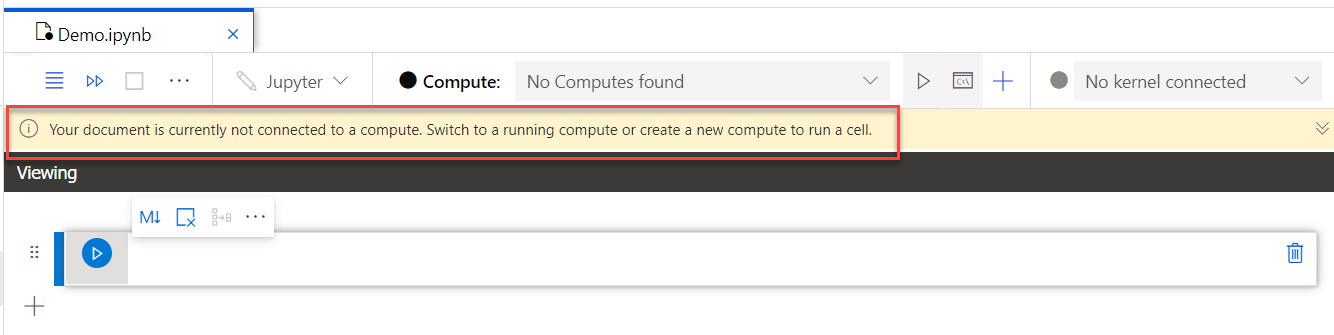
The notebook will be created and opened in a new File Explorer tab. Notice that an alert is shown saying that the notebook is not connected to a compute instance.
Compute resources are not automatically provisioned for new notebooks. Azure Machine Learning has a management system that lets you take control of how compute resources are provisioned and used. Here's how it works.
Managing Compute Resources
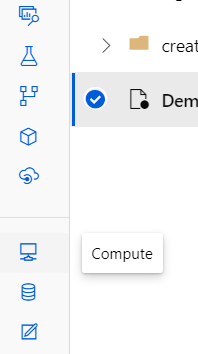
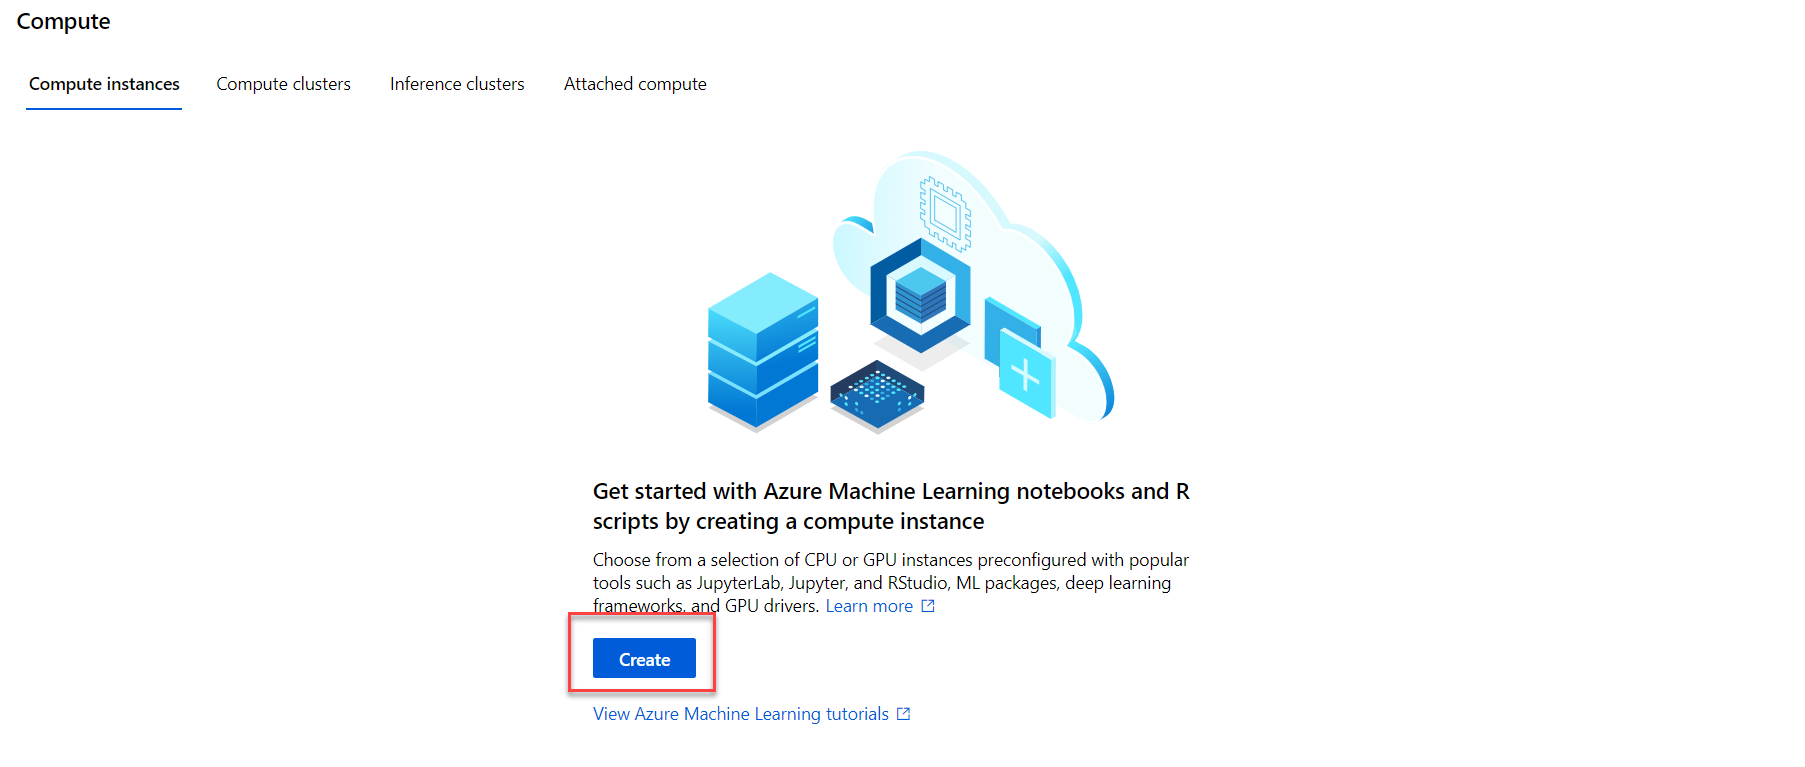
Before running a Jupyter notebook on Azure Machine Learning, you must create a compute resource. These are paid resources (unless you are on a free trial) and the pricing can be found here. To create a compute resource, click on the Compute icon in the sidebar.
There are different types of compute resources. For Jupyter notebook, you only need a compute instance. To provision a new compute instance, press the blue Create button.
This will bring up a panel to configure a compute instance. Note that the compute instance must be in the same region as the Azure Machine Learning workspace. If you have a project such as a deep learning workflow that requires a GPU, change the Virtual machine type dropdown to GPU. This example will only require a CPU. Then you can select a Virtual machine size.
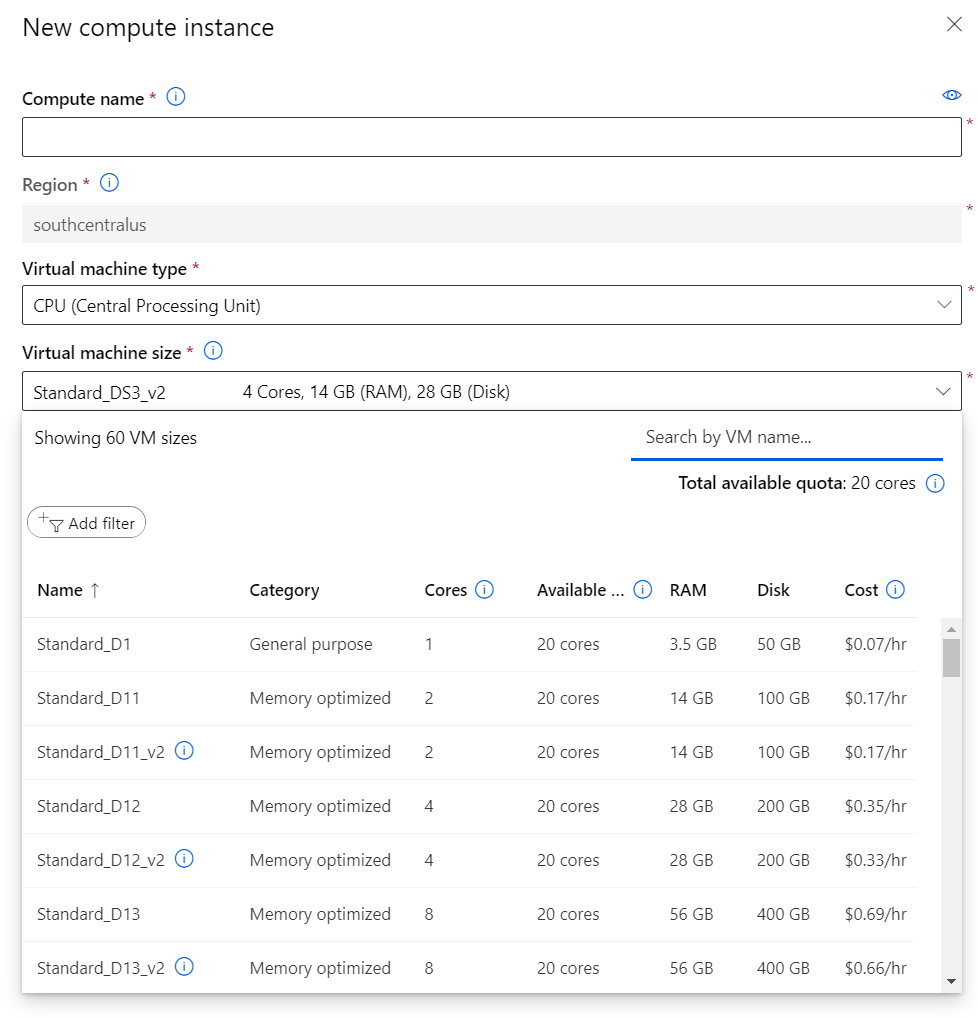
After selecting a size (this example uses the default selection of Standard_DS3_v2), click Create at the bottom to provision the compute instance. The Compute instances tab will be updated to show the progress.
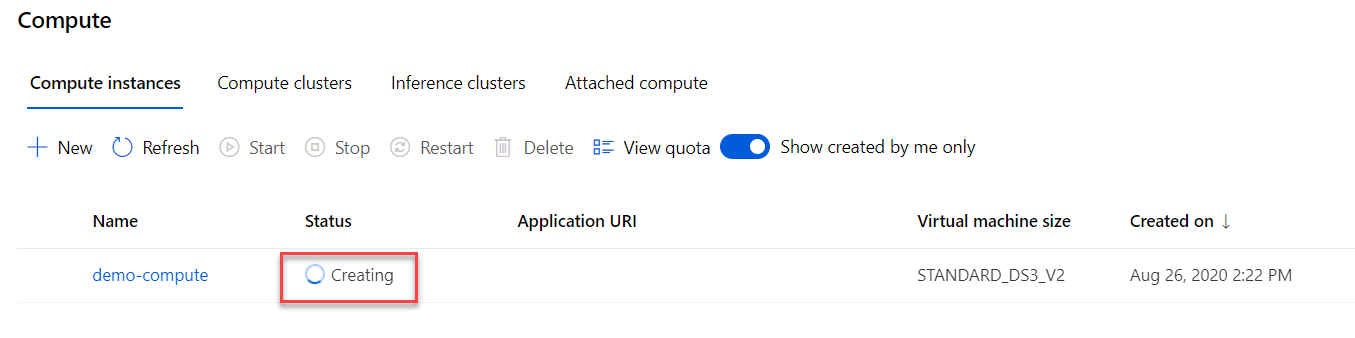
Creating a new compute resource can take several minutes. After the status changes to Running, you can use the links under Application URI to open new environments in JupyterLab, Jupyter, or RStudio.
Using Jupyter Notebooks with Compute
Back in the Jupyter notebook created previously, notice that the Compute dropdown has automatically populated with the running compute instance created in the last section. If there were multiple compute instances available, the dropdown would show a list of them.
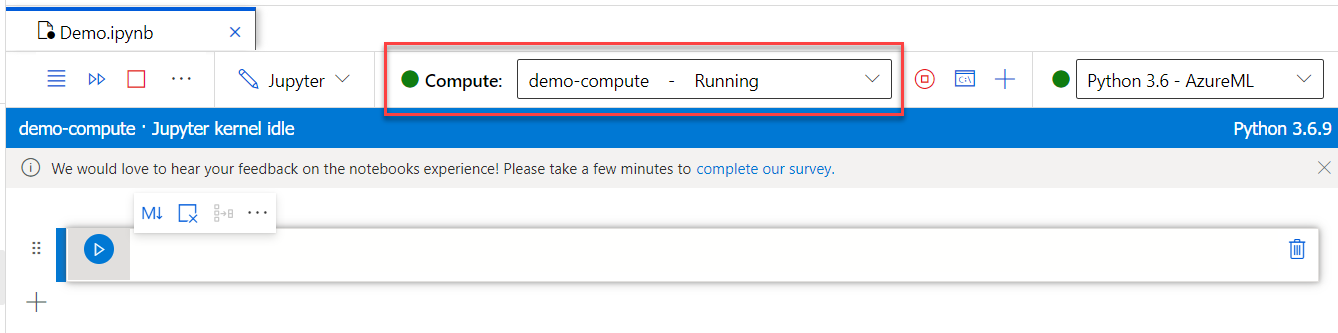
Also notice the dropdown on the right. This is the kernel used by the notebook. If you open it the choices are Python and R. Again, this demo will use Python.
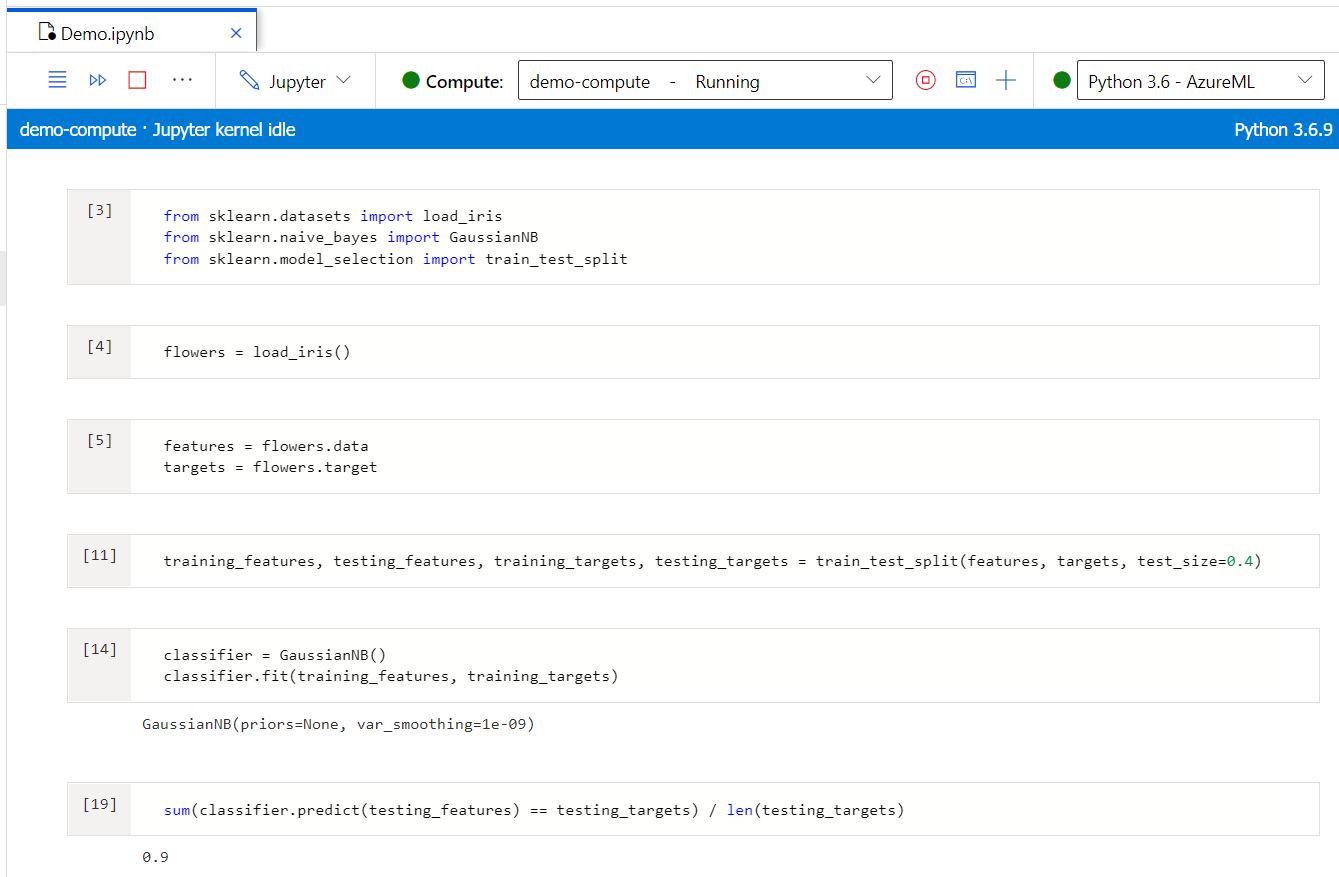
Now you can start to use the notebook like any other Jupyter notebook server. Type code in the cells and press Shift-Enter to execute the cell.
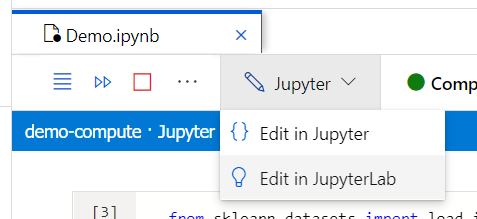
Even though the interface looks different, it's still a Jupyter notebook and many of the same keyboard shortcuts work. In addition, you can open the notebook up in JupyterLab by clicking Edit in JupyterLab from the dropdown next to Compute.
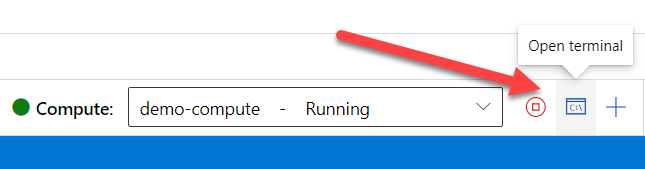
Finally, you can open a terminal in a new tab by clicking the Open Terminal button in the notebook toolbar.
During the course of working in a notebook, you may generate data files. In this example, the iris data set has been saved to JSON with this code:
      import json

with open('data.json', 'w') as data:
    data.write(json.dumps(list(zip(features.tolist(), targets.tolist()))))
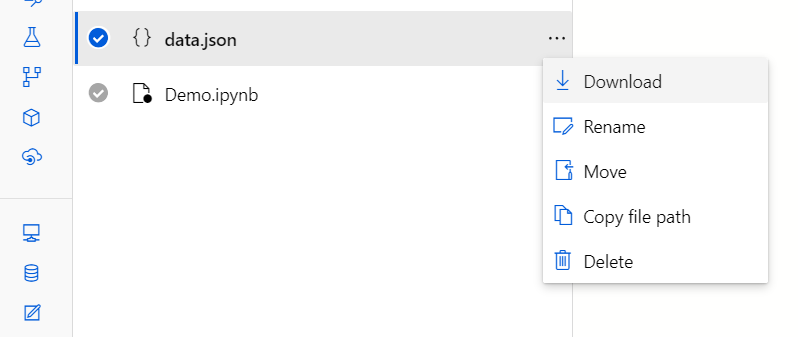
The resulting data.json file will appear in the My Files tab. To download the file (or any other file such as notebooks, generated images) hover over the the filename and click the three dots that appear to the right. Select Download from the menu.
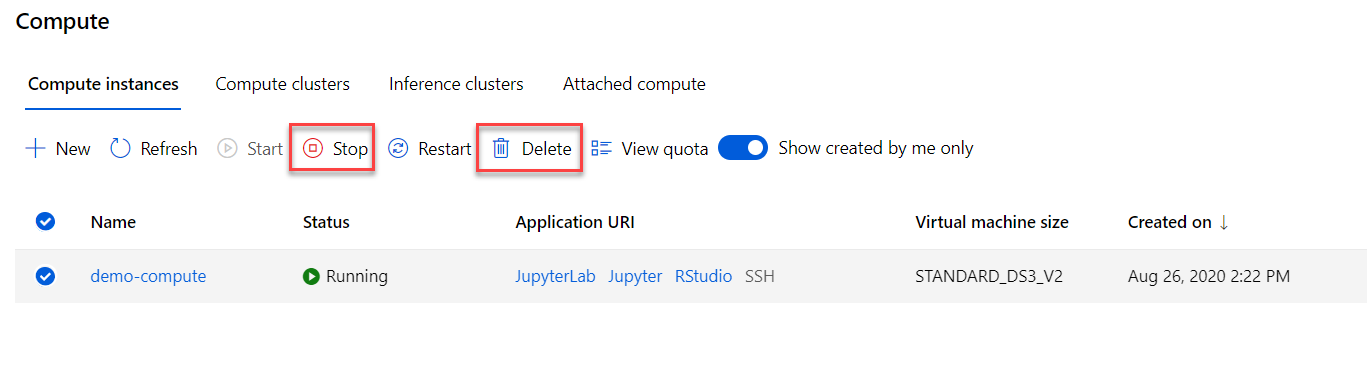
To reduce costs, you should stop compute instances or delete them when they are not being used. Back in the Compute page, select the compute instance you want to manage. Then click the Stop or Delete buttons.
Alternatively, you can delete the entire workspace in the Azure Portal. This will also prevent you from being billed for unused resources.
Conclusion
If you need a hosting solution for Jupyter notebooks, consider Azure Machine Learning. Not only does Azure assume the responsibility for security, but you can run your notebooks on a wide range of hardware, including GPUs. And you can save costs by stopping instances you aren't using. You can create notebooks for either the Python or R languages and can even use advanced tools like JupyterLab. You also don't sacrifice flexibility—the same keyboard shortcuts for Jupyter notebook still work on Azure. You can even upload existing notebooks to Azure. And you still have access to data files that might be generated in a notebook. To learn more about Jupyter notebook and get tips that can be used with notebooks on Azure, check out my Pluralsight course Getting Started with Jupyter Notebook and Python. Thanks for reading!
Advance your tech skills today
Access courses on AI, cloud, data, security, and more—all led by industry experts.
