Build Your First Deep Learning Solution with AWS Sagemaker
May 28, 2020 • 13 Minute Read
Introduction
As of February 2020, Canalys reports that Amazon Web Services (AWS) is the definite cloud computing market leader, with a share of 32.4%, followed by Azure at 17.6%, Google Cloud at 6%, Alibaba Cloud close behind at 5.4%, and other clouds with 38.5%. This guide is here to help you get onboarded with Deep Learning on Amazon Sagemaker at lightning speed and will be especially useful to you if:
a) you have been entrusted to determine which cloud provider is best suited to solve your organization's needs, b) you need to ramp up quickly on AWS SageMaker to follow a talk on the subject, or c) you are looking to quickly get initiated into an existing AWS infrastructure.

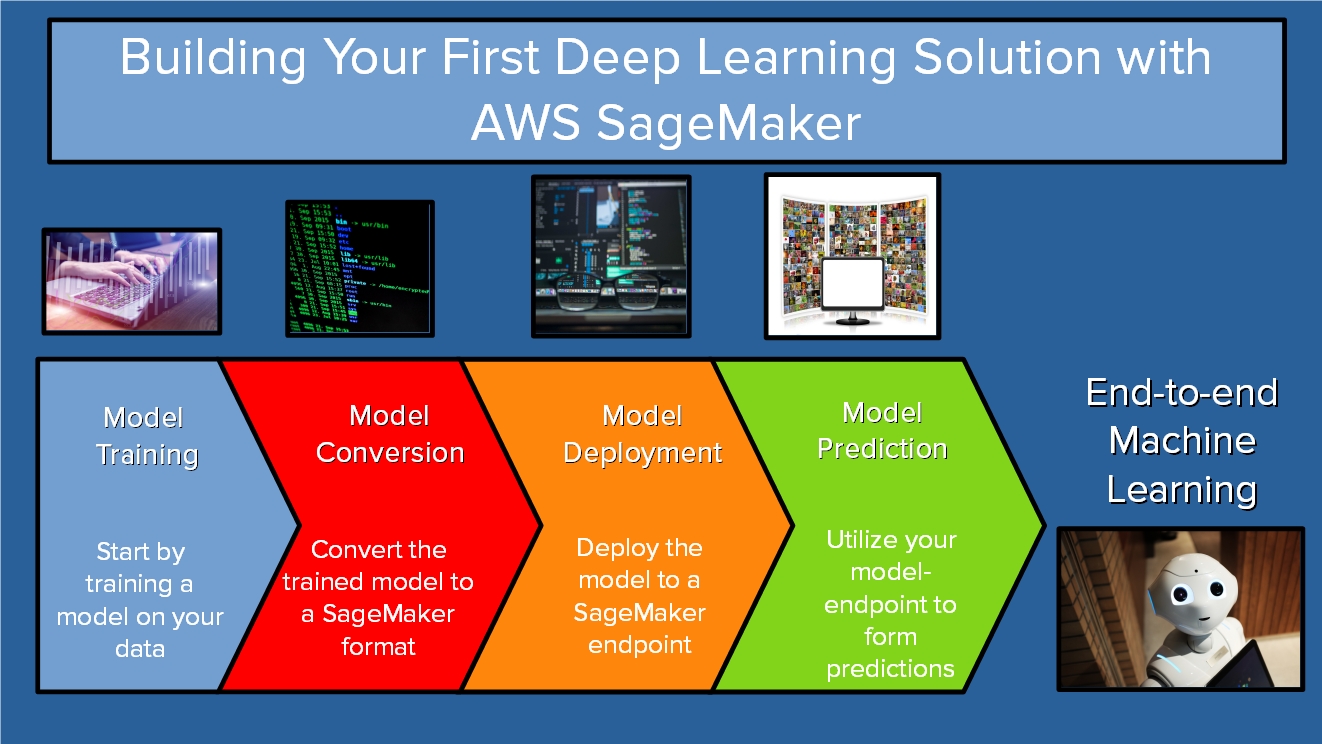
This guide will cover the most important pieces you need to build a Deep Learning Solution with SageMaker. In particular, we are going to cover training a model, converting and deploying the model, and using it for predictions.
The sections in this guide are self-contained and will allow you to utilize your skills on pre-existing solutions.
About Amazon SageMaker
As organizations grow and scale up, they find themselves facing the important decision of which cloud provider to migrate their machine learning (ML) ecosystem into. Naturally, one of the top candidates is AWS. Amazon SageMaker is one of the services available on AWS, and it is a cloud ML platform that enables developers to create, train, and deploy ML models in the cloud. You can think of SageMaker as having a carefully architected balance between the flexibility of a low-level service offered by spinning up EC21 Virtual Machines (VMs) in an ad-hoc manner and the convenience of high-level AWS services like Rekonition and Comprehend2. Some of SageMaker’s advantages include:
-
Providing pre-trained ML models for deployment
-
Providing a number of built-in ML algorithms that you can train on your own data
-
Providing managed instances of TensorFlow and Apache MXNet which you can leverage for creating your own ML algorithms
How To Train Your Own TensorFlow Model on SageMaker
This section will walk you through training a traditional Keras Convolutional Neural Network (CNN) on Amazon SageMaker. The training of the model in this section can be optionally performed outside of AWS, but serves to illustrate how you can perform the training on SageMaker.
Start by going back to the AWS Management Console and type in Amazon SageMaker. Click the link for SageMaker:

You will be brought to the SageMaker dashboard:
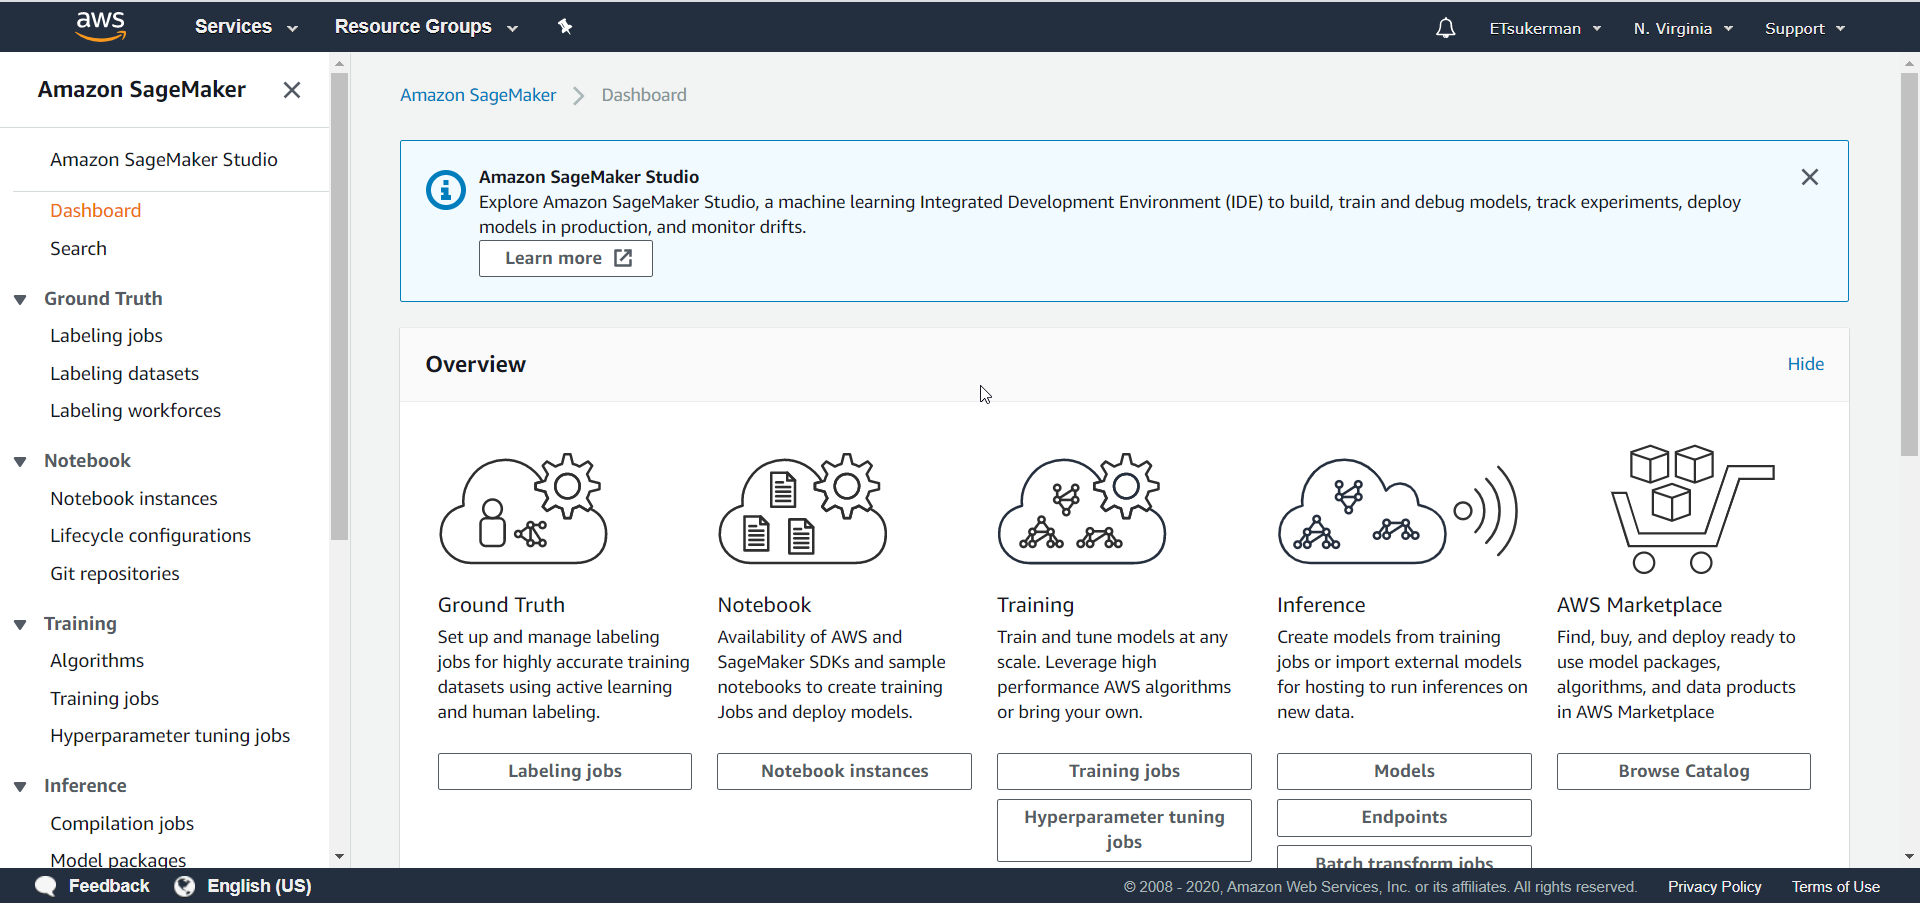
You can see there are a lot of tasks SageMaker can help you manage, such as labeling jobs and purchasing models. Our goal is to train a model from scratch, so click on Notebook instances.
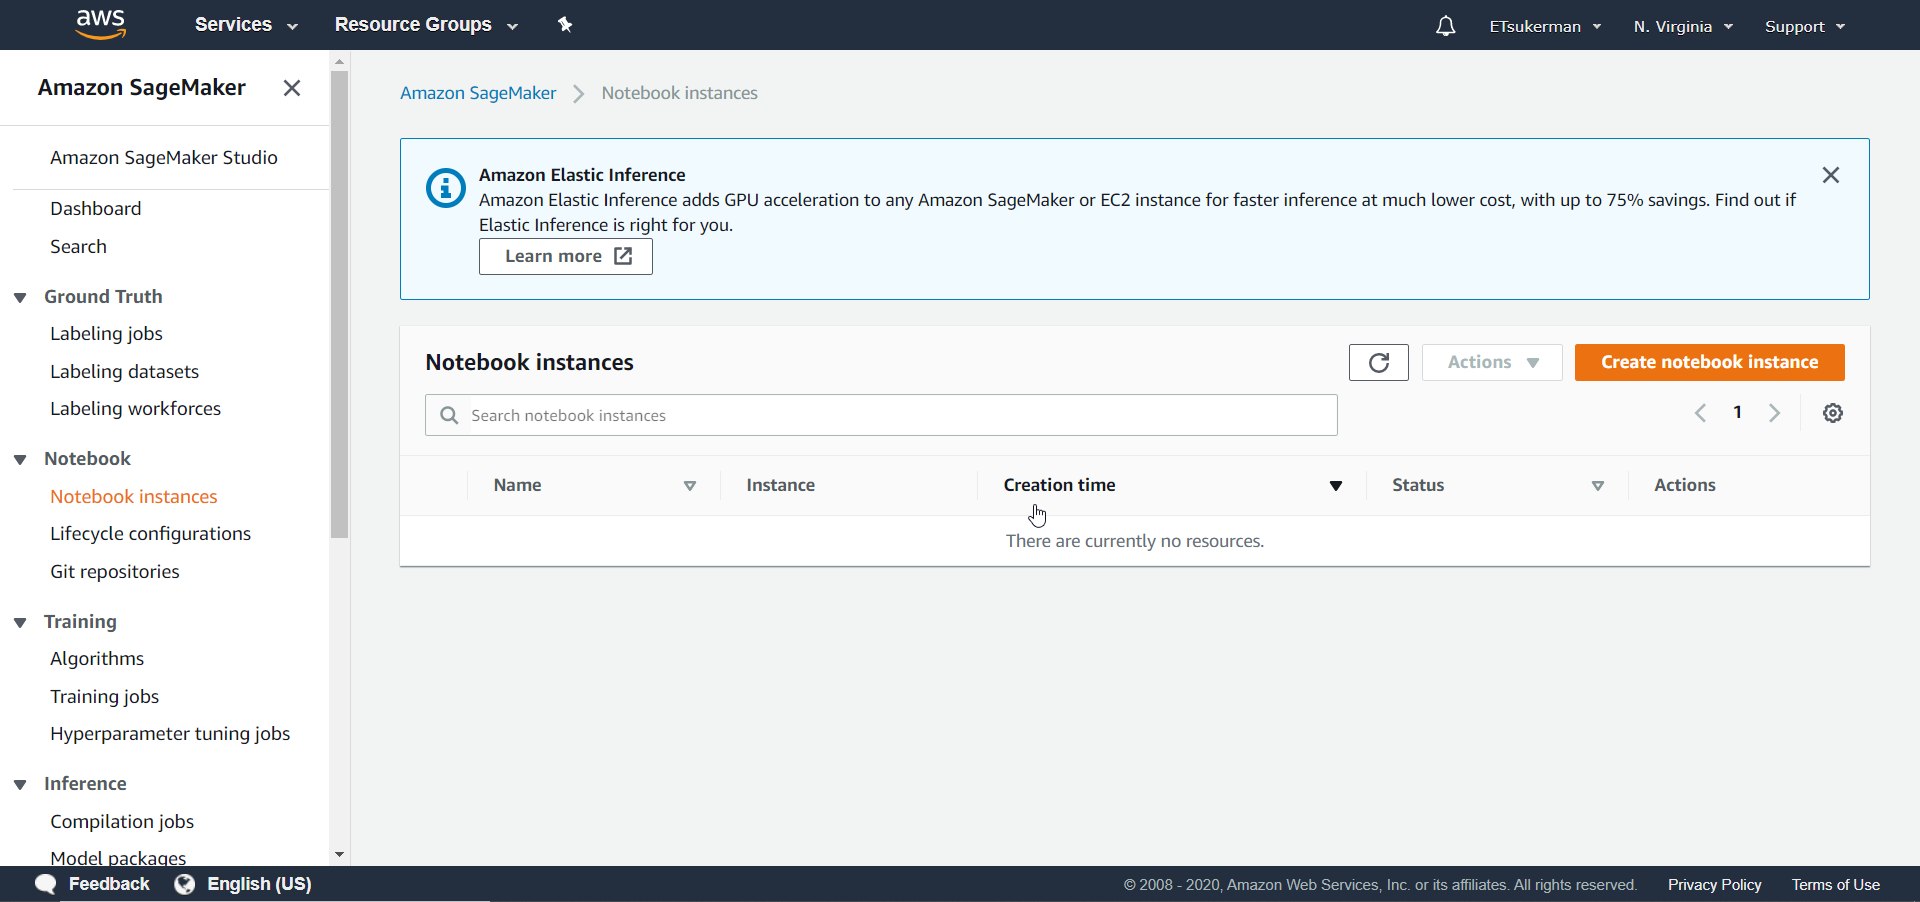
You can see all of your SageMaker notebooks here. Now click Create notebook instance.
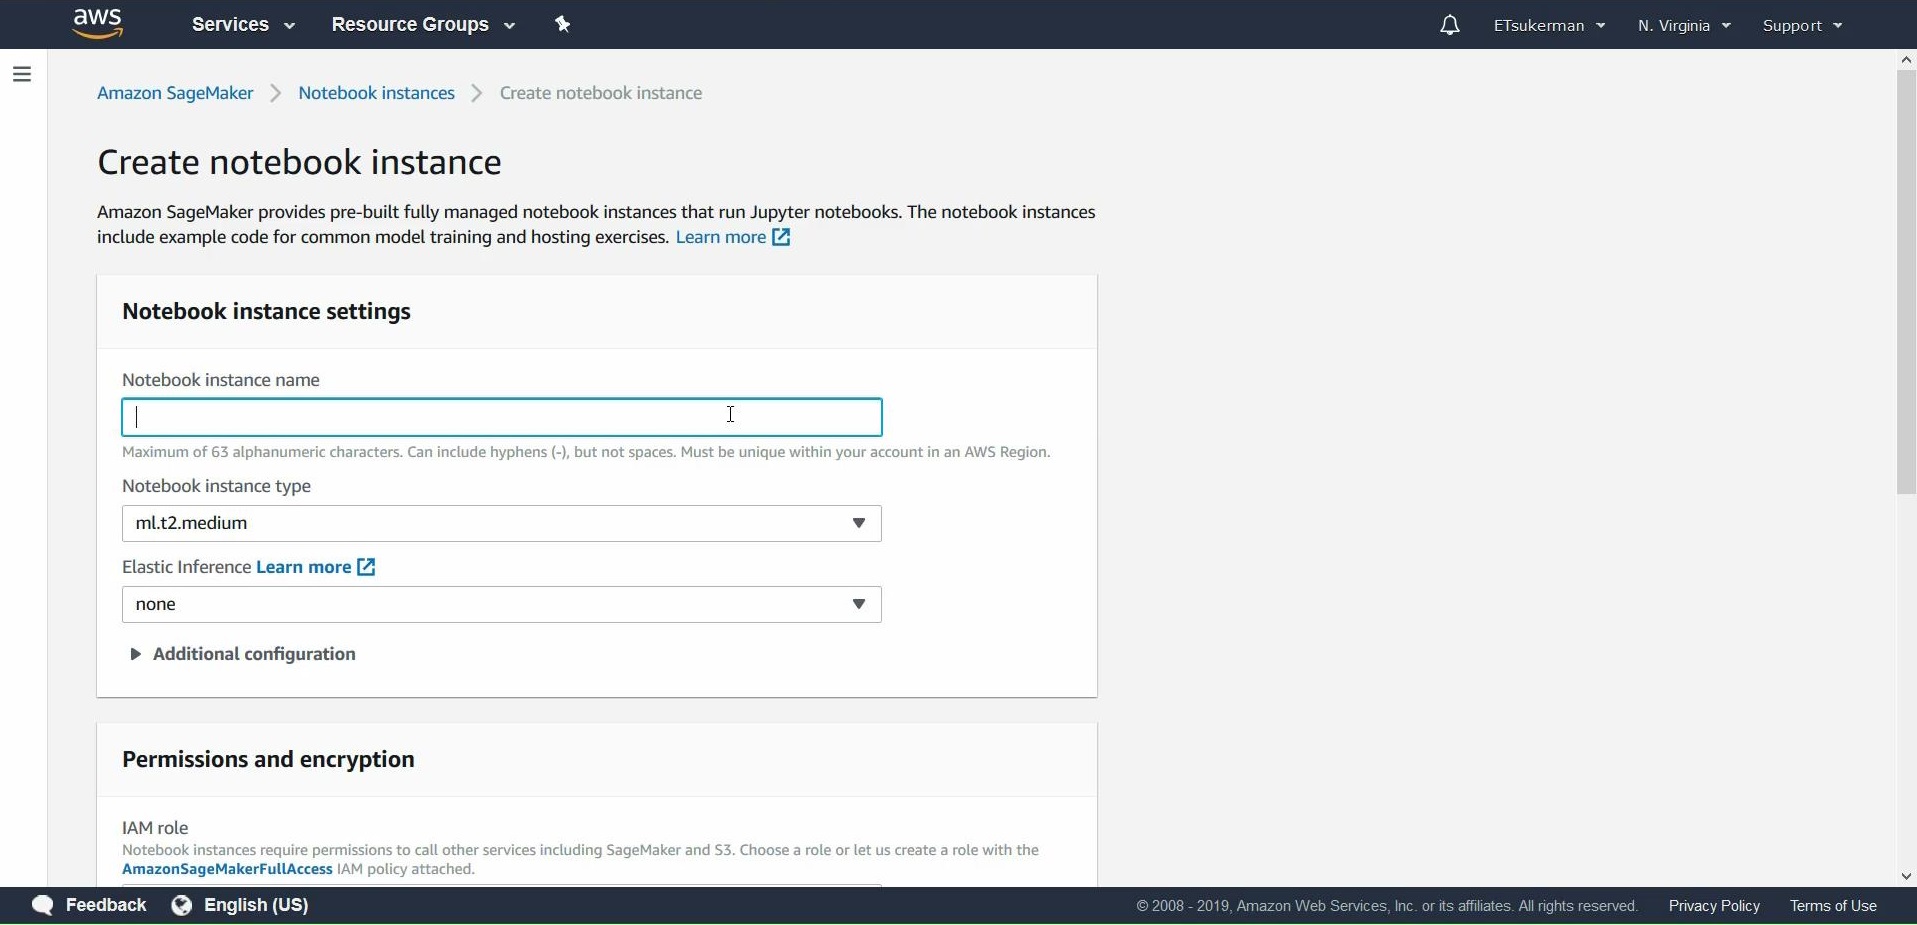
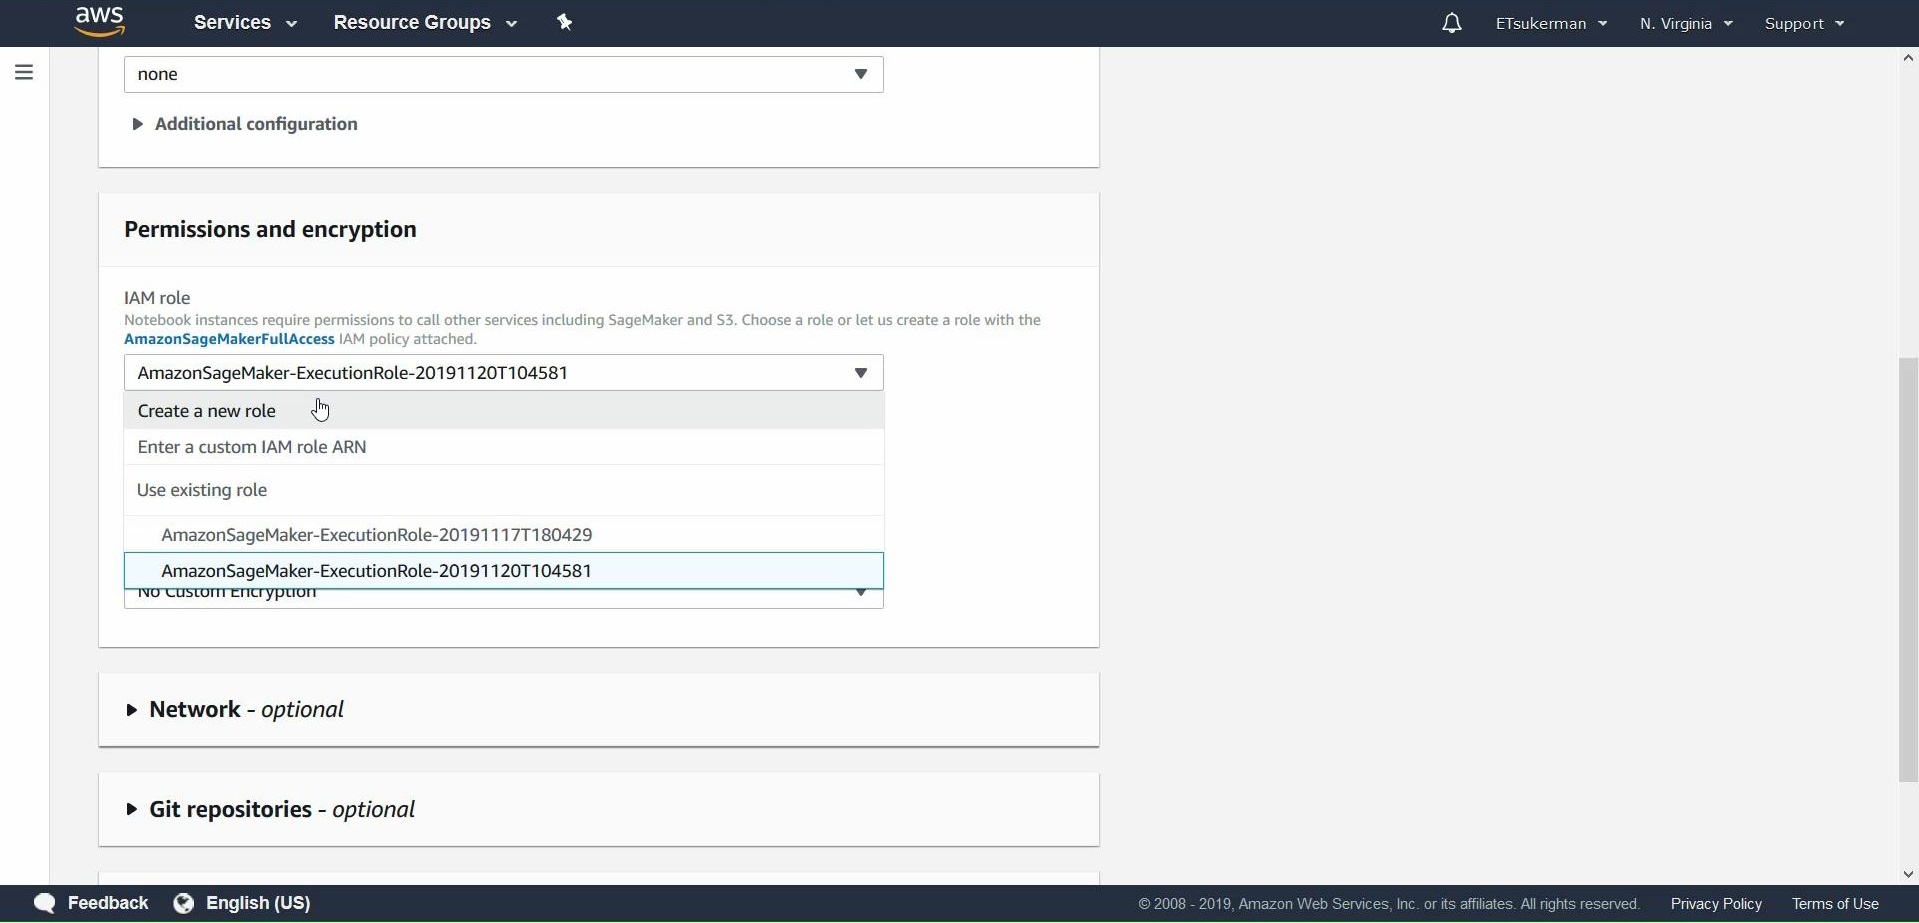
Give your notebook a name, such as my-first-sagemaker-notebook. Proceed to Permissions and encryption, where you will click Create a new role in the dropdown menu.
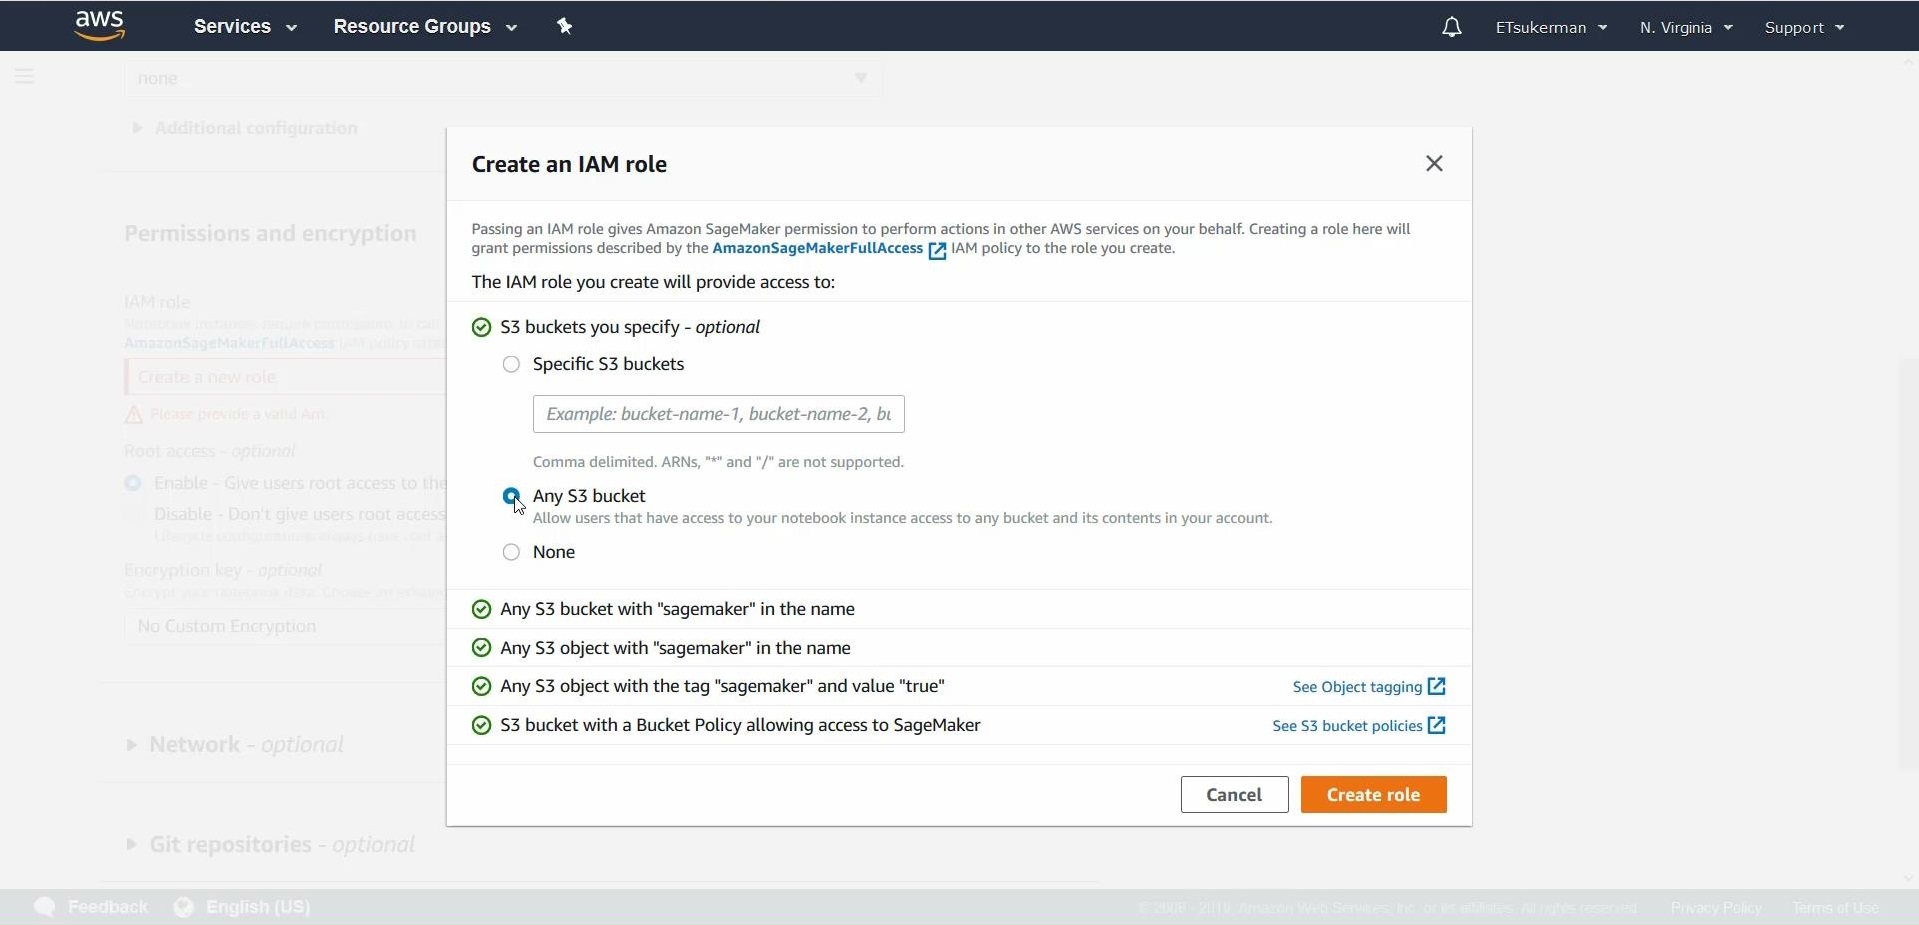
To avoid getting bogged down in security and permissions details, for this guide select Any S3 bucket and hit Create role.
Once you are finished with the configurations, hit Create notebook instance. Wait for the notebook to load, and once it’s ready, click on open jupyter and then create a new notebook using the kernel conda_tensorflow_p36. We are finally ready to code.
For the rest of this guide, code is available at https://github.com/emmanueltsukerman/Build-Your-First-Deep-Learning-Solution-With-AWS-Sagemaker.git.
For compatibility and consistency, fix a version of TensorFlow—in this case, version 1.12.
!pip install tensorflow==1.12
Next, train a basic Keras CNN on MNIST. If you know the details—great! If you’re not familiar, don't worry, the details are tangential to this guide. At a high level, you download the MNIST data, reshape it, and then train a TensorFlow CNN.
      from tensorflow.keras.models import Sequential
from tensorflow.keras.layers import Dense, Dropout, Flatten
from tensorflow.keras.datasets import mnist
from tensorflow.keras.utils import to_categorical
from tensorflow.keras.layers import Conv2D, MaxPooling2D
from tensorflow.keras.losses import categorical_crossentropy
from sklearn import metrics
from tensorflow.keras import backend as K

img_rows, img_cols = 28, 28
num_classes = 10
batch_size = 128
epochs = 1

(x_train, y_train), (x_test, y_test) = mnist.load_data()

if K.image_data_format() == 'channels_first':
    x_train = x_train.reshape(x_train.shape[0], 1, img_rows, img_cols)
    x_test = x_test.reshape(x_test.shape[0], 1, img_rows, img_cols)
    input_shape = (1, img_rows, img_cols)
else:
    x_train = x_train.reshape(x_train.shape[0], img_rows, img_cols, 1)
    x_test = x_test.reshape(x_test.shape[0], img_rows, img_cols, 1)
    input_shape = (img_rows, img_cols, 1)

x_train = x_train.astype('float32')
x_test = x_test.astype('float32')
x_train /= 255
x_test /= 255
y_train = to_categorical(y_train, num_classes)
y_test = to_categorical(y_test, num_classes)

model = Sequential()
model.add(Conv2D(32, kernel_size=(3, 3),
                 activation='relu',
                 input_shape=input_shape))
model.add(Conv2D(64, (3, 3), activation='relu'))
model.add(MaxPooling2D(pool_size=(2, 2)))
model.add(Dropout(0.25))
model.add(Flatten())
model.add(Dense(128, activation='relu'))
model.add(Dropout(0.5))
model.add(Dense(num_classes, activation='softmax'))

model.compile(loss=categorical_crossentropy,
              optimizer='adam',
              metrics=['accuracy'])

model.fit(x_train, y_train,
          batch_size=batch_size,
          epochs=epochs,
          verbose=1,
          validation_data=(x_test, y_test))
Run this block. The computation is performed on the ml.t2.medium machine you specified when creating this notebook instance. When that training is finished, save the model.
      import os
!mkdir "keras_model"
save_path = "./keras_model/"

model.save_weights(os.path.join(save_path,"model-weights.h5"))

model_json = model.to_json()
with open(os.path.join(save_path,"model.json"), "w") as json_file:
    json_file.write(model_json)
What you're doing is creating a folder named “keras model” and saving both the weights and architecture of our model to this folder.
To summarize this relatively straightforward section, you have used SageMaker to train a Keras model and then saved it to AWS. Alternatively, you could have uploaded a pre-trained model and then saved it to AWS. Now that you have a trained model, proceed to prepare it for deployment.
How to Convert a Model Into a SageMaker-Readable Format
This section is a little trickier. We will be covering some AWS-specific requirements for deploying a TensorFlow model as well as converting our Keras model to the TensorFlow ProtoBuf format. Prepare to be challenged, but if you stick with me, you should be OK.
Start a new notebook. Again, to avoid difficult-to-debug compatibility errors, run
!pip install tensorflow==1.12
Now, load up the model you trained in the previous section.
      import tensorflow as tf
from keras.models import model_from_json

json_file = open('/home/ec2-user/SageMaker/keras_model/'+'model.json', 'r')
loaded_model_json = json_file.read()
json_file.close()
loaded_model = model_from_json(loaded_model_json,custom_objects={"GlorotUniform": tf.keras.initializers.glorot_uniform})
loaded_model.load_weights('/home/ec2-user/SageMaker/keras_model/model-weights.h5')
Next, convert the model into the TensorFlow ProtoBuf format.
      from tensorflow.python.saved_model import builder
from tensorflow.python.saved_model.signature_def_utils import predict_signature_def
from tensorflow.python.saved_model import tag_constants

model_version = '1'
export_dir = 'export/Servo/' + model_version

builder = builder.SavedModelBuilder(export_dir)

signature = predict_signature_def(
    inputs={"inputs": loaded_model.input}, outputs={"score": loaded_model.output})

from keras import backend as K
with K.get_session() as sess:
    builder.add_meta_graph_and_variables(
        sess=sess, tags=[tag_constants.SERVING], signature_def_map={"serving_default": signature})
    builder.save()
The details here will take us too far away from our goal of deploying the model, so let's proceed. The last thing to do is upload the, now in ProtoBuf form, model to S3, the AWS service for cloud storage.
      import tarfile
with tarfile.open('model.tar.gz', mode='w:gz') as archive:
    archive.add('export', recursive=True)

import sagemaker
sagemaker_session = sagemaker.Session()
inputs = sagemaker_session.upload_data(path='model.tar.gz', key_prefix='model')
To summarize this section, you started by loading a pre-trained Keras model and converted it to a TensorFlow ProtoBuf format. You then uploaded it to S3 for improved accessibility. Next, you'll deploy this model to an endpoint.
How to Deploy a Pre-Trained Model Using SageMaker
Start by retrieving your IAM role, which determines your user identity and permissions:
      import sagemaker
from sagemaker import get_execution_role
role = get_execution_role()
sagemaker_session = sagemaker.Session()
To deploy, create an entry point, a requirement expected to be removed in the future. The entry point can be an empty file.
!touch train.py
Now take the model, saved on S3, and use it to instantiate a SageMaker model.
      from sagemaker.tensorflow.serving import Model
sagemaker_model = Model(model_data = 's3://' + sagemaker_session.default_bucket() + '/model/model.tar.gz',
                                  role = role,
                                  entry_point = 'train.py')
Finally, deploy the model.
      %%time
predictor = sagemaker_model.deploy(initial_instance_count=1,
                                   instance_type='ml.m4.xlarge')
In summary, in this section you have taken an existing tar.gz file containing the TensorFlow ProtoBuf model and deployed it on an endpoint. In the next section, we will see how to use the endpoint to make predictions.
How to Predict Using the Model You Deployed on SageMaker
Finally, the fun part: enjoying the fruit of our labor. All we have to do is get a few samples to test against the model. So load up the MNIST dataset once more, using the same code you used in training:
      from tensorflow.keras.models import Sequential
<snip>
validation_data=(x_test, y_test))
Reshape it to the appropriate size.
      data = x_test[0]
data = data.reshape(1,28,28,1)
And now it is ready to be sent to the endpoint. Note here the format in which the input is made:
      inp = {'instances': data}
predictor.predict(inp)
{'predictions': [[9.55102e-07, 2.93899e-07, 3.0599e-05, 1.31609e-05, 4.39595e-09, 5.80182e-08, 2.67701e-09, 0.99993, 1.19135e-07, 2.51335e-05]]}
And that’s all!
Conclusion
We have trained a Deep Learning model from scratch, converted it to a SageMaker-readable format, deployed it, and used it to make predictions. Congratulations! You're well on your way to skillfully using Amazon SageMaker to accomplish your and your organization's goals.
Footnotes
Advance your tech skills today
Access courses on AI, cloud, data, security, and more—all led by industry experts.
