Deploying A Django App on PythonAnywhere
A beginner-friendly resource for practicing Django deployment is PythonAnywhere, which is custom-tailored to Python web applications such as Django and Flask.
Oct 7, 2020 • 4 Minute Read
Introduction
Deployment is a critical stage in web development. It is at this point that the application is tested in an environment where the user will be using it. Any sensitive information should be packaged in a manner that does not compromise the app.
With Django, it is no different. There are some changes that are made to prepare the application for production level status. These include handling staticfiles, setting the DEBUG mode to FALSE, and more. A wonderful, beginner-friendly resource for practicing Django deployment is PythonAnywhere. The platform is tailored and optimized for Python projects and does not provide an empty Ubuntu/Linux server like most cloud service providers, such as AWS, GCP, and Digital Ocean, among others.
This guide assumes you have at least intermediate level skills in Python and navigating Linux bash, and that you have at least beginner level understanding of Django and have developed a Hello World application in the said framework.
Deploying a Django App
To get a Django app production-ready, some settings need to be configured in preparation for the live environment. These include:
-
Setting the DEBUG boolean to FALSE
-
Setting the ALLOWED_HOSTS list to a list of the actual live domains
-
Setting a path to the static files and serving them separately since Django does not serve static files in production
-
Hiding sensitive variables, such as the SECRET_KEY, using techniques such as config files and environment variables
This creates a checklist. In Django, there is a management command, check --deploy, which goes through the checklist to determine whether the app is production-ready and whether there are any vulnerabilities that might affect the app. More on this command can be found in this resource.
PythonAnywhere Walkthrough
To get started with PythonAnywhere, sign up for a free account. It may be limited, but it is good enough to get the job done in terms of hosting a basic Django app. Visit the signup page here.
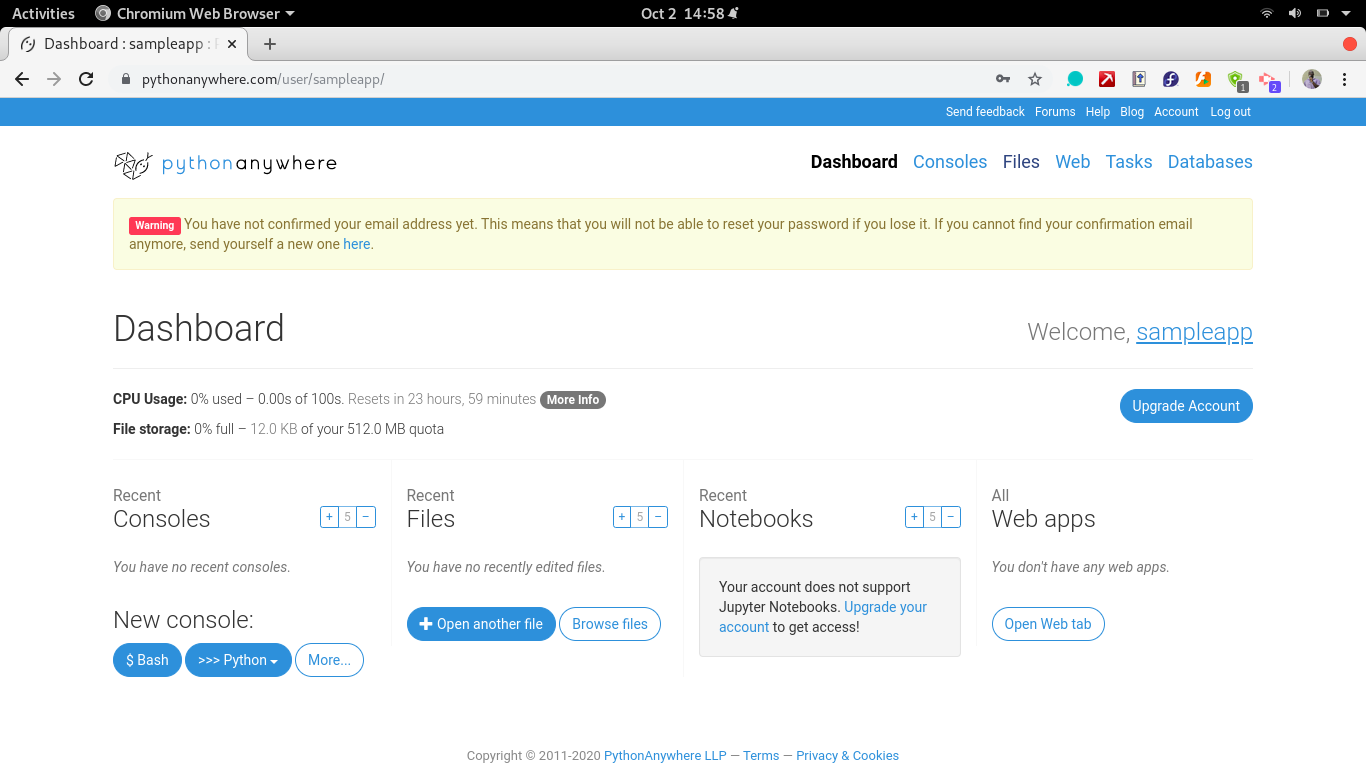
The first step is to set up a web app. In the main dashboard, navigate to the Web tab and add a new web app. Since this is a free account, skip the domain configurations.
The next step is to select the web framework. Select Django and the Python version you based your project on. A safe option is Python 3.5.
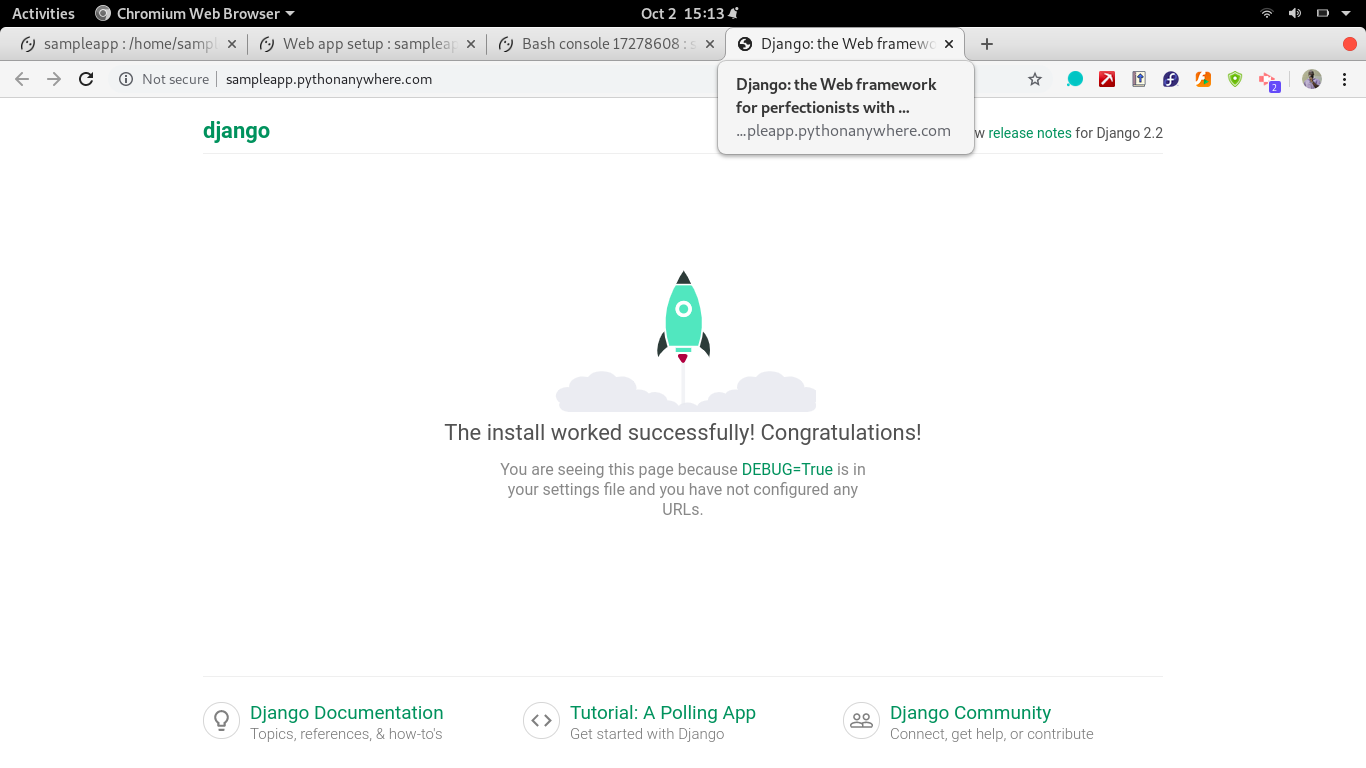
You have successfully installed a basic boilerplate Django application.
If you wish to customize your app further, access the files using the files tab. This will allow you to view files and give you access to an online editor where you can write and save your code.
Within the files tab, there is a link called Open Bash console here. This gives you access to a Linux bash within that location in the file system were you can run commands such as python manage.py startapp myapp and create an app.
Your challenge now is to tinker with the existing Django project you have just created, using the online editor and bash console provided by PythonAnywhere, and develop a hello_world app in Django similar to this.
Conclusion
The PythonAnywhere resource is beginner-friendly and custom-tailored to Python web applications, such as Django and Flask. It also offers managed services, such as scheduled tasks and managed databases. These are, however, for paid accounts.
The skill of deploying a Django app to a live server is essential for roles such as Python/Django developer, backend developer, and full stack developer.
To further build on this guide, learn more about media management with PythonAnywhere here.
Advance your tech skills today
Access courses on AI, cloud, data, security, and more—all led by industry experts.
