Sign Contracts with ASP.NET MVC and HelloSign API
This tutorial aims to show a simple example of using the HelloSign API without major complexities, but can be used for much more. HelloSign allows you to sign documents, legalize agreements, and prepare contracts. Learn more today!
Jan 10, 2019 • 8 Minute Read
Introduction
This guide is designed to show you how to work with HelloSign API to send and sign documents via ASP.NET MVC.
HelloSign is a service that allows you to sign documents, and can be used to legalize agreements, preparing contracts, among others.
The main advantage for the user is the ability to perform the signature, either from his/her computer, tablet or smartphone.
This tutorial aims to show a simple example of using the API without major complexities, but the use that can be given is much broader.
For this tutorial, we will use:
- ASP.NET MVC 4
- HelloSign SDK (C#)
Register in HelloSign
We access https://www.hellosign.com/ and we create a free account.
Then we access the "API" section and get the API Key.
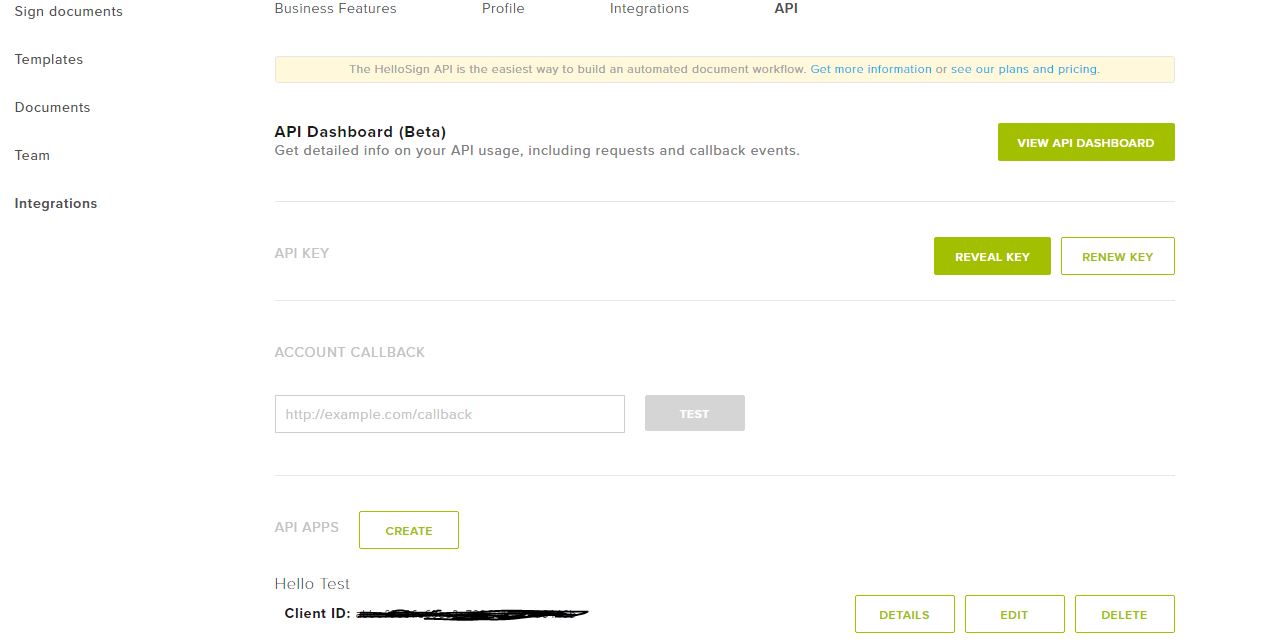
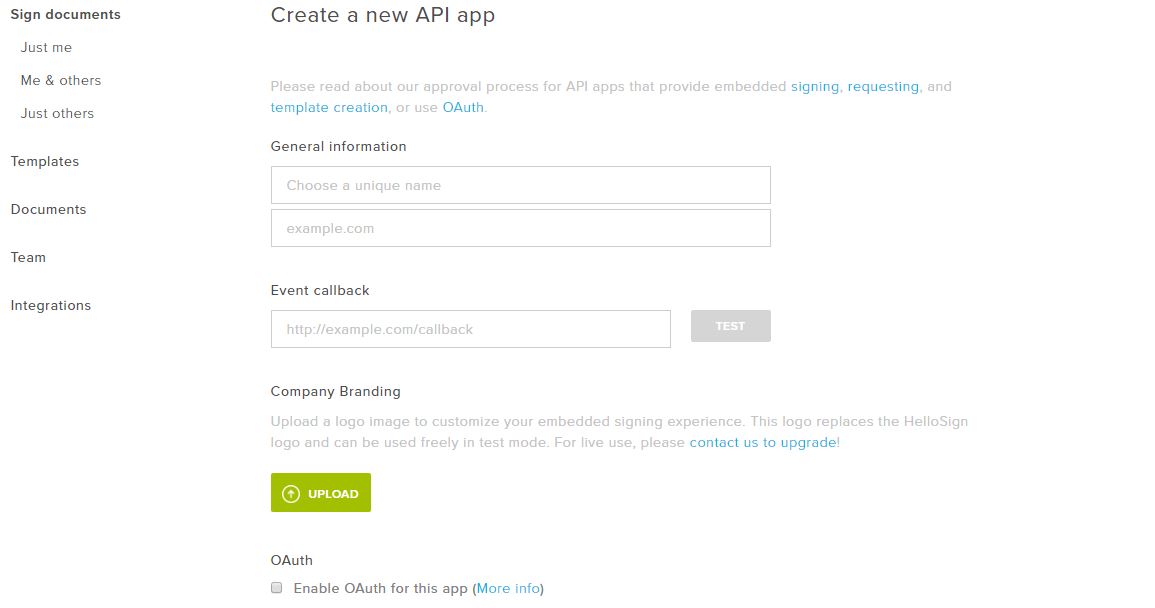
Now we create an application for the Client ID
Configure tools
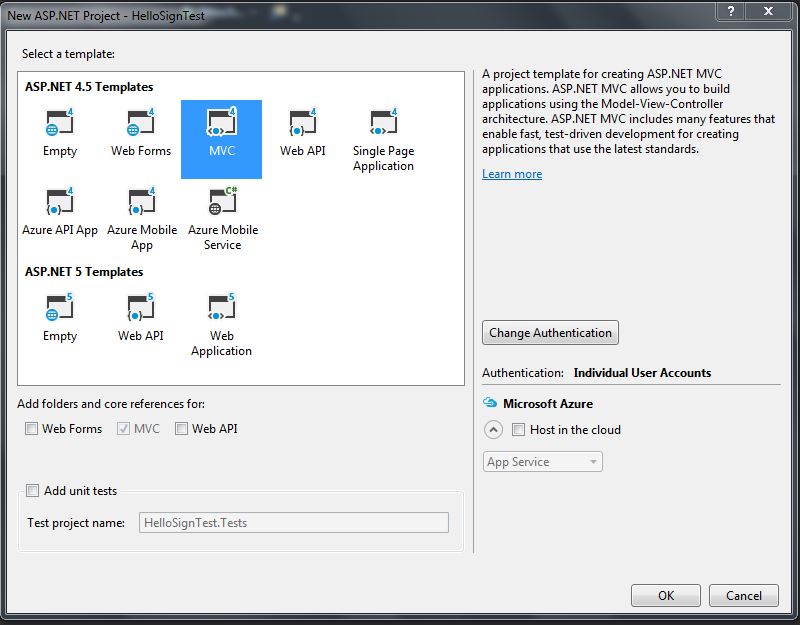
First we need to create a project with Visual Studio (ideally version 2015). We selected a ASP.NET project (in this case we do not need larger configurations).
Then we install the HelloSign SDK through NuGet:
Install-Package HelloSign
Develop form to upload documents
We create a controller called BaseController, which we used to store the API Key and Client ID
      public class BaseController : Controller
{
    protected string HelloSignAPIKey = ConfigurationManager.AppSettings["HelloSignAPIKey"];
    protected string HelloSignClientID = ConfigurationManager.AppSettings["HelloSignClientID"];
}
Then we create a controller called SignController, that inherits from our base controller. In our controller we will create a GET action called SendDocument:
      public ActionResult SendDocument()
{
    SendDocumentViewModel model = new SendDocumentViewModel();
    return View(model);
}
We add the SendDocumentFormModel and SendDocumentViewModel classes to send and receive data from the view
      public class SendDocumentFormModel
{
    [Required]
    public string Subject { get; set; }

    [Required]
    public string Message { get; set; }

    [Required]
    [DisplayName("Signer Email")]
    public string SignerEmail { get; set; }

    [Required]
    [DisplayName("Signer Name")]
    public string SignerName { get; set; }

    [Required]
    public HttpPostedFileBase File { get; set; }

}
      public class SendDocumentViewModel
{
    public SendDocumentFormModel Form { get; set; }
}
Now we create the POST action for SendDocument.
      HttpPost]
public ActionResult SendDocument(SendDocumentFormModel Form)
{
    if(!ModelState.IsValid)
    {
        SendDocumentViewModel model = new SendDocumentViewModel();
        model.Form = Form;
        return View(model);
    }
    var client = new Client(HelloSignAPIKey);
    var request = new SignatureRequest();
    request.Subject = Form.Subject;
    request.Message = Form.Message;
    request.AddSigner(Form.SignerEmail
The response to sending the document will be a URL with the embedded file ready to be signed.
To finish our form, we create the view to upload documents.
      @using (Html.BeginForm(null,null,FormMethod.Post,new {enctype="multipart/form-data" }))
{

    <div class="form-horizontal">
        <hr />
        @Html.ValidationSummary(true, "", new { @class = "text-danger" })
        <div class="form-group">
            @Html.LabelFor(model => model.Form.Subject, htmlAttributes: new { @class = "control-label col-md-2" })
            <div class="col-md-10">
                @Html.EditorFor(model => model.Form.Subject, new { htmlAttributes = new { @class = "form-control" } })
                @Html.ValidationMessageFor(model => model.Form.Subject, "", new { @class = "text-danger" })
            </div>
        </div>

        <div class="form-group">
            @Html.LabelFor(model => model.Form.Message, htmlAttributes: new { @class = "control-label col-md-2" })
            <div class="col-md-10">
                @Html.EditorFor(model => model.Form.Message, new { htmlAttributes = new { @class = "form-control" } })
                @Html.ValidationMessageFor(model => model.Form.Message, "", new { @class = "text-danger" })
            </div>
        </div>

        <div class="form-group">
            @Html.LabelFor(model => model.Form.SignerEmail, htmlAttributes: new { @class = "control-label col-md-2" })
            <div class="col-md-10">
                @Html.EditorFor(model => model.Form.SignerEmail, new { htmlAttributes = new { @class = "form-control", type="email" } })
                @Html.ValidationMessageFor(model => model.Form.SignerEmail, "", new { @class = "text-danger" })
            </div>
        </div>

        <div class="form-group">
            @Html.LabelFor(model => model.Form.SignerName, htmlAttributes: new { @class = "control-label col-md-2" })
            <div class="col-md-10">
                @Html.EditorFor(model => model.Form.SignerName, new { htmlAttributes = new { @class = "form-control" } })
                @Html.ValidationMessageFor(model => model.Form.SignerName, "", new { @class = "text-danger" })
            </div>
        </div>
        <div class="form-group">
            @Html.LabelFor(model => model.Form.File, htmlAttributes: new { @class = "control-label col-md-2" })
            <div class="col-md-10">
                <input type="file" name="Form.File" class = "form-control" />
                @Html.ValidationMessageFor(model => model.Form.File, "", new { @class = "text-danger" })
            </div>
        </div>

        <div class="form-group">
            <div class="col-md-offset-2 col-md-10">
                <input type="submit" value="Create" class="btn btn-default" />
            </div>
        </div>
    </div>
}
Our view should look similar to the following:
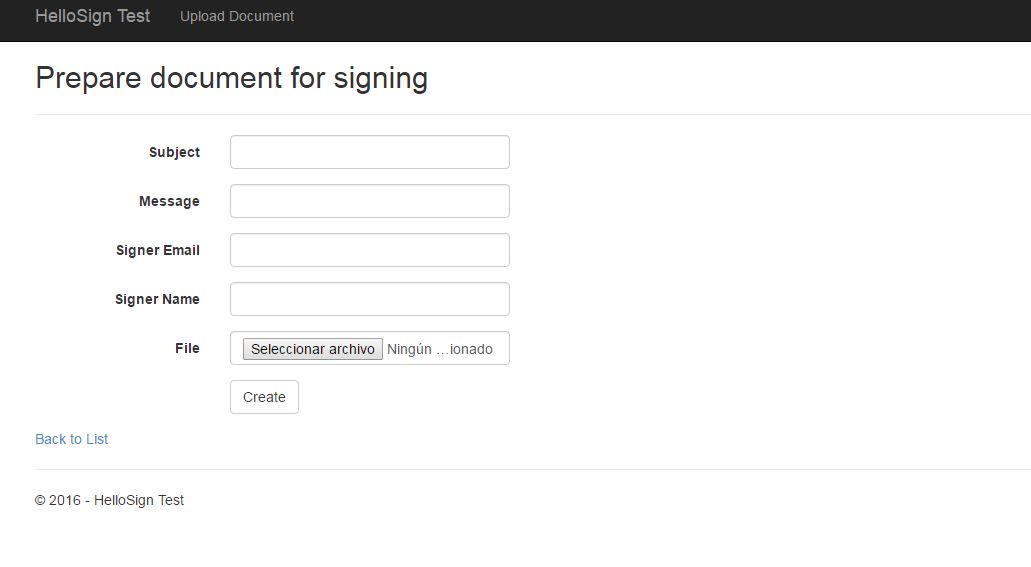
Develop view for signing documents
As always, we first create the action in our SignController:
      public ActionResult Sign(string url)
{
    ViewBag.Url = url;
    ViewBag.ClientId = HelloSignClientID;
    return View();
}
Now, our view "Sign".
      <p>Sign document.</p>


<script type="text/javascript" src="https://s3.amazonaws.com/cdn.hellosign.com/public/js/hellosign-embedded.LATEST.min.js"></script>
<script type="text/javascript">
    HelloSign.init("@ViewBag.ClientId");
    HelloSign.open({
        url: '@ViewBag.Url',
        allowCancel: true,
        skipDomainVerification : false
    });
</script>
In this view we only add javascript code. The first line calls the latest version of HelloSign, and the second one initializes HelloSign and opens our document as an embedded file.
By uploading our document on the form, if everything is valid should display the following view with the document ready to be signed.
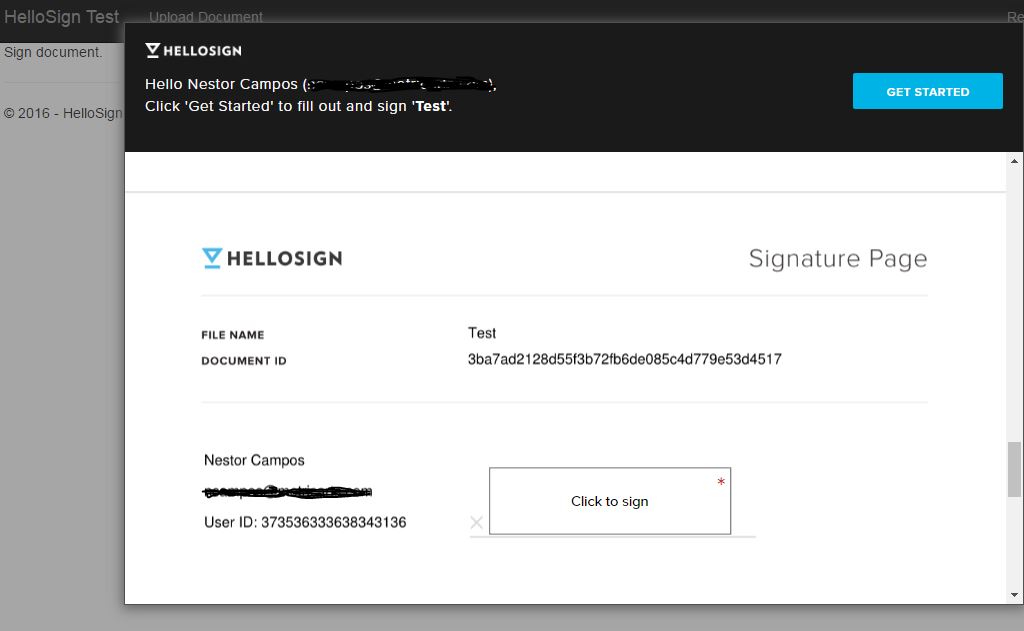
Finally we click on "Click to sign" and we sign and complete the process.
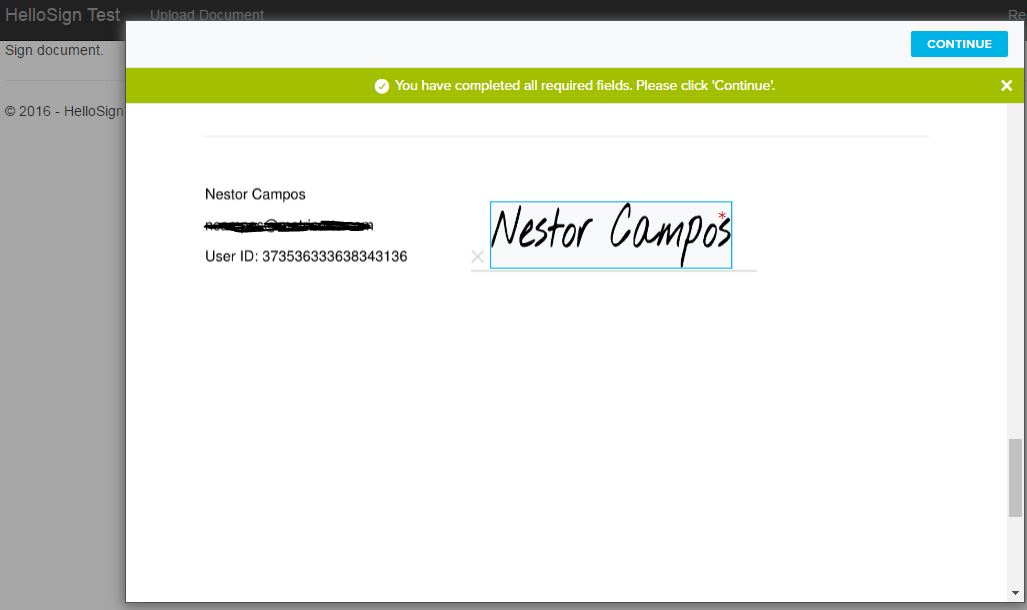
This example shows the basic usage of HelloSign SDK for C#, and it could be used to send emails with links to our app for signing documents, etc.
Advance your tech skills today
Access courses on AI, cloud, data, security, and more—all led by industry experts.
