- Course
Architectural Previsualization in Maya
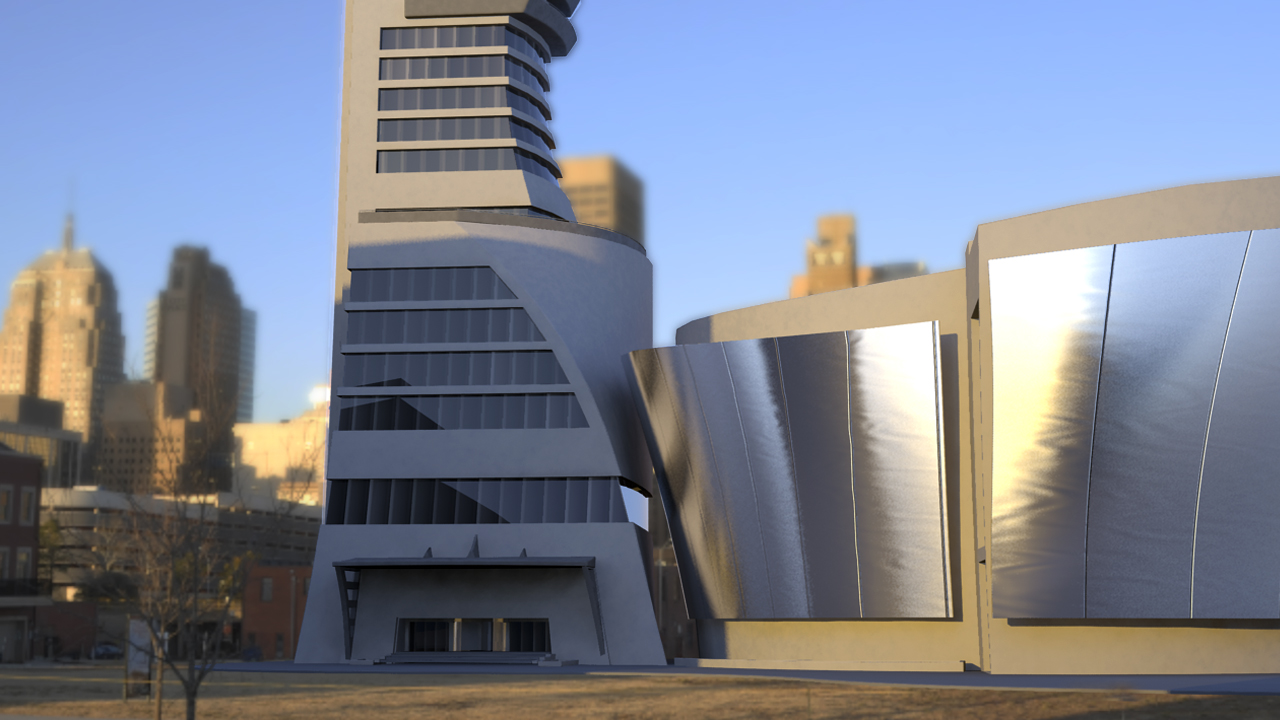
In this series of lessons, we will model and texture a 3d building and integrate it into a photographic plate. Software required: Maya 2010, Photoshop.

- Course
Architectural Previsualization in Maya
In this series of lessons, we will model and texture a 3d building and integrate it into a photographic plate. Software required: Maya 2010, Photoshop.
Get started today
Access this course and other top-rated tech content with one of our business plans.
Try this course for free
Access this course and other top-rated tech content with one of our individual plans.
This course is included in the libraries shown below:
- Core Tech
What you'll learn
Architectural visualization is an invaluable tool for being able to see a building, often inside and out, before constructing it in real life. Seeing structures in 3d will often highlight issues that may not be apparent when looking at drawings and plans. We'll start by building up the geometry of the two buildings from scratch, using many of Maya's modeling tools. We'll use deformers to create sweeping curves and we'll use existing geometry to add detail like balconies and rails. With the modeling complete, Kyle will take you through the process of adding materials and textures to the geometry. You'll also go through the necessary steps for adding appropriate lighting and setting up your renders. In the end, you'll have a nice final render with your custom built 3d building sitting in a real location. Software required: Maya 2010, Photoshop.

