- Course
Designing a Concert Poster in Photoshop
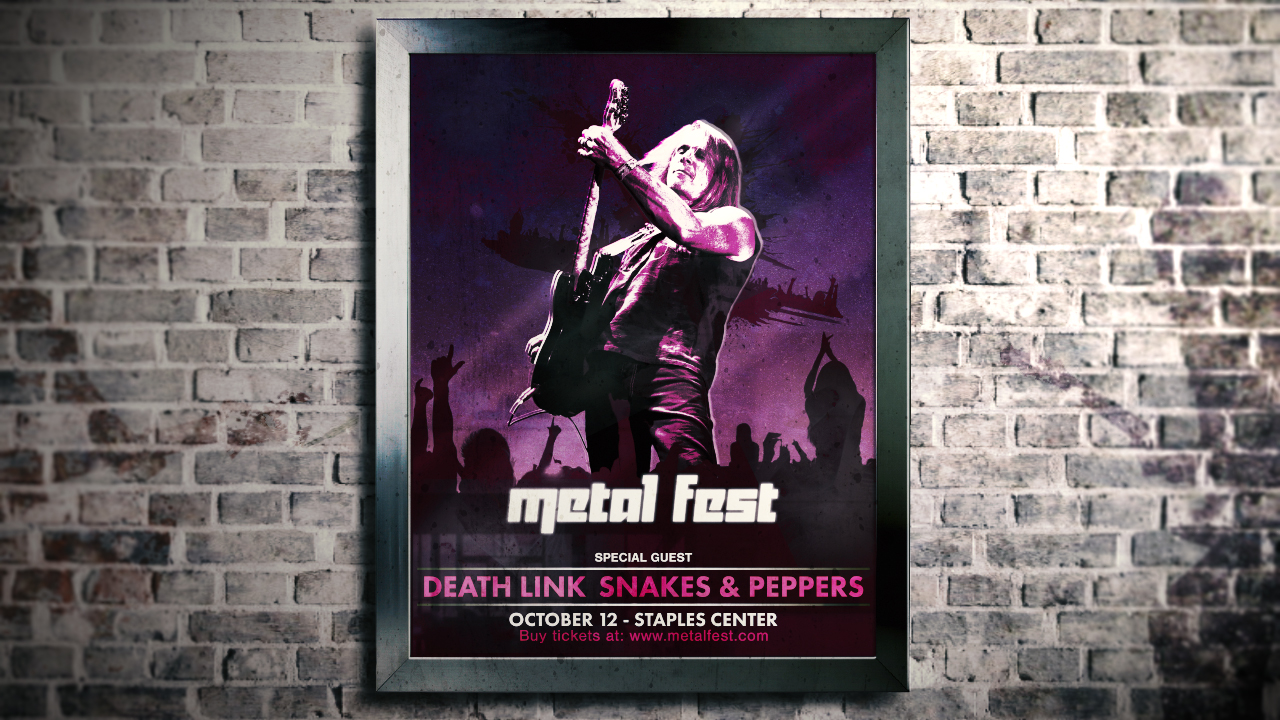
In this Photoshop tutorial, we'll learn how to create a stylized poster. Software required: Photoshop CS6.

- Course
Designing a Concert Poster in Photoshop
In this Photoshop tutorial, we'll learn how to create a stylized poster. Software required: Photoshop CS6.
Get started today
Access this course and other top-rated tech content with one of our business plans.
Try this course for free
Access this course and other top-rated tech content with one of our individual plans.
This course is included in the libraries shown below:
- Core Tech
What you'll learn
In this Photoshop tutorial, we'll learn how to create a stylized poster. We'll start by masking out the guitarist's backdrop using the quick selection tool and the refine edges features. Next, we'll to set up the poster to the required size and add bleed margins, then explain why they are needed for print projects such as this. We'll also explore how to produce cool crowd silhouettes from stock photos using channel selections. After this, we'll execute a dynamic stylized look for the guitarist using a combination of both the posterize and threshold adjustments. We'll then effectively add mixed media elements to the composition. Finally, we'll add text to the final composition by using Typekit to select new fonts that fit the poster design before finally administering texture to the text to add more drama to the piece. By the end of this Photoshop training, you'll be more comfortable working with the various elements in your own concert poster. Software required: Photoshop CS6.

