
- Course
Introduction to MatchMover
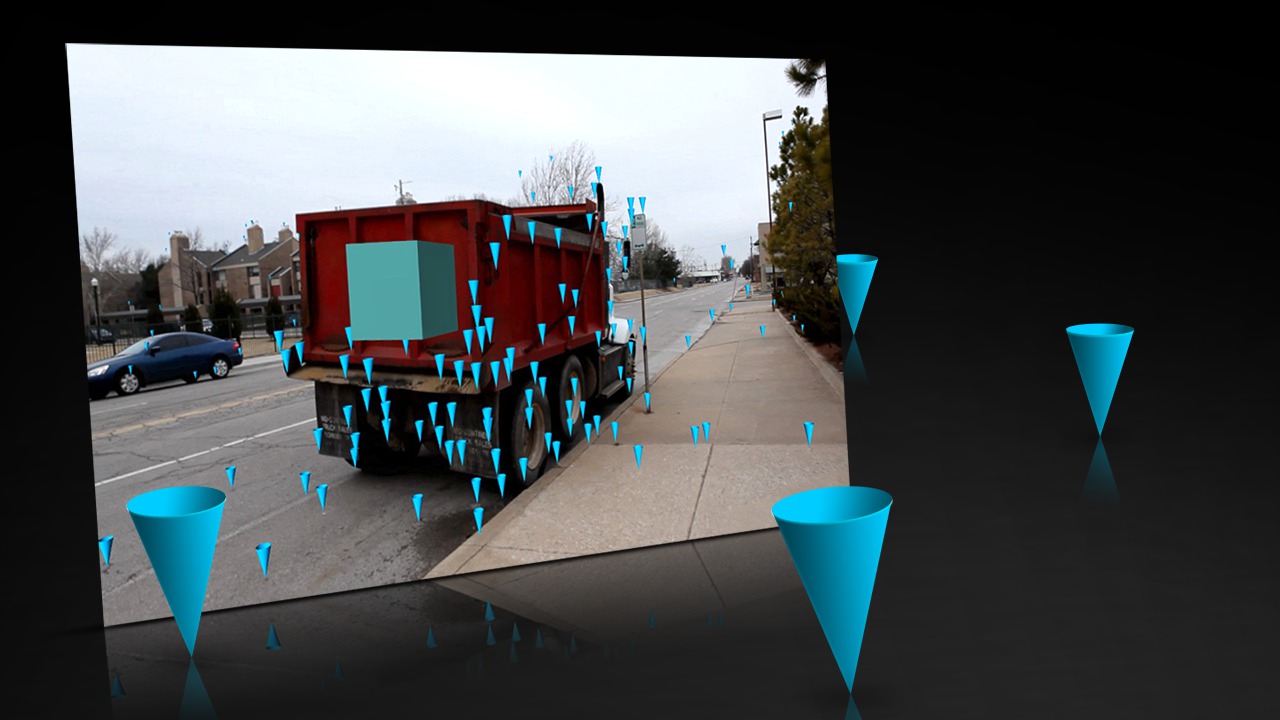
In this series of lessons, we'll learn how to use MatchMover to take our 2D footage and create a 3D scene. Software required: MatchMover 2010 or higher.
Beginner
- Course
Introduction to MatchMover
In this series of lessons, we'll learn how to use MatchMover to take our 2D footage and create a 3D scene. Software required: MatchMover 2010 or higher.
Beginner
Get started today
Access this course and other top-rated tech content with one of our business plans.
Try this course for free
Access this course and other top-rated tech content with one of our individual plans.
This course is included in the libraries shown below:
- Core Tech
What you'll learn
In this series of lessons, we'll learn how to use MatchMover to take our 2D footage and create a 3D scene. We'll begin this project by going through the basic workflow of importing the footage, running the automatic tracker and exporting a file into our 3D application. Then we'll learn how to move around MatchMover's 2D and 3D viewports to get a preview of the 3D objects. We'll then learn how to guide MatchMover's automatic tracker using Contours and how to create manual tracks. Before outputting our scene, we will learn how to create a coordinate system so that everything is aligned correctly. We'll finish by learning a few techniques to help the camera solve and render a preview video. Software required: MatchMover 2010 or higher.
Introduction to MatchMover
Beginner
Table of contents
