- Course
Introduction to the RotoPaint Node in NUKE
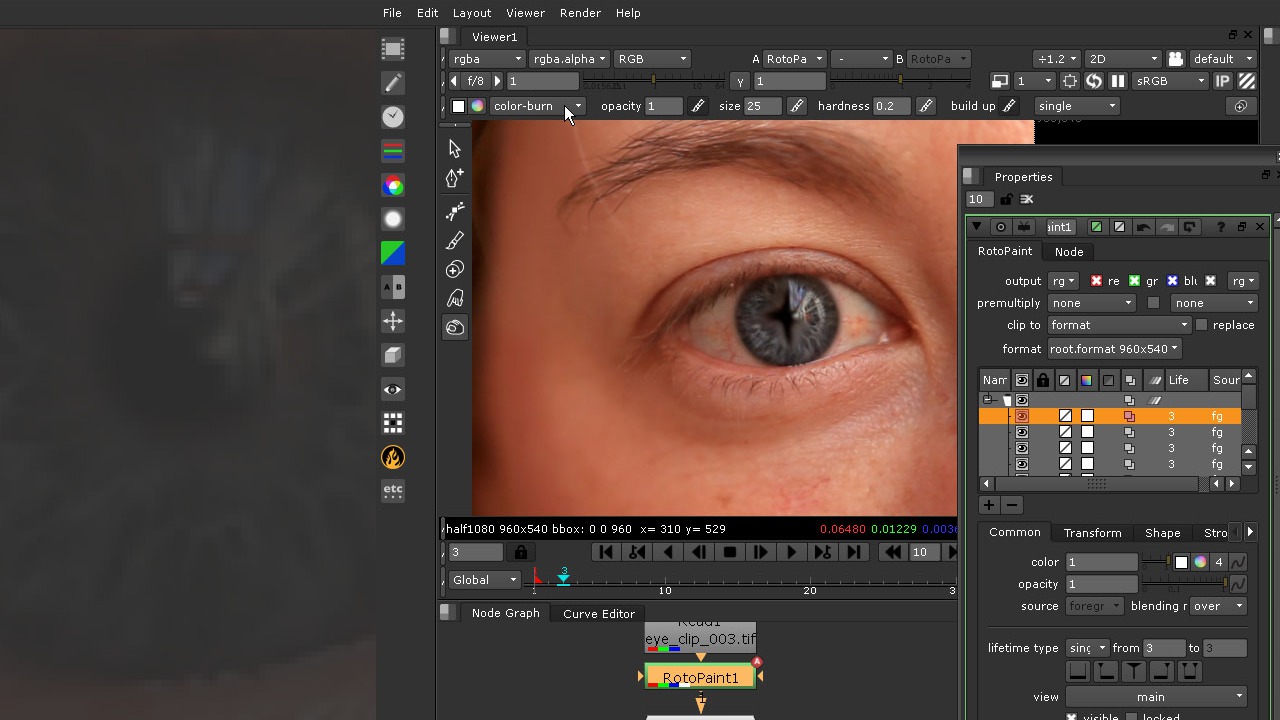
In this series of lessons we'll learn how to use the RotoPaint node introduced in NUKE 6. Software required: NUKE 6.0 and up.

- Course
Introduction to the RotoPaint Node in NUKE
In this series of lessons we'll learn how to use the RotoPaint node introduced in NUKE 6. Software required: NUKE 6.0 and up.
Get started today
Access this course and other top-rated tech content with one of our business plans.
Try this course for free
Access this course and other top-rated tech content with one of our individual plans.
This course is included in the libraries shown below:
- Core Tech
What you'll learn
In this series of lessons we'll learn how to use the RotoPaint node introduced in NUKE 6.0. The RotoPaint node is the new global tool for creating rotoscope shapes, painting, cloning and other brush based tools. We'll begin this project by learning about the new User Interface of the RotoPaint node and learn where everything lives. We'll then learn about the new stroke/shape list and all of the options we can quickly modify through the list shortcuts. We'll then learn about the new features of the RotoPaint node, such as copying animation on a per-shape-point basis, using layers to transform multiple shapes/strokes and using Ripple Edit to change a shape across multiple keyframes. We'll then learn how to use each of the basic tools such as Bezier and the new Bspline shapes and the selection and editing tools for shapes. Then we'll learn how to use the brush, clone, reveal, blur, sharpen, smear, dodge and burn tools to create strokes on our footage. Software required: NUKE 6.0 and up.

