- Course
Modeling and Animating a Motion Graphics Opener in 3ds Max
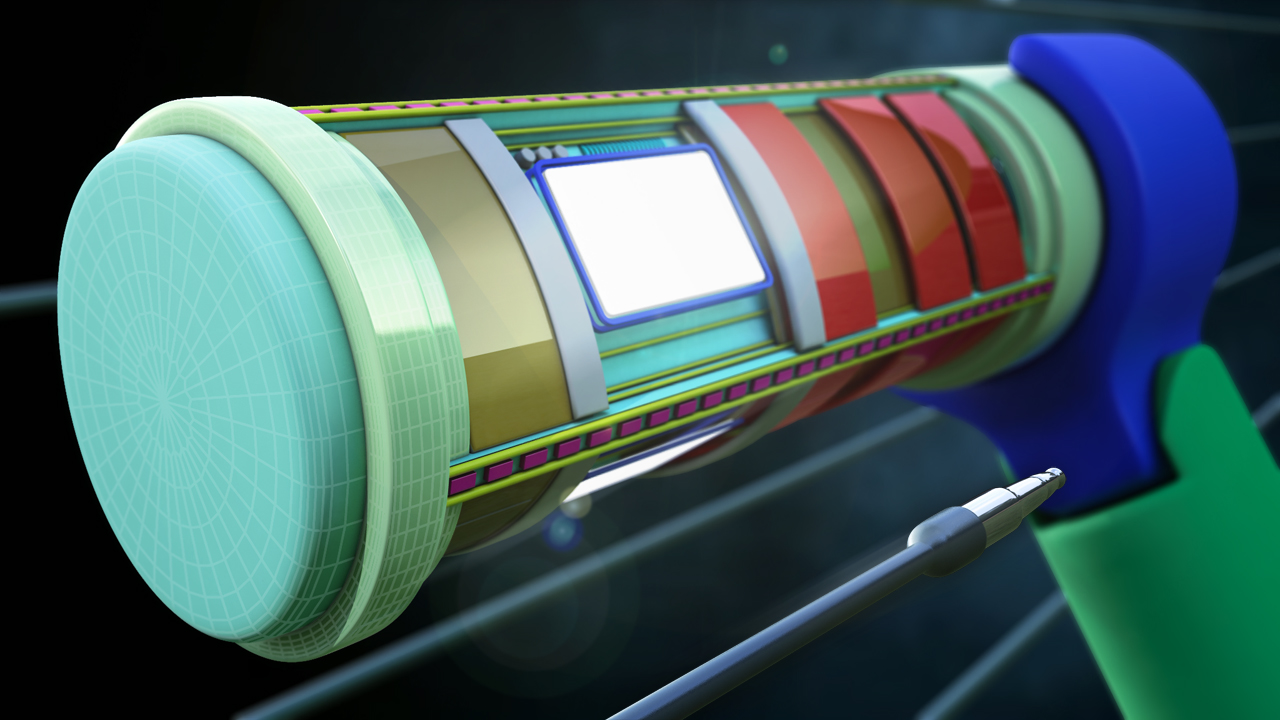
In this series of lessons, we will show you the workflows we used to model and animate the motion graphics asset that we used as part of our 'Artist Guide to Motion Graphics in 3ds Max' course (available on Autodesk Area). Software required: 3ds Max 2013.
Get started today
Access this course and other top-rated tech content with one of our business plans.
Try this course for free
Access this course and other top-rated tech content with one of our individual plans.
This course is included in the libraries shown below:
- Core Tech
What you'll learn
In this series of lessons, we will show you the workflows we used to model and animate the motion graphics asset that we used as part of our 'Artist Guide to Motion Graphics in 3ds Max' course (available on Autodesk Area). The lessons in this course will give you practical examples of how the powerful modeling and animation features of 3ds Max were used to create this motion graphics asset. You will learn how to quickly and easily generate surfaces from simple curves, using bevels and chamfers to help catch specular highlights, animating with the 3ds Max camera, using path constraints for animation, and many other topics that you can put to use in your own projects. We also want to thank Mesut from Unitedmotions.com for helping with inspiration for this tutorial. Software required: 3ds Max 2013.

