- Course
Creating Next-gen Game Assets in Softimage
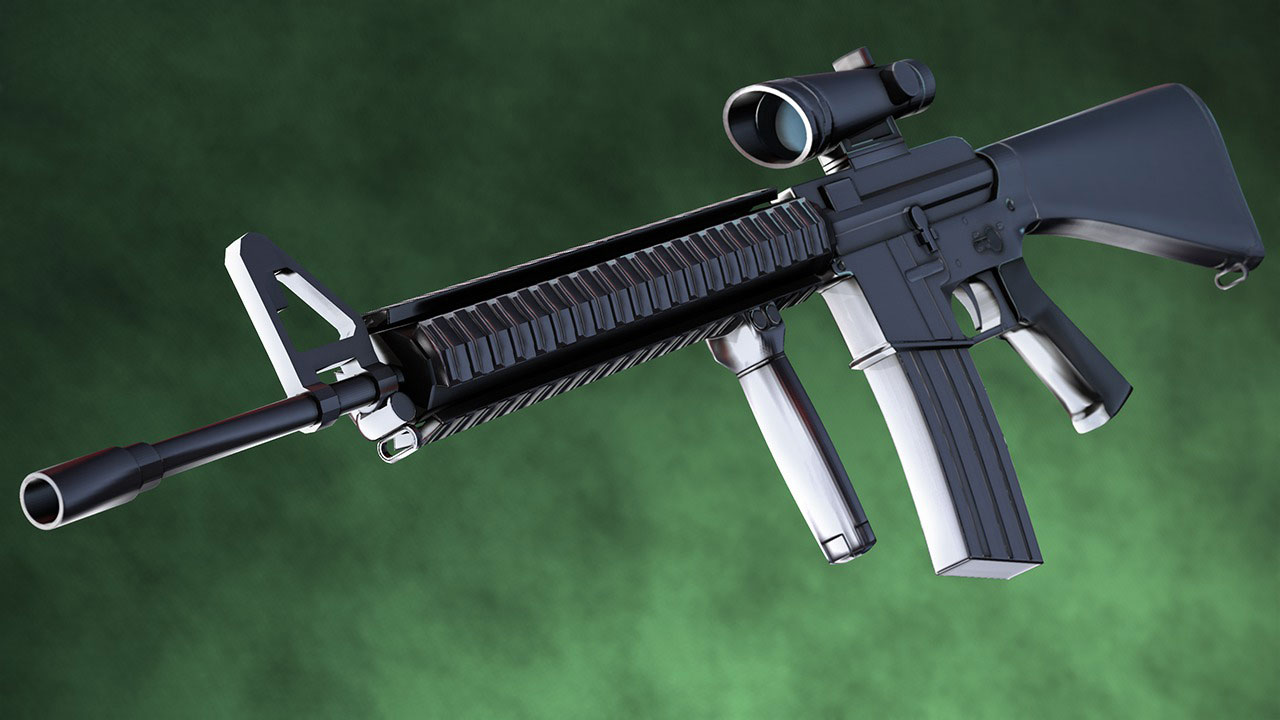
In this series of Softimage tutorials, we will learn how Softimage can be used to create next-generation game assets that contain high levels of detail. Software required: Softimage 7.5.

- Course
Creating Next-gen Game Assets in Softimage
In this series of Softimage tutorials, we will learn how Softimage can be used to create next-generation game assets that contain high levels of detail. Software required: Softimage 7.5.
Get started today
Access this course and other top-rated tech content with one of our business plans.
Try this course for free
Access this course and other top-rated tech content with one of our individual plans.
This course is included in the libraries shown below:
- Core Tech
What you'll learn
In this series of Softimage tutorials, we will learn how Softimage can be used to create next-generation game assets that contain high levels of detail. This tutorial will take you through every step of the creation process, so we will start by setting up rotoscopes within Softimage to use as reference. From there, we will use a variety of polygon modeling techniques to create low-resolution and high-resolution versions of our asset. Once that stage is complete we will use the Softimage Ultimapper to transfer all of the hi-res detail back to our low-res mesh using normal maps. Software required: Softimage 7.5.

