- Course
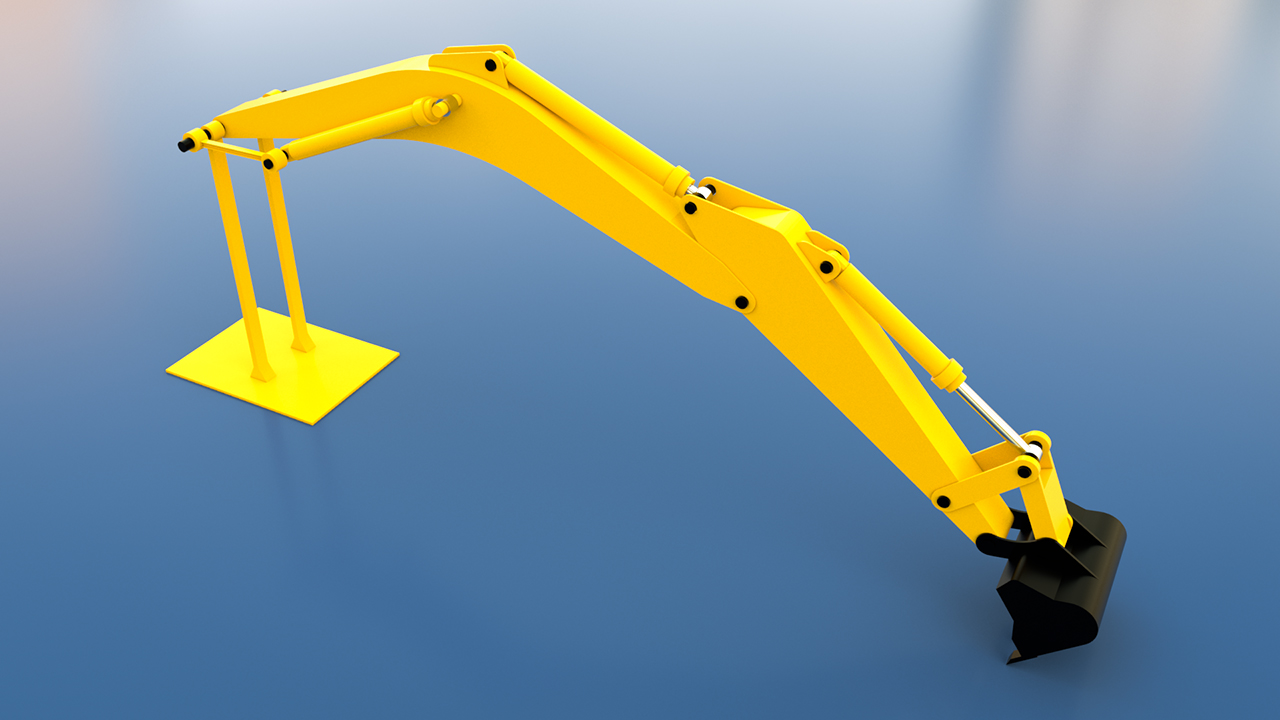
Onshape Top-down Skeleton Modeling - Creating an Excavator Arm
This course will teach you the strengths of skeleton top-down design methodologies, as well as how to employ them successfully in complex 3d part and assembly designs. Software required: Onshape.

- Course
Onshape Top-down Skeleton Modeling - Creating an Excavator Arm
This course will teach you the strengths of skeleton top-down design methodologies, as well as how to employ them successfully in complex 3d part and assembly designs. Software required: Onshape.
Get started today
Access this course and other top-rated tech content with one of our business plans.
Try this course for free
Access this course and other top-rated tech content with one of our individual plans.
This course is included in the libraries shown below:
- Core Tech
What you'll learn
Have you ever struggled to make changes to large assemblies in your CAD package? In this course, Onshape Top-down Skeleton Modeling - Creating an Excavator Arm, you'll gain the knowledge and practice needed to create your own top-down skeleton sketch driven assembly. First, you'll explore the advantages of various modeling techniques, including bottom-up design, middle out design, skeleton top down design, and master model top down design. Next, you'll discover how to create a kinematic layout sketch which employs top down skeleton modeling techniques, allowing you to validate your design intent early, and drive your individual 3D parts. Finally, you'll learn how to assemble these parts, as well as how to update and work with your assembly. When you're finished with this course, you'll have the skills and knowledge of skeleton top-down design techniques needed to create your own mechanical designs. Software required: Onshape.

