- Course
Product Visualization in Maya
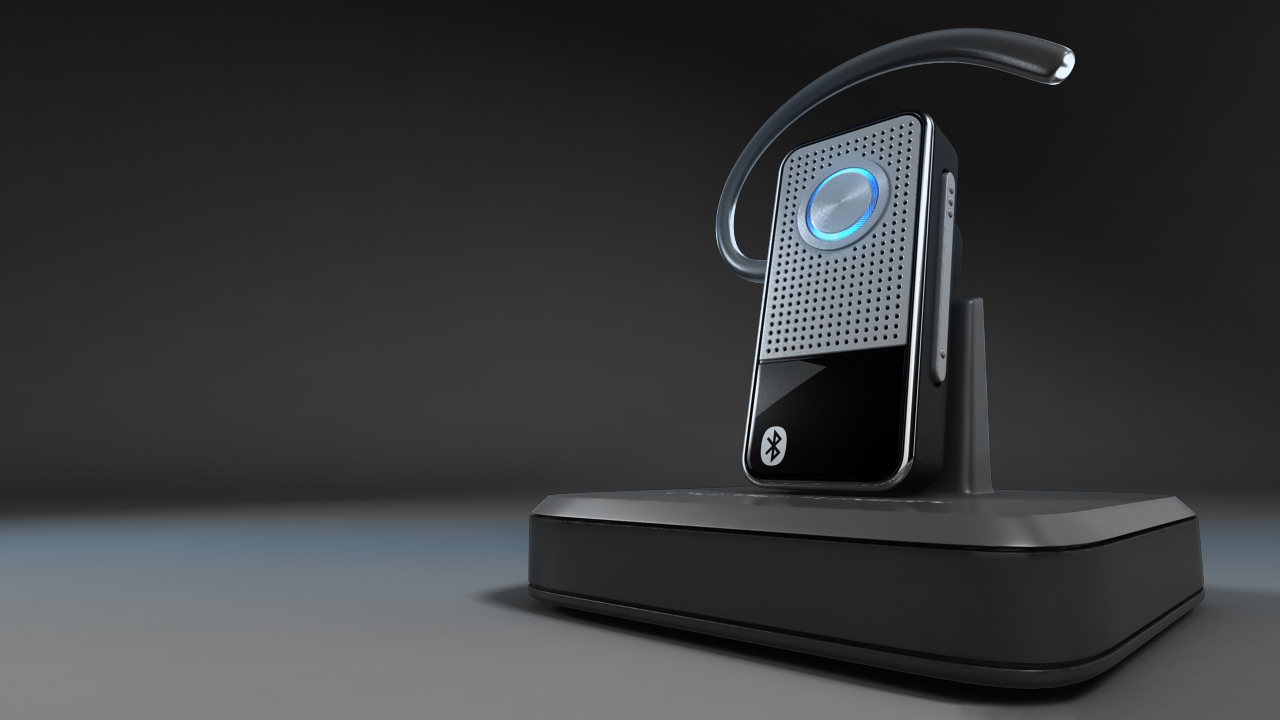
Learn a design-oriented workflow to product visualization and production techniques to designing with aesthetic and usability constraints, studio lighting, and photorealistic rendering. Software required: Maya 8.5 or higher.

- Course
Product Visualization in Maya
Learn a design-oriented workflow to product visualization and production techniques to designing with aesthetic and usability constraints, studio lighting, and photorealistic rendering. Software required: Maya 8.5 or higher.
Get started today
Access this course and other top-rated tech content with one of our business plans.
Try this course for free
Access this course and other top-rated tech content with one of our individual plans.
This course is included in the libraries shown below:
- Core Tech
What you'll learn
Provides 5 hours of project-based training on modeling, lighting, and rendering topics for use in product visualization. Ideal for intermediate and experienced artists. Popular highlights include: Solutions to Design Challenges; Establishing Scale and Volume; NURBS Modeling Workflows; Trimming Surfaces; Lofting Surfaces; Adding Realism with Detail; Polygon Modeling Workflows; Converting Geometry Types; Effective Boolean Techniques; Projecting Curves onto Surfaces; Simulating Studio Lighting; Creating Bounce Cards and Light Diffusers; Light Setup and Placement; Recreating Real-world Materials; Architectural Materials; Indirect Illumination with Final Gather; Camera Placement for Composition. Software required: Maya 8.5 or higher.

