
- Course
Creating a 2D Animated Character for Unity
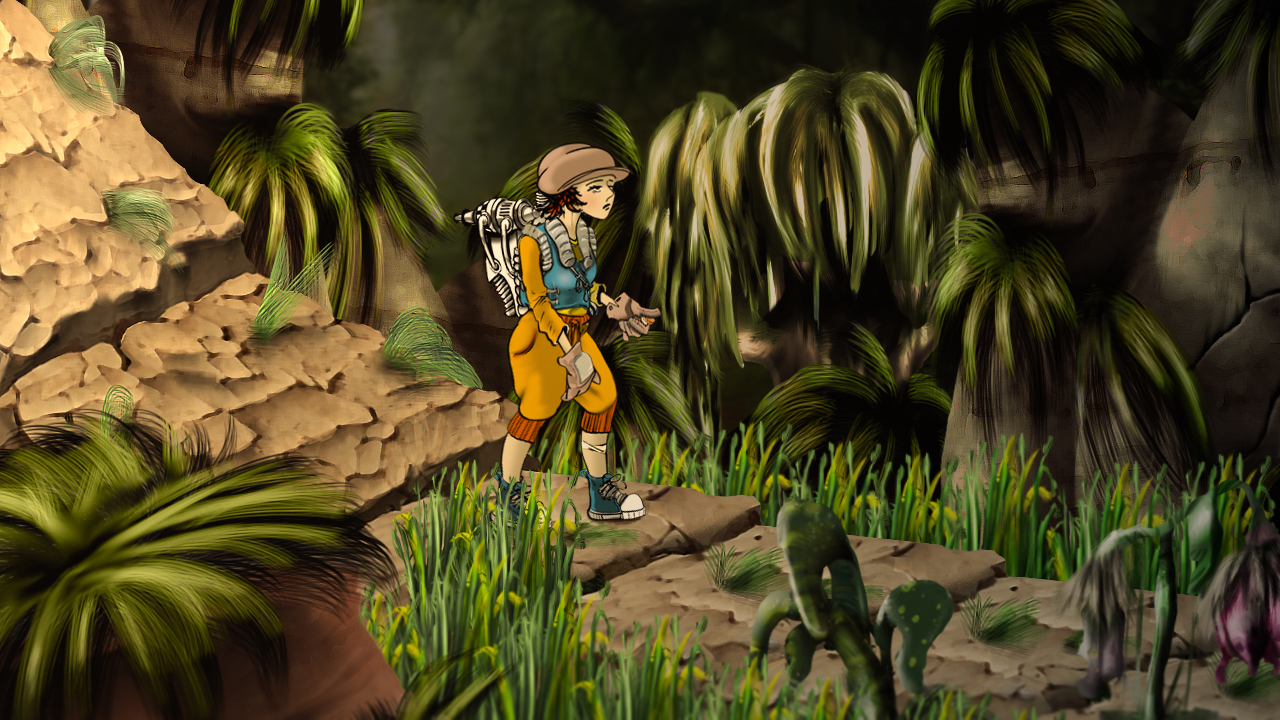
In this Unity tutorial, we'll learn how to prepare and make an animated 2D character using a bone hierarchy. Software required: Unity 5, Spriter, Photoshop CC 2015.
Intermediate
- Course
Creating a 2D Animated Character for Unity
In this Unity tutorial, we'll learn how to prepare and make an animated 2D character using a bone hierarchy. Software required: Unity 5, Spriter, Photoshop CC 2015.
Intermediate
Get started today
Access this course and other top-rated tech content with one of our business plans.
Try this course for free
Access this course and other top-rated tech content with one of our individual plans.
This course is included in the libraries shown below:
- Core Tech
What you'll learn
In this Unity tutorial, we'll learn how to prepare and make an animated 2D character using a bone hierarchy. We'll pay particular attention to issues such as scaling with respect to 2D physics, inverse kinematics in 2D, Z-orders and Unity's Animator component. We'll also write and assign character control scripts within Unity. By the end of this Unity training, you'll have learned animation techniques that you can start incorporating into your own game projects. Software required: Unity 5, Spriter, Photoshop CC 2015.
Creating a 2D Animated Character for Unity
Intermediate
Table of contents
Shane Whelan is a Game Design tutor at Ballyfermot College in Dublin, currently teaching in the Game Design and Animation degree program.
