Text Analytics with Azure Machine Learning Studio
Sep 25, 2020 • 14 Minute Read
Introduction
Natural Language Processing (or NLP) is ubiquitous and has multiple applications. A few use cases include email classification into spam and ham, chatbots, AI agents, social media analysis, and classifying customer or employee feedback into positive, negative, or neutral. This guide will demonstrate how to build a supervised machine learning model on text data with Azure Machine Learning Studio.
Data
In this guide, you will take up the task of automating reviews in medicine. Medical literature is voluminous and rapidly changing, which increases the need for reviews. Often such reviews are done manually, which is tedious and time-consuming. You will try to address this problem by building a text classification model that will automate the process.
The dataset you will use comes from a PubMed search, and contains 1,748 observations and four variables, as described below.
-
title: Variable that consists of the titles of papers retrieved
-
abstract: Variable that contains the abstracts of papers retrieved
-
trial: Variable indicating whether the paper is a clinical trial testing a drug therapy for cancer
-
class: Target variable which indicates whether the paper is a clinical trial (Yes) or not (No)
You will start by loading the data.
Loading Data
Once you have logged into your Azure Machine Learning Studio account, click on the EXPERIMENTS option, listed on the left sidebar, followed by the NEW button.

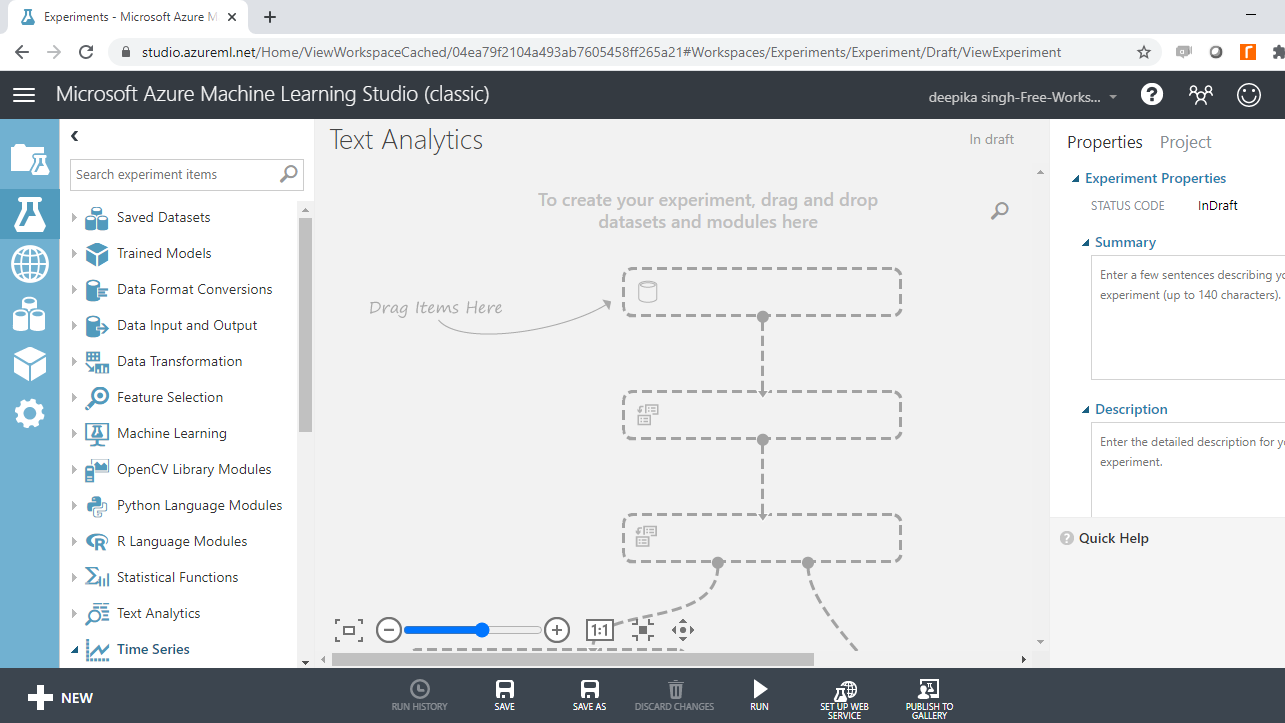
Next, click on the blank experiment and a new workspace will open. Give the name "Text Analytics" to the workspace.
Next you will load the data into the workspace. Click NEW, and select the DATASET option shown below.
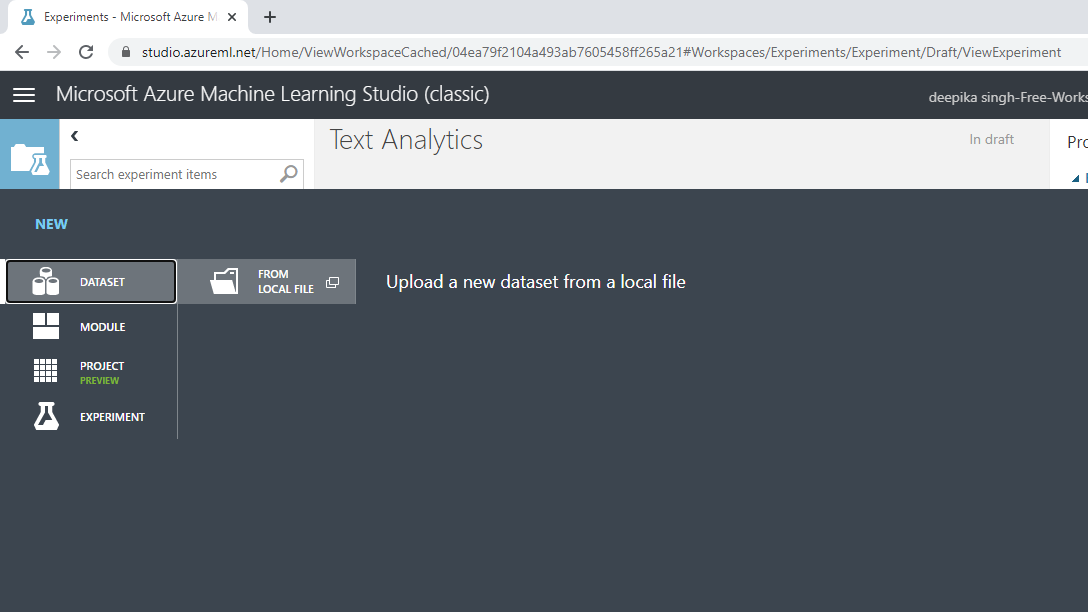
The selection above will open a window shown below, which can be used to upload the dataset from the local system.
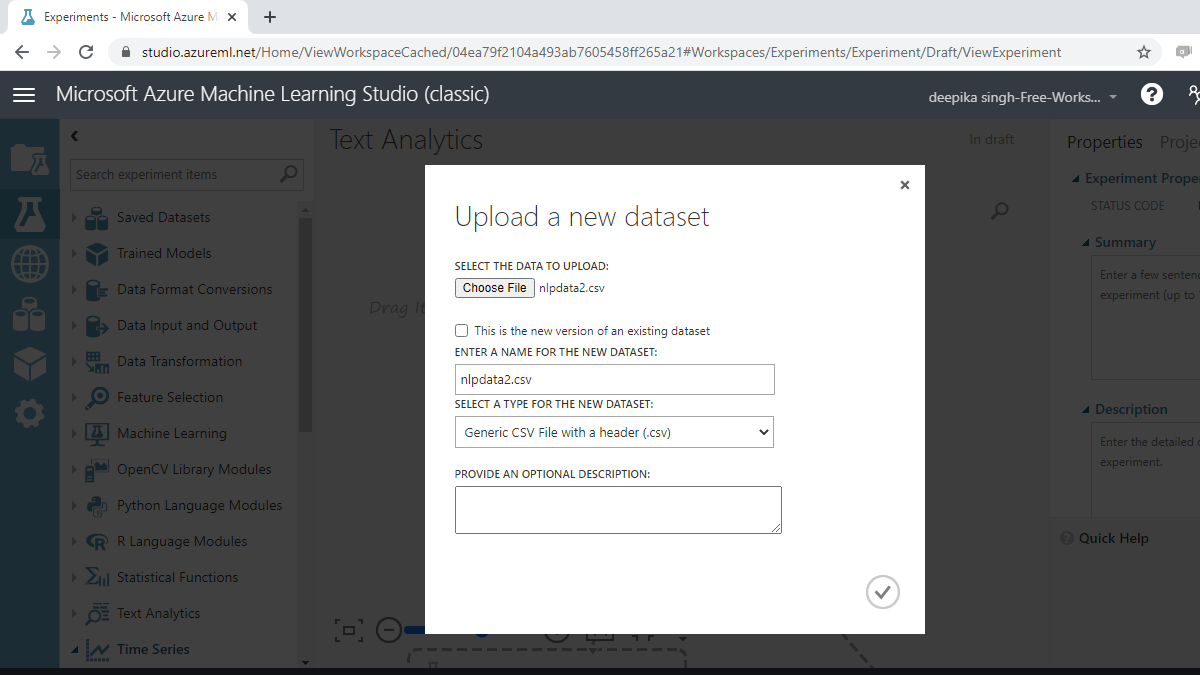
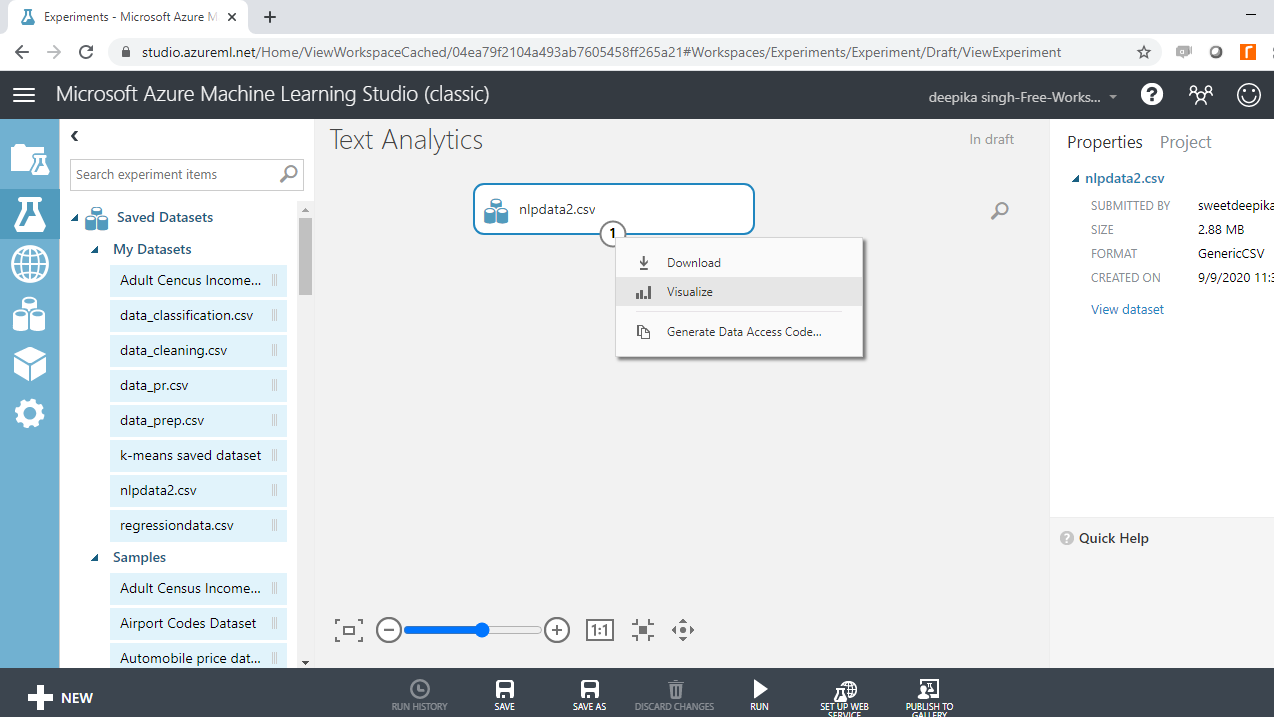
Once the data is loaded, you can see it in the Saved Datasets option. The file name is nlpdata2.csv. The next step is to drag it from the Saved Datasets list into the workspace. To explore this data, right-click and select the Visualize option as shown below.
Select the different variables to examine the basic statistics. For example, the image below displays the details for the target variable class.
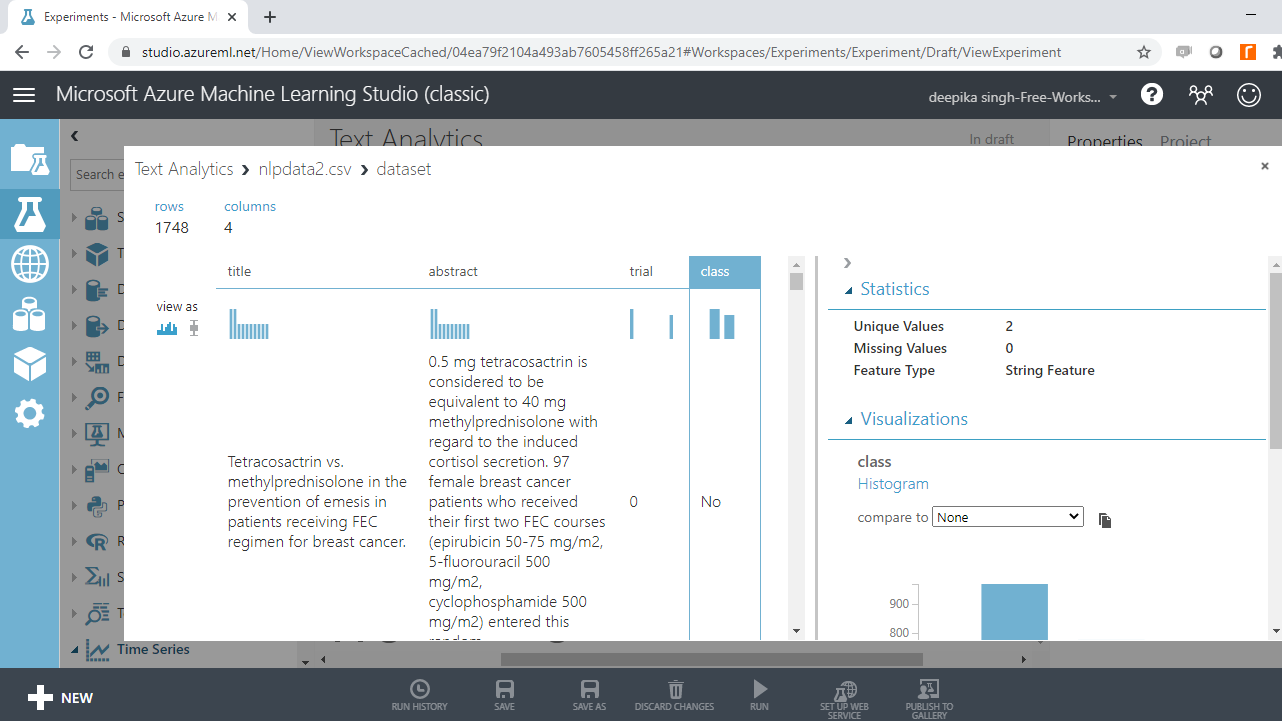
You will notice that the target variable takes two unique values. Also, it is displayed as string feature, which needs to be converted to a categorical feature.
Convert Data Type
Start by typing "edit metadata" in the search bar to find the Edit Metadata module, and then drag it into the workspace.
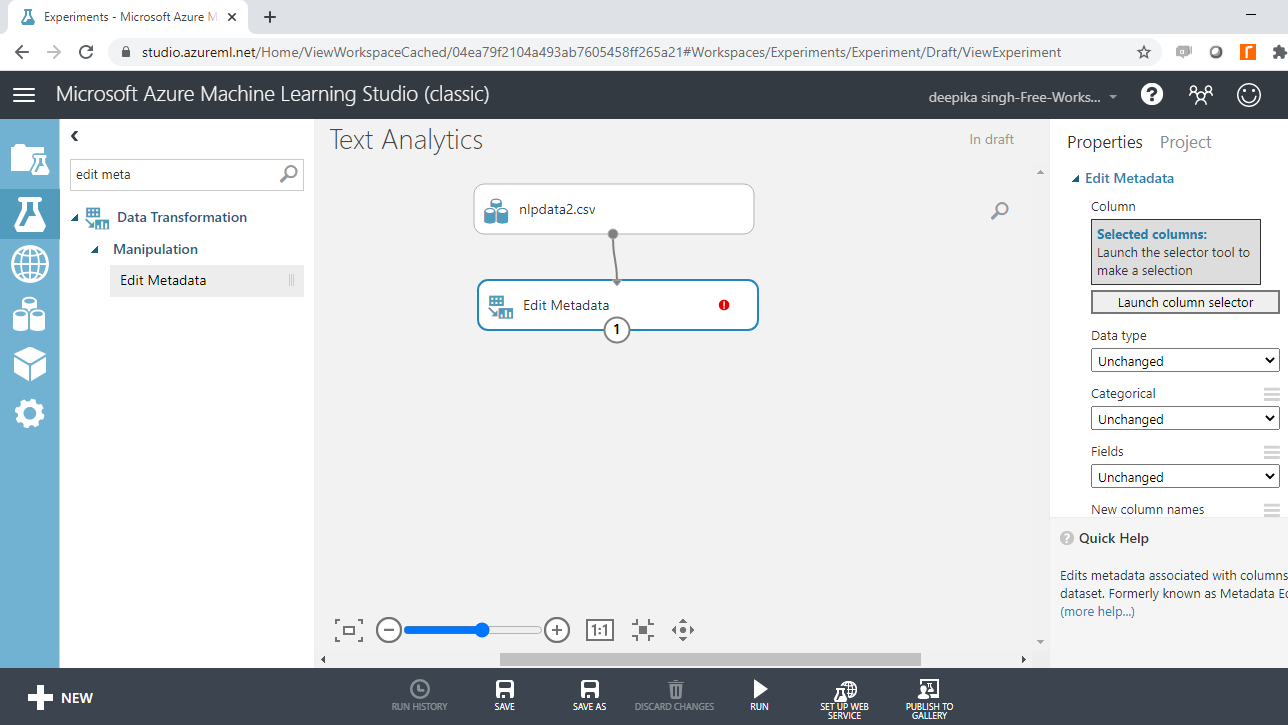
The next step is to click on the Launch column selector option, and select the class variable.
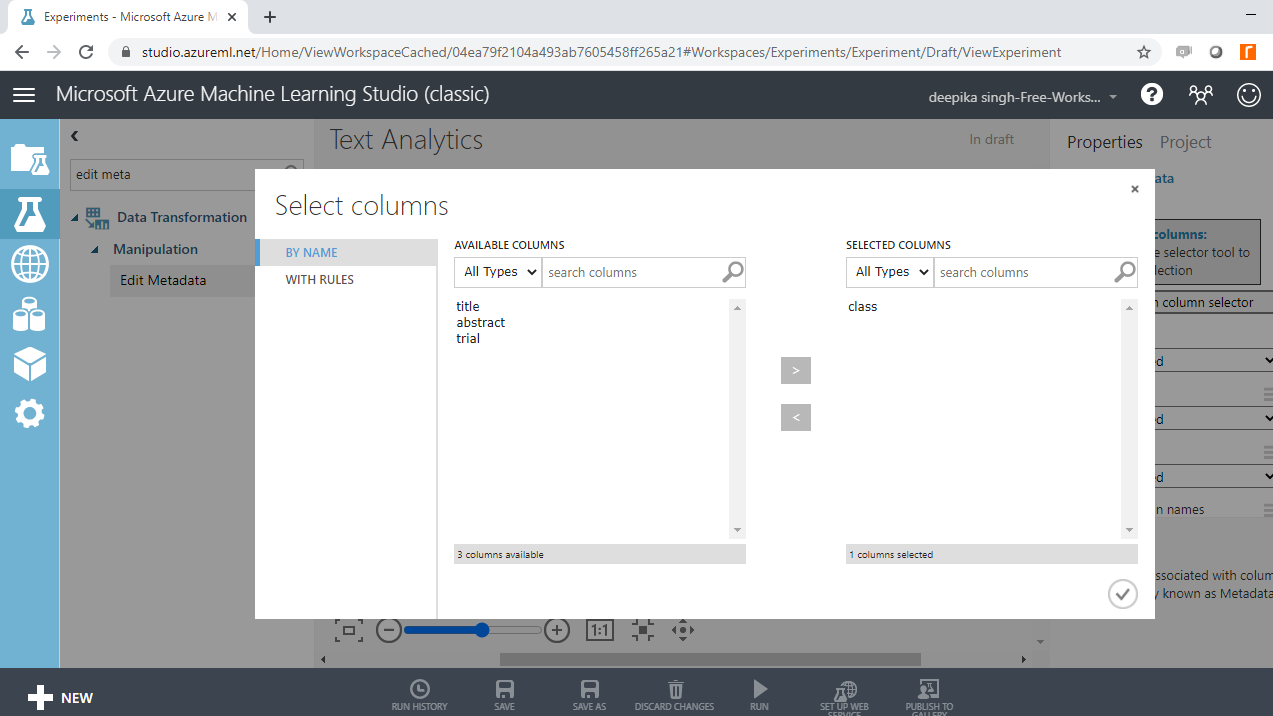
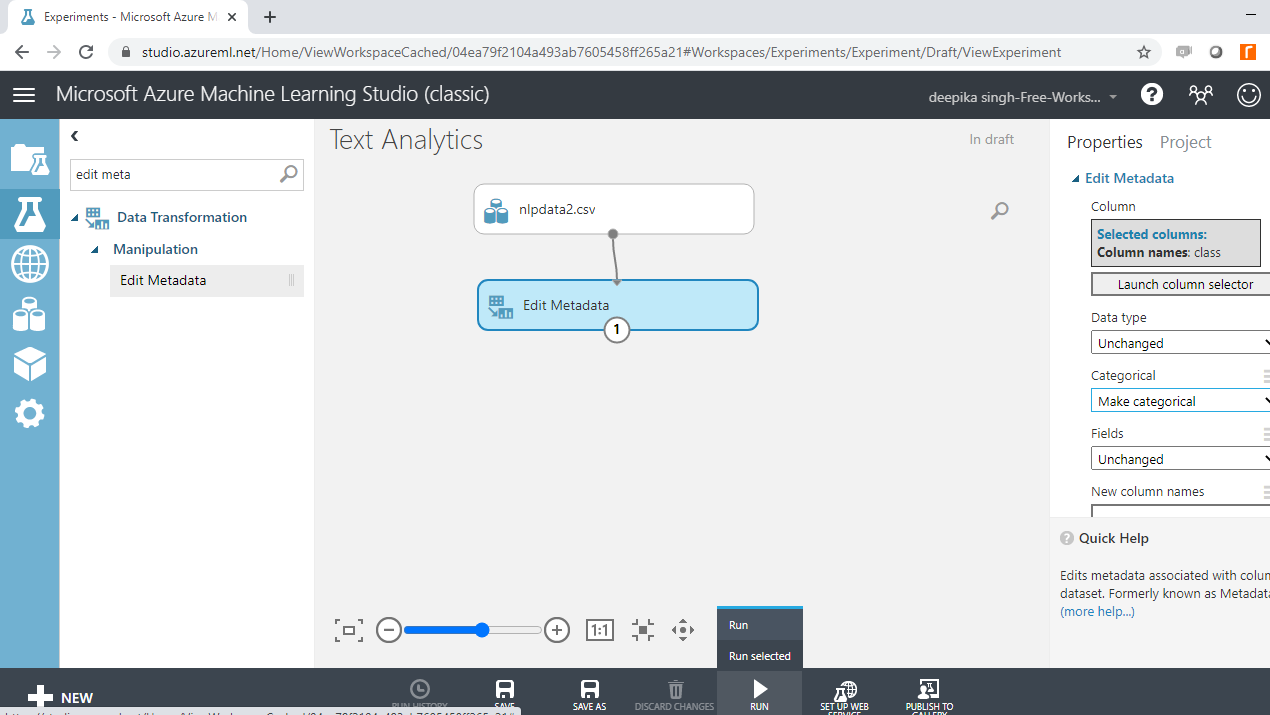
Once you have made this selection, the selected column will be displayed in the workspace. Next, from the dropdown options under Categorical, select the Make categorical option. Next, run the experiment.
Preprocess Text
Now you are ready to build the text classifier. However, this is where things begin to get trickier in NLP. The data is in raw text format, which cannot be used as features. So, this requires text pre-processing.
The common pre-processing steps are given below.
-
Remove punctuation: The rule of thumb is to remove everything that is not in the form x,y,z.
-
Remove stop words: These are unhelpful words like 'the', 'is', 'at'. These are not helpful because the frequency of such stop words is high in the corpus, but they don't help in differentiating the target classes. The removal of stop words also reduces the data size.
-
Conversion to lowercase: Words like 'Clinical' and 'clinical' need to be considered as one word. Hence, these are converted to lowercase.
-
Stemming: The goal of stemming is to reduce the number of inflectional forms of words appearing in the text. This causes words such as “argue,” "argued," "arguing," and "argues" to be reduced to their common stem, “argu”. This helps in decreasing the size of the vocabulary space.
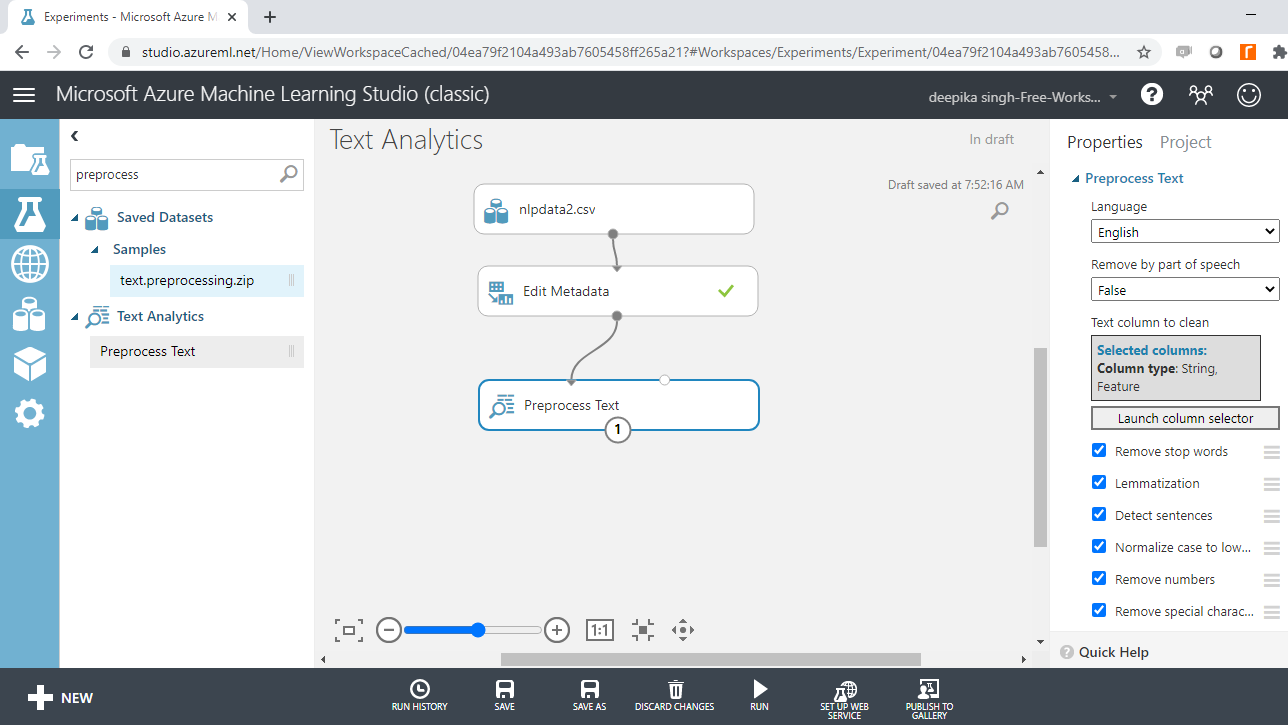
You must specify the text variable to be preprocessed. To do this, click on the Launch column selector option, and select the abstract variable.

There are several text cleaning options, and because this is clinical research data that may have a complex structure, you will select all the options. Run the experiment.

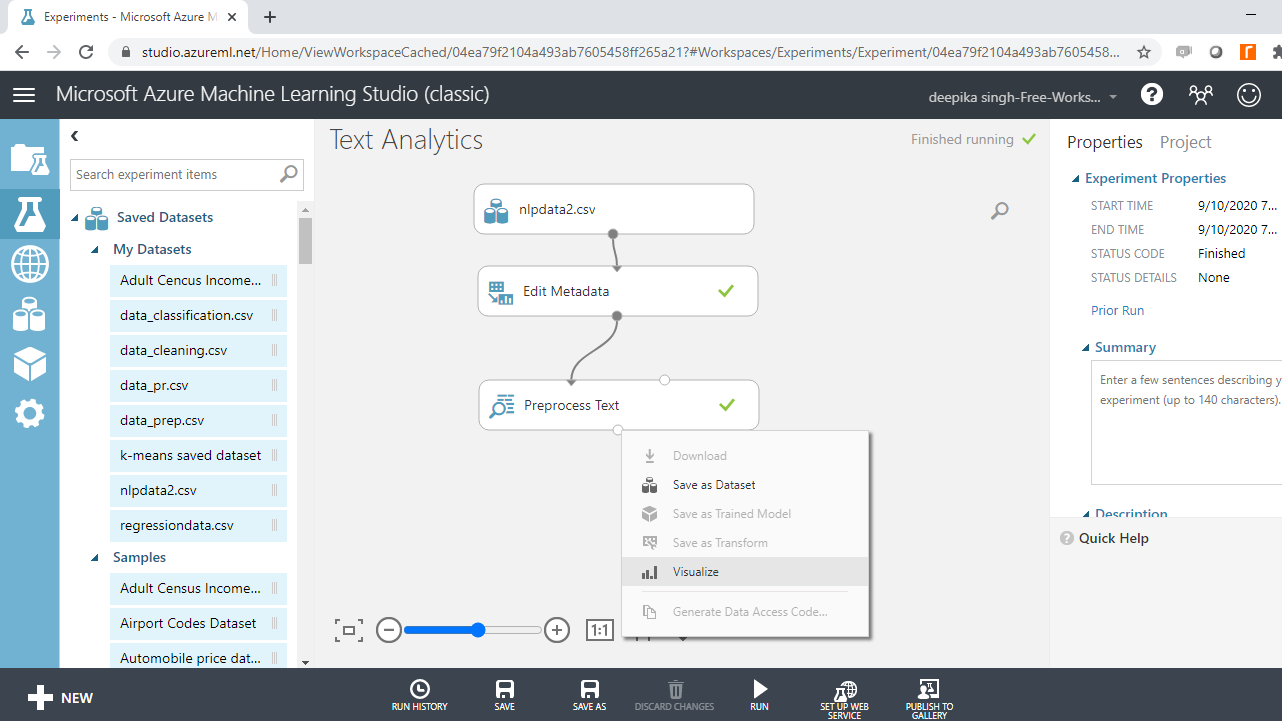
The next step is to explore the resulting pre-processed data. Right click and select Visualize option.
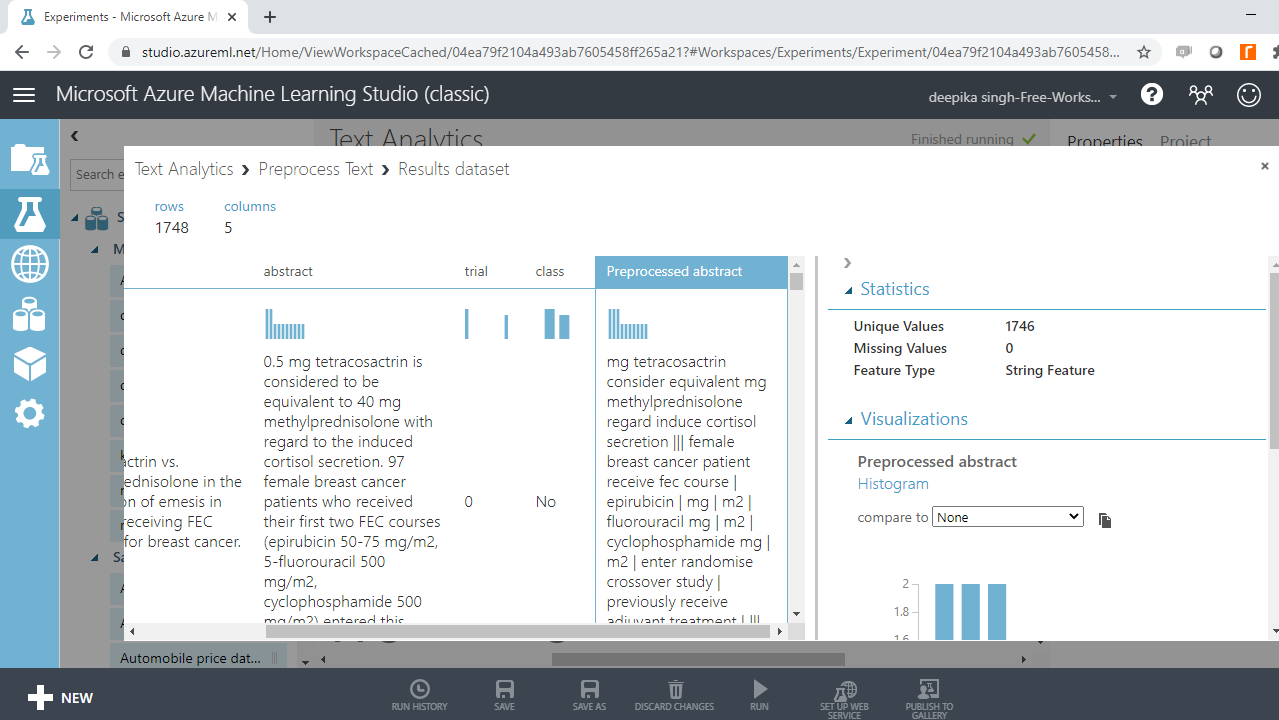
The output below shows that one more variable, Preprocessed abstract, is added, which contains the changes made in the Preprocess Text module.
Run the experiment.
Feature Generation
You have preprocessed the text, and the next step is to generate a set of features. This is done with the Feature Hashing module. How this works is that it takes the text variable and converts it into set of features represented as integers. Search and drag the Feature Hashing module into the workspace.
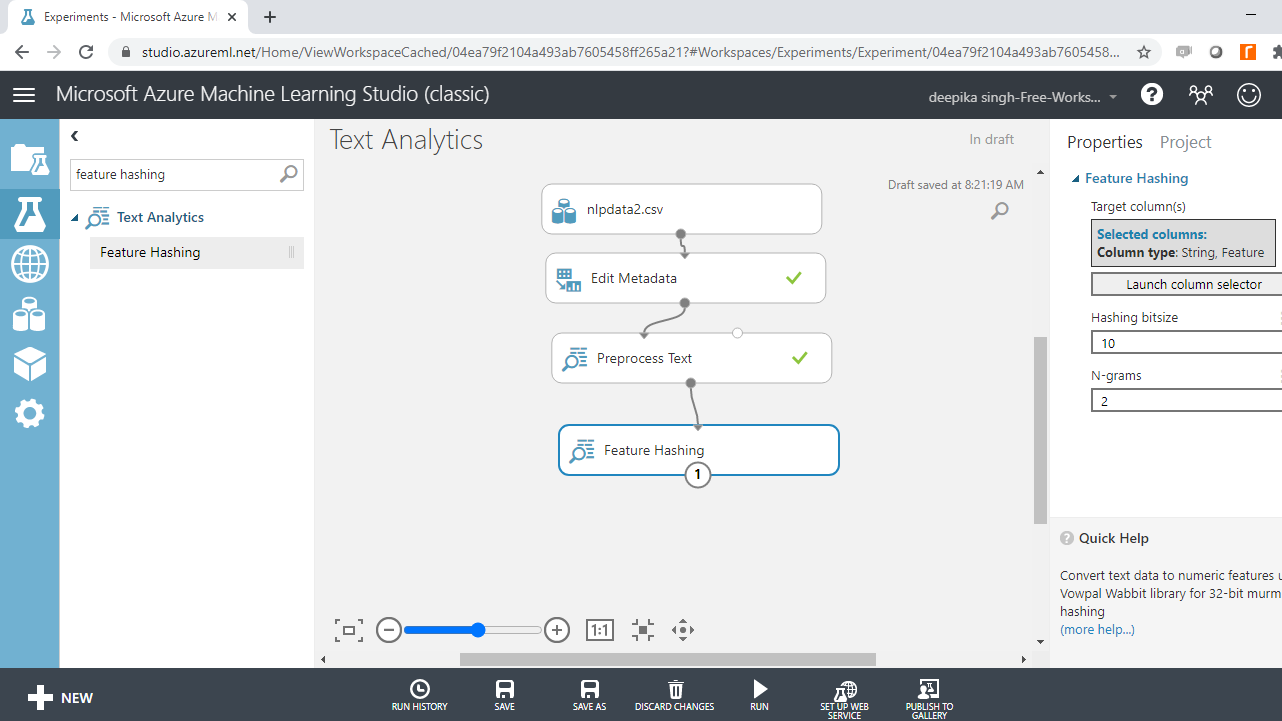
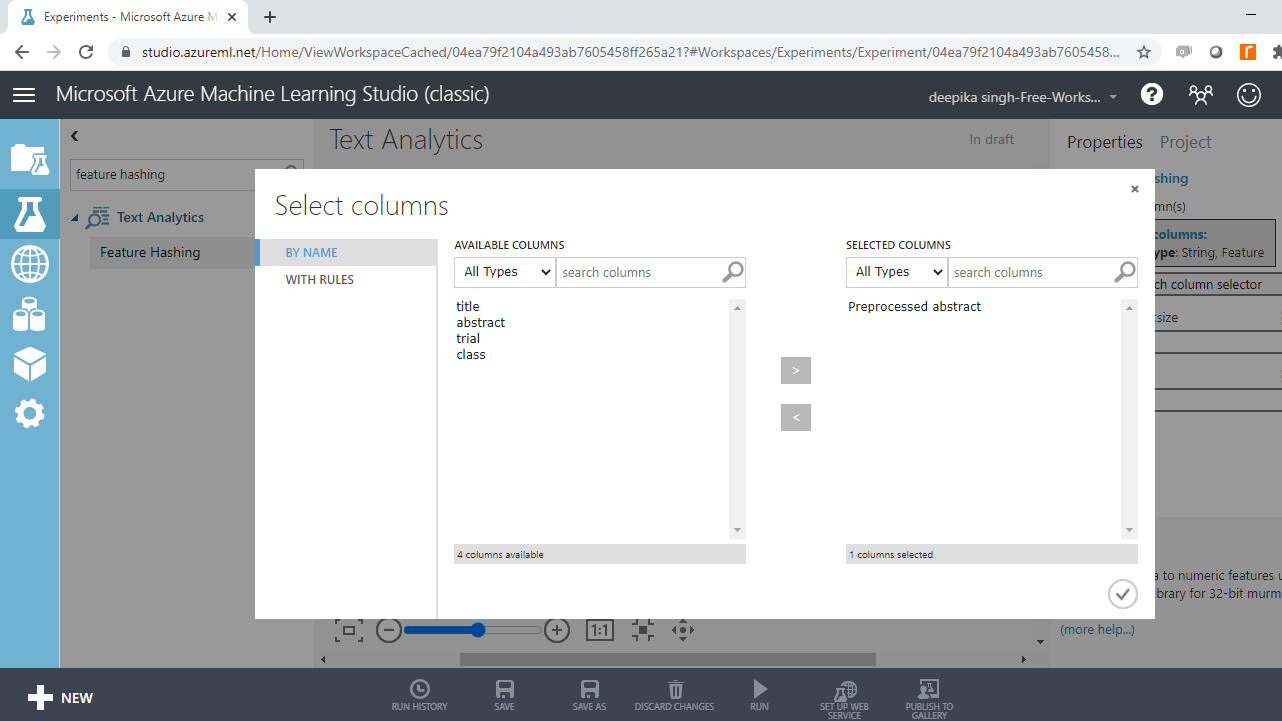
Click on the Launch column selector option, and select the Preprocessed abstract variable.
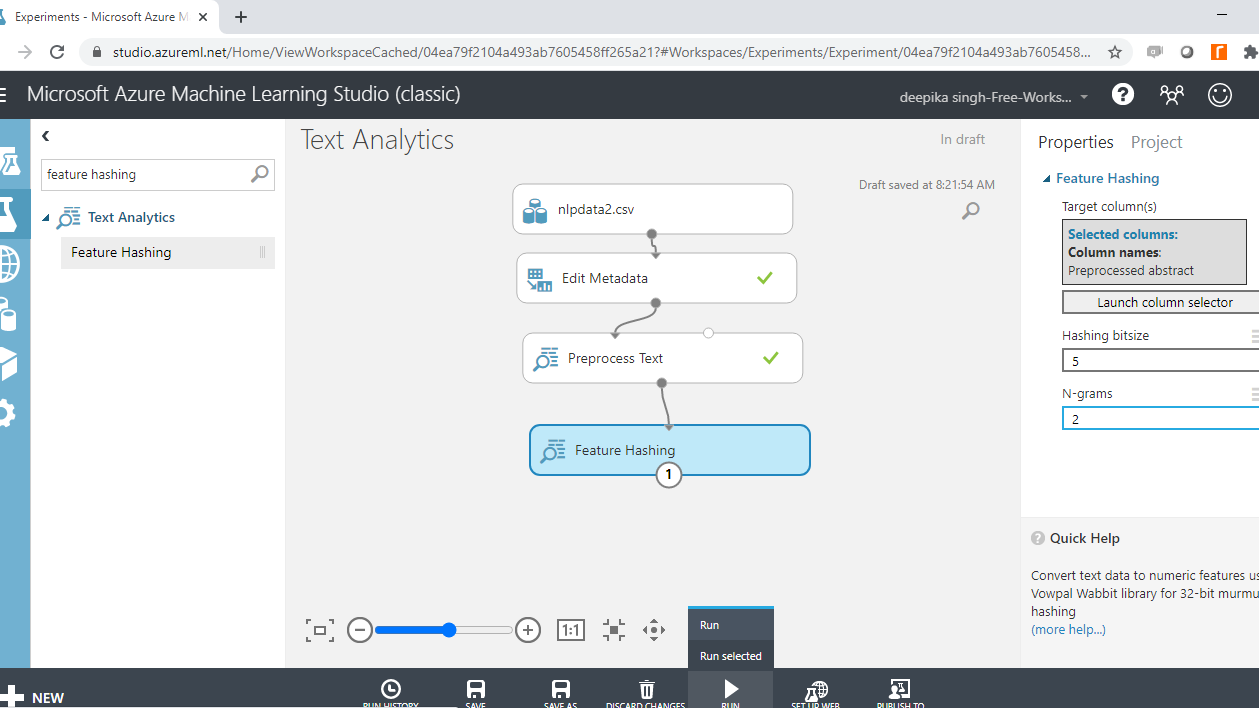
Next, use the Hashing bitsize parameter to specify the number of bits to use when creating the hash table. Keep the default option of ten. The next step is to provide the value to N-grams parameter. Set the value to two. This argument defines the length of the word sequence. Keeping the value to two will result in creation of two word sequences, along with unigrams. Run the experiment.
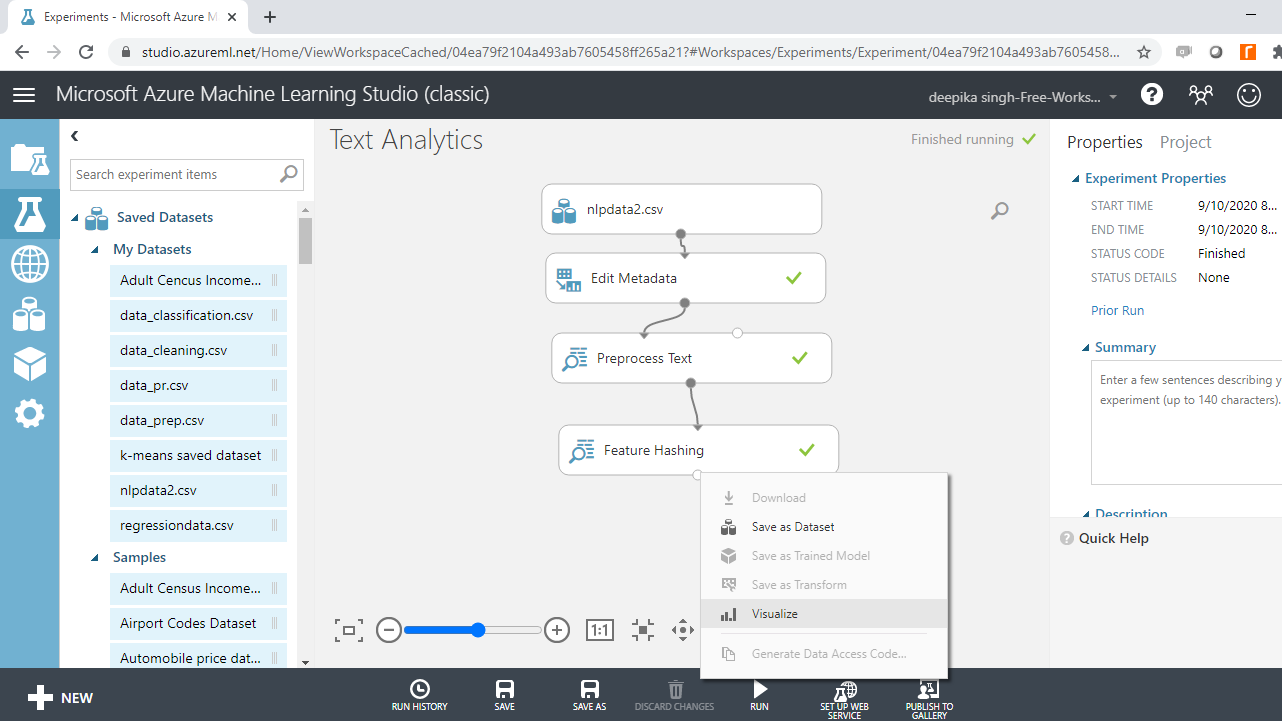
Once the experiment run is complete, right click and select the Visualize option.
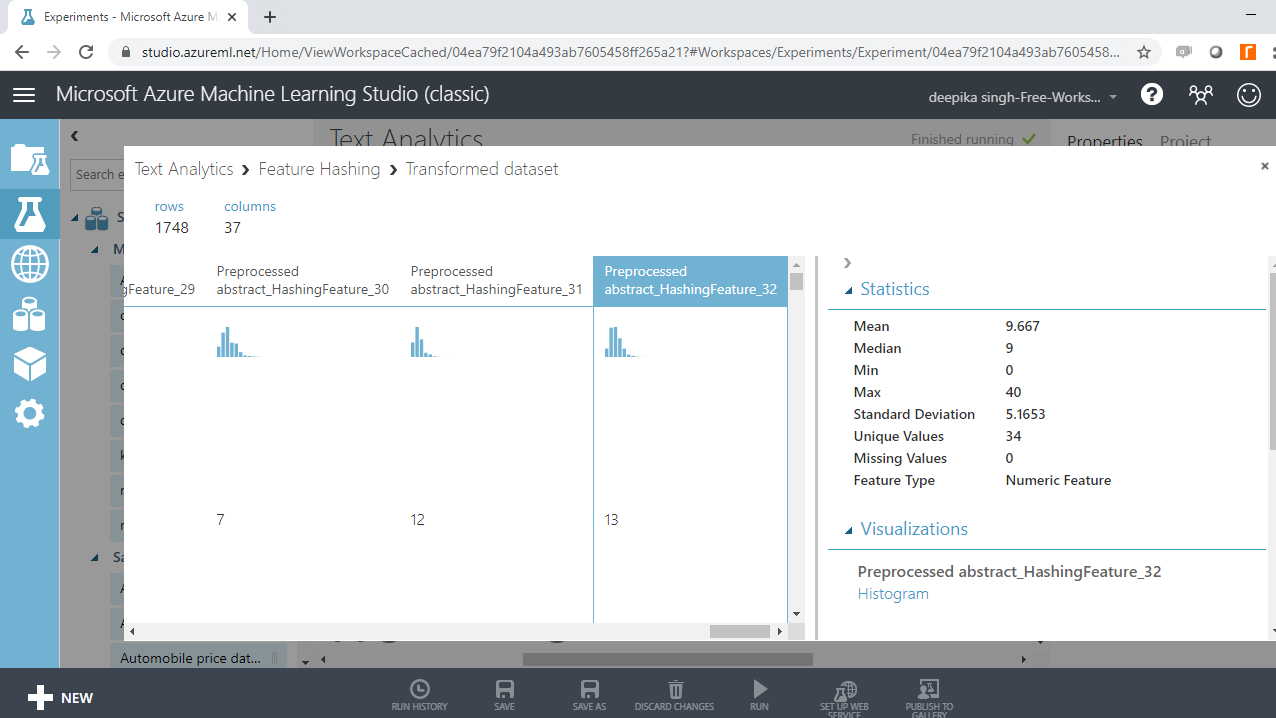
Completing the above step will result in the output below. You can see that new features have been added to the data, which now has 1748 observations and 37 columns.
Select Columns of Interest
You have created new features, and the next step is to select the variables of interest. The Select Columns in Dataset module performs this task. Drag it to the workspace.
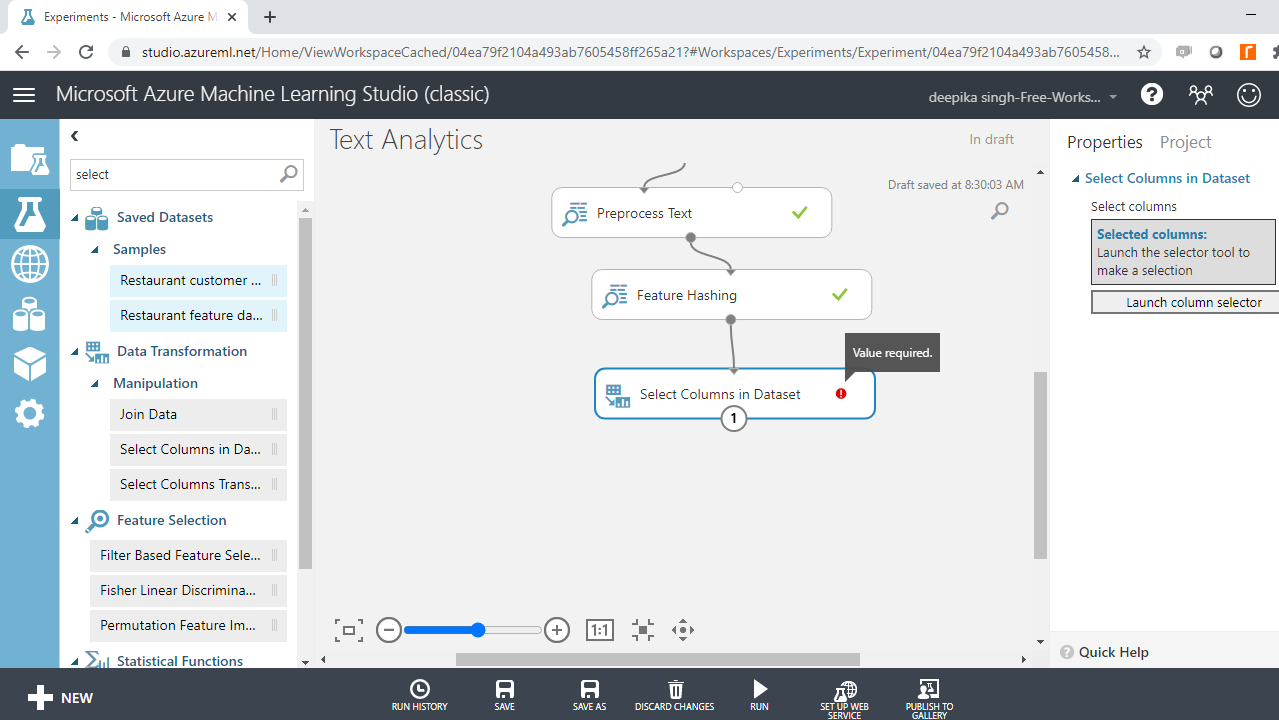
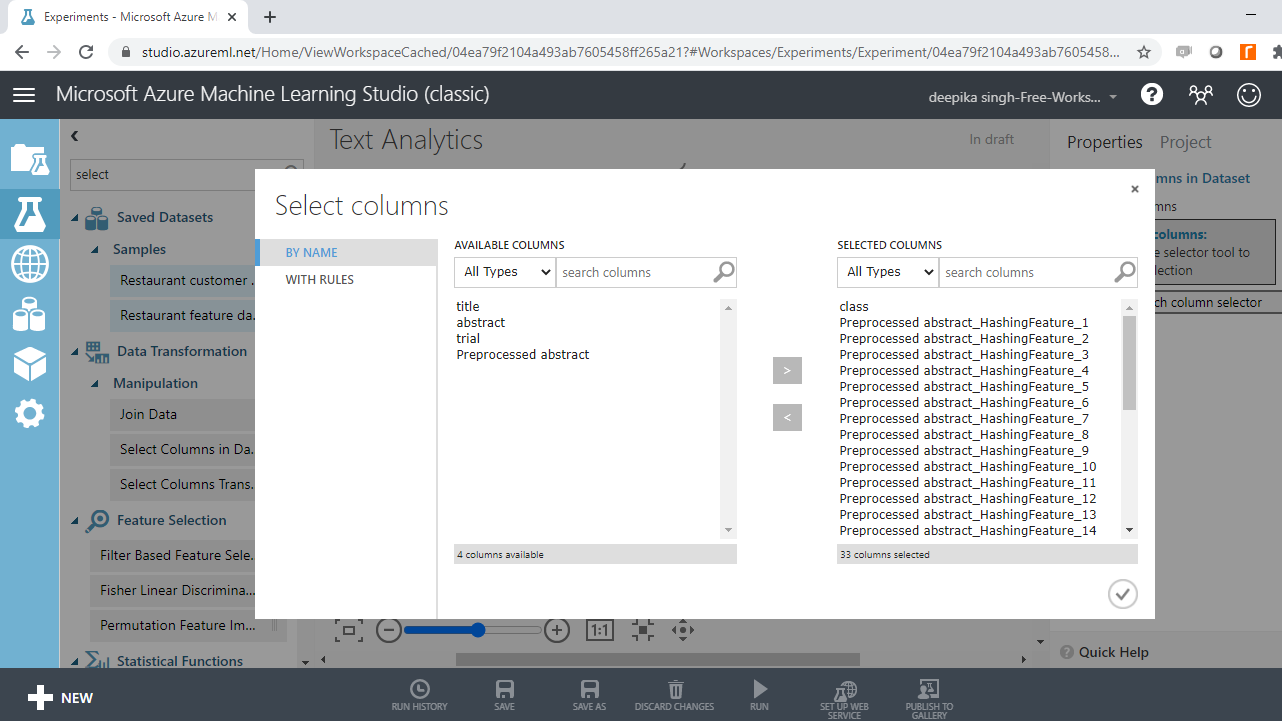
Select the variables of interest with Launch column selector. The target variable, class, and the preprocessed hashed features will be included in model building.
Run the experiment.
Model Building
You have converted the text data into a format of independent variables, and a target variable. The next step is to build the machine learning model. You will build the classifier with the Two Class Boosted Decision Tree module. Search and drag it in the workspace.
This module creates a binary classifier using boosted decision tree. This is based on the ensemble machine learning model, in which every tree builds upon the previous tree by correcting its error. For the data used in this guide, every single tree will make predictions on the target class of the dependent variable, class. The final predictions are based on the entire ensemble of trees taken together.
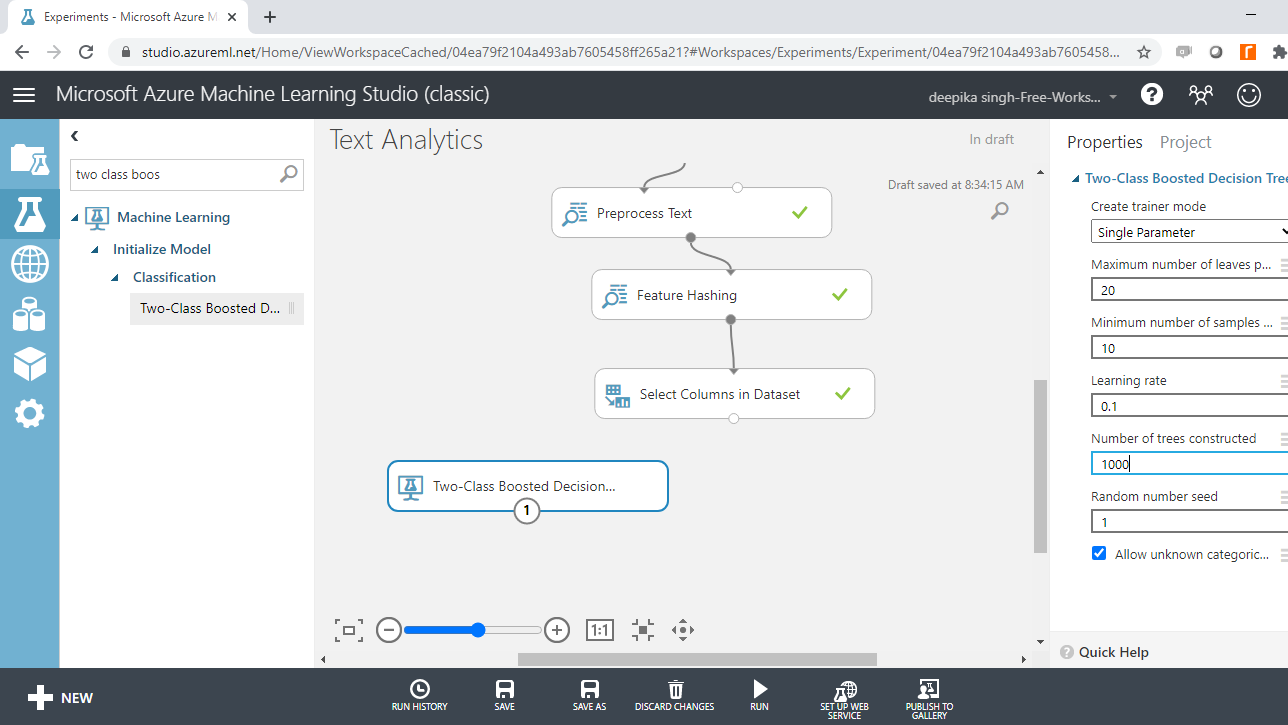
Configure the Model
The next step is to specify the parameters of the Two-Class Boosted Decision Tree module. To do this, click on the module and you will see several training parameters. For Create trainer mode, select the Single Parameter option that is used when you know how you want to configure the algorithm. The second parameter is Maximum number of leaves per tree, which indicates the maximum number of terminal nodes to be created in any tree. Set this value to 20. Fill the other options as shown below.
Cross Validation
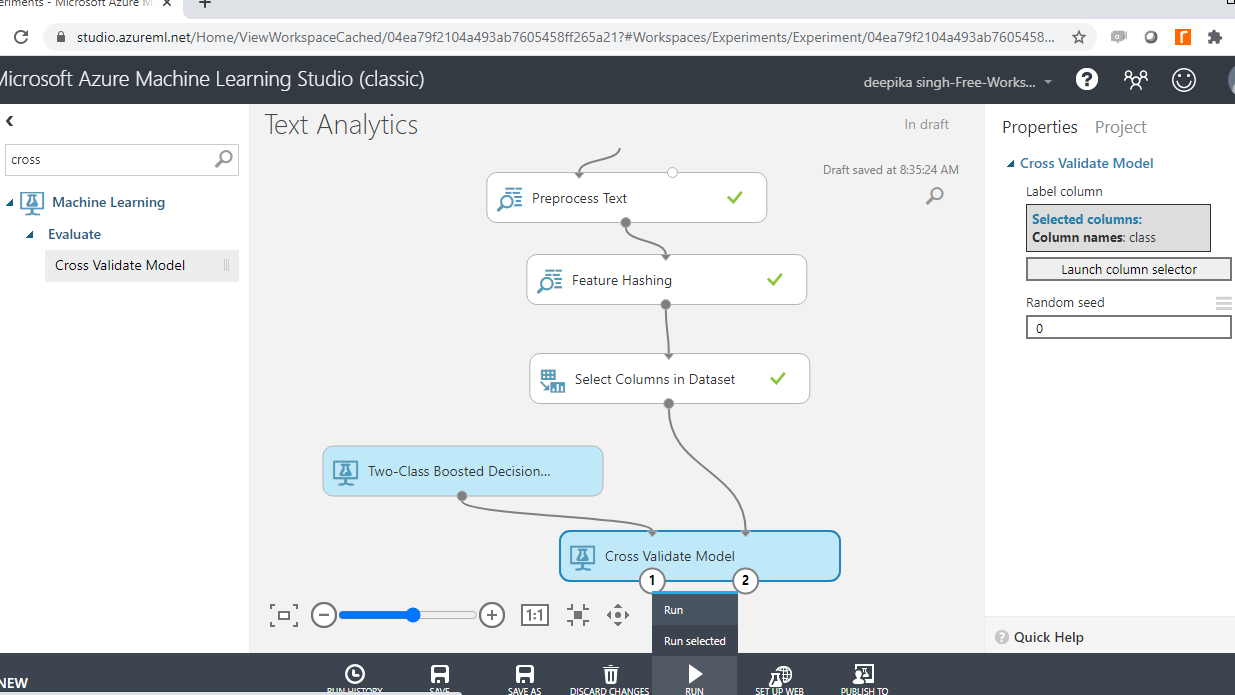
Model validation plays an integral part in building powerful and robust machine learning models. Model validation helps ensure that the model performs well on new data, and helps in selecting the best model, the parameters, and the accuracy metrics. The Cross Validate Model module performs this task in Azure Machine Learning Studio. Search and drag the Cross Validate Model module into the workspace, and create the connections as shown below.
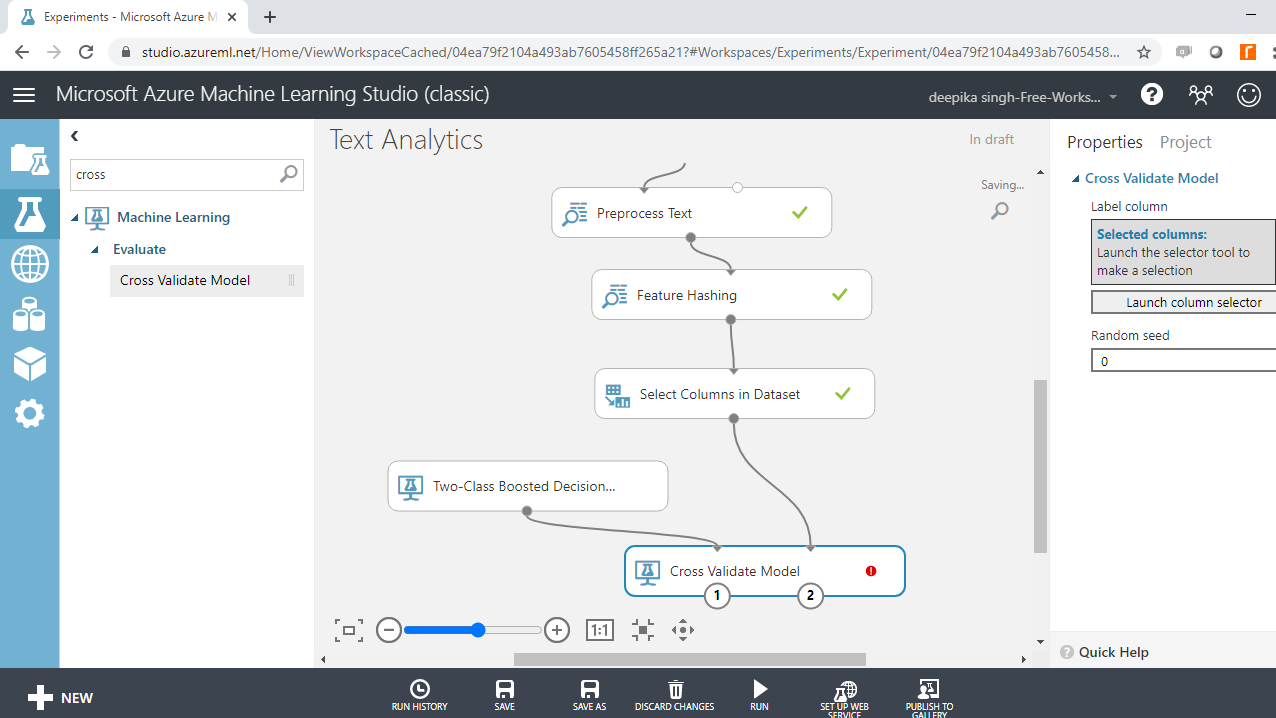
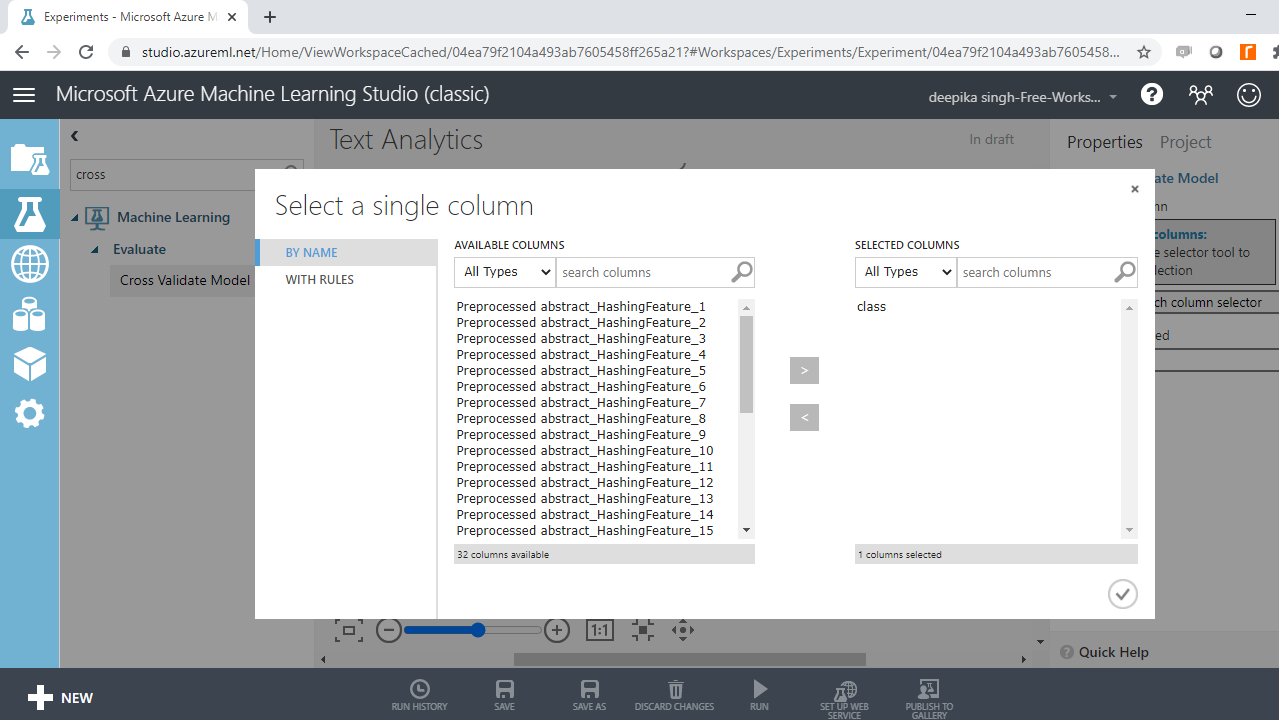
You can see the red flag in the Cross Validate Model, which needs to be corrected. Click on the Launch column selector option, and select the target variable, class, as shown below.
Run the experiment.
Model Evaluation
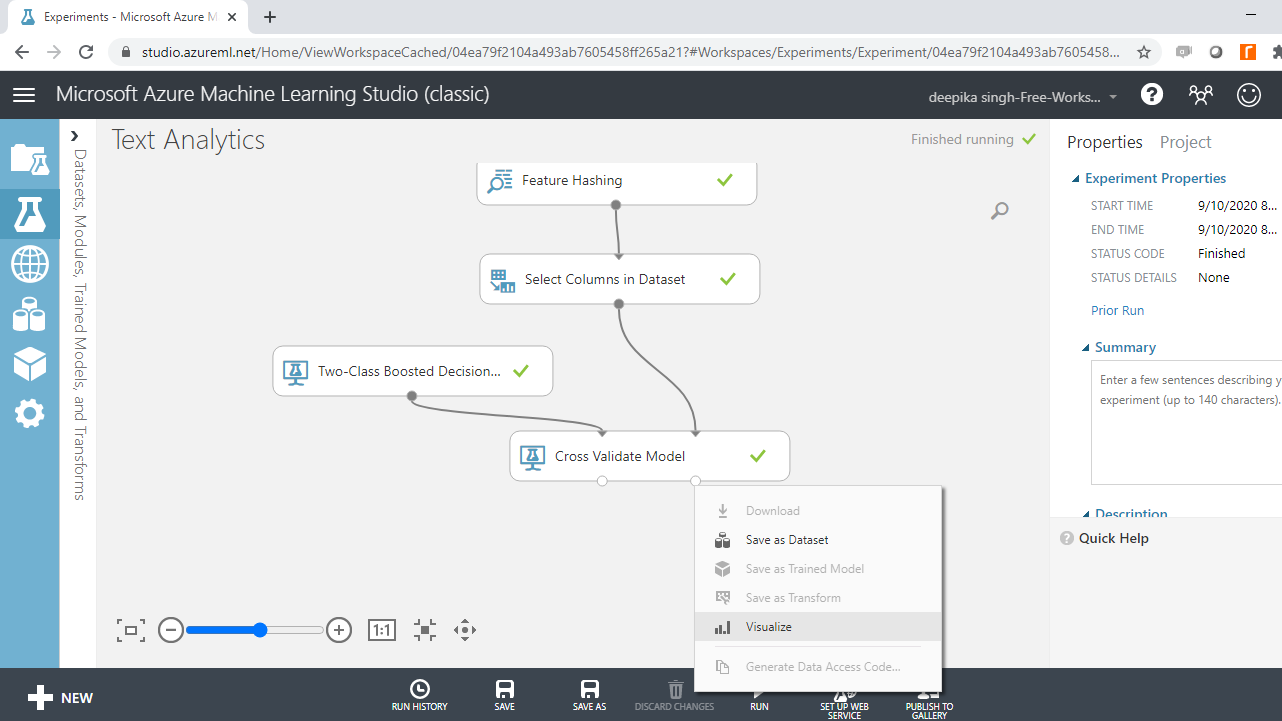
You have built the predictive model on text data, and the next step is to evaluate the model performance. The right output port contains the evaluation results by fold. Right click and select the Visualize option.
The following output will be displayed to show the evaluation results by folds. There are ten folds, zero through nine, and for every fold you have results across several metrics such as accuracy, precision, recall, and so on.
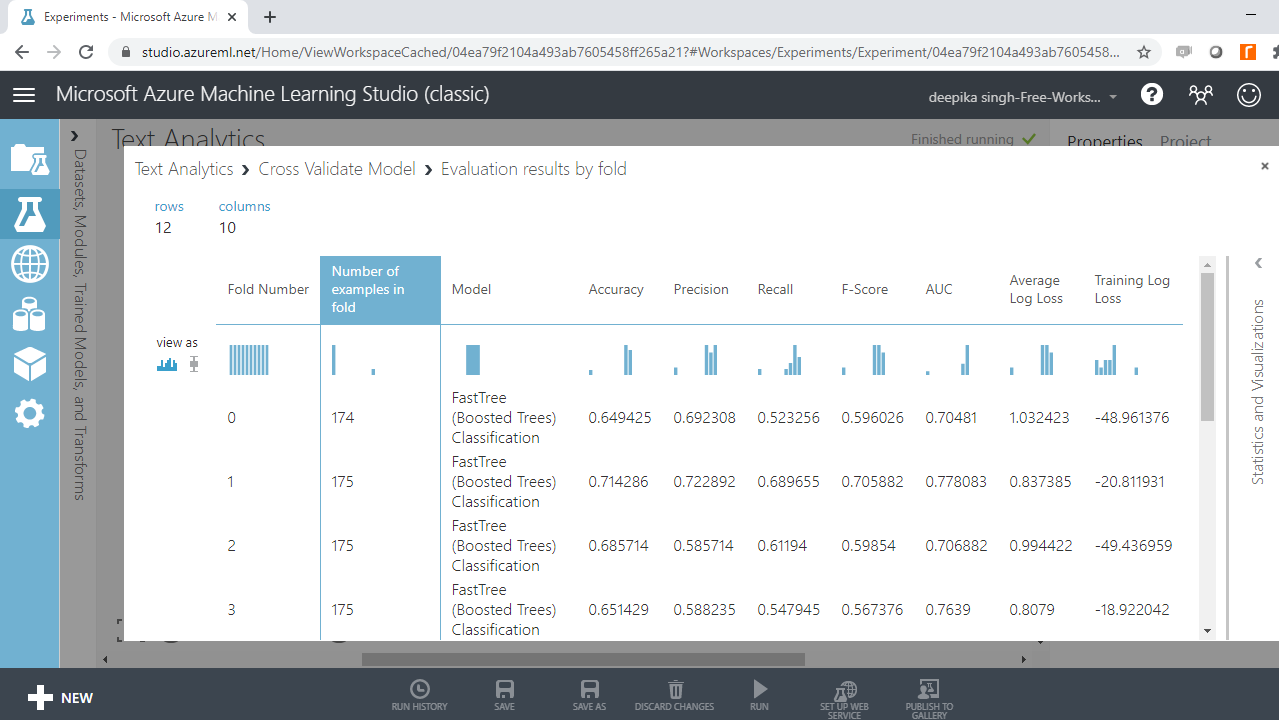
If you scroll downwards, you will see the mean results across the ten folds.
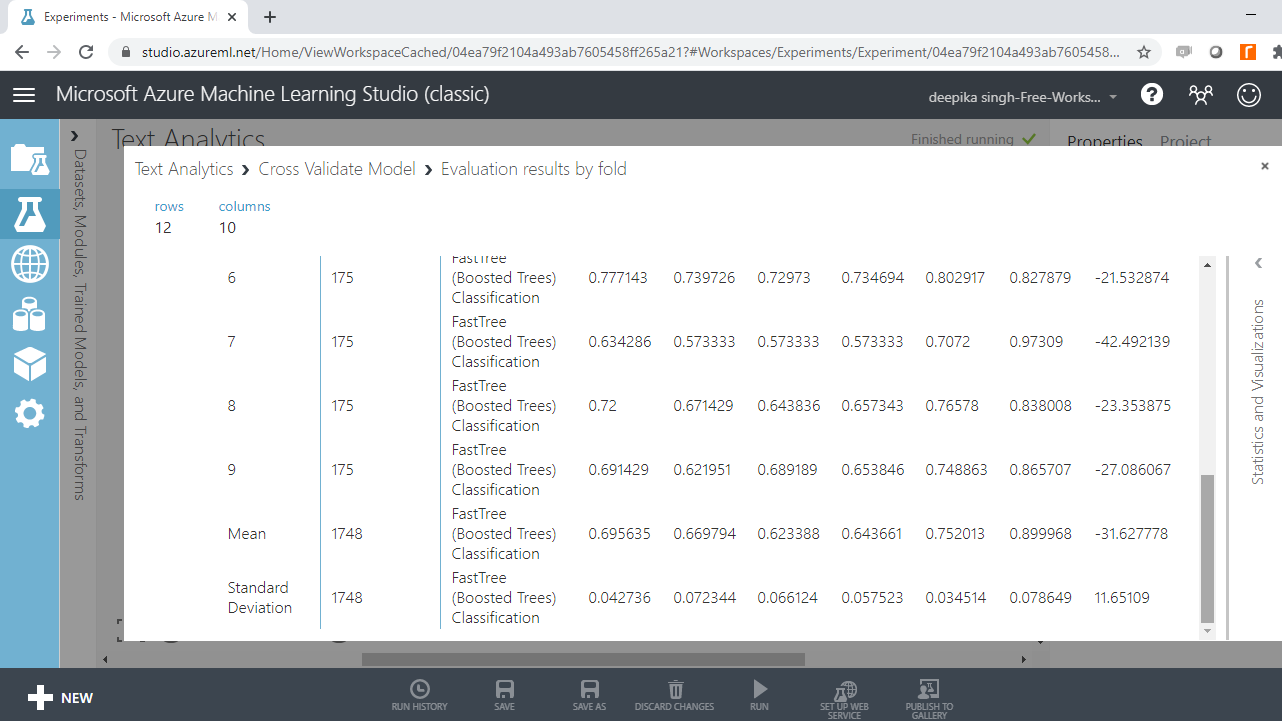
From the above output, you can infer that the mean accuracy, F-score, and AUC value for boosted tree model is 0.70, 0.64 and 0.75, respectively. These results indicate satisfactory model performance.
Conclusion
Natural language processing is an emerging area of data science and artificial intelligence. You can see the application areas of text classification when you open your Gmail account, where the emails are often classified into Primary, Social, and Promotions. Facebook and chatbots are another common application areas. Even traditional industries like banks and manufacturing have adopted text classification.
In this guide, you learned how to build a supervised machine learning classification model on text data using Azure Machine Learning Studio. You can learn more on text classification with guides on other technologies like Python and R.
To learn more about data science and machine learning using Azure Machine Learning Studio, please refer to the following guides:
Advance your tech skills today
Access courses on AI, cloud, data, security, and more—all led by industry experts.
