
- Course
Blurring the Line Between 2D and 3D in Photoshop
Photoshop has long been a pioneer in the realm of 2D image editing.
Intermediate
- Course
Blurring the Line Between 2D and 3D in Photoshop
Photoshop has long been a pioneer in the realm of 2D image editing.
Intermediate
Get started today
Access this course and other top-rated tech content with one of our business plans.
Try this course for free
Access this course and other top-rated tech content with one of our individual plans.
This course is included in the libraries shown below:
- Core Tech
What you'll learn
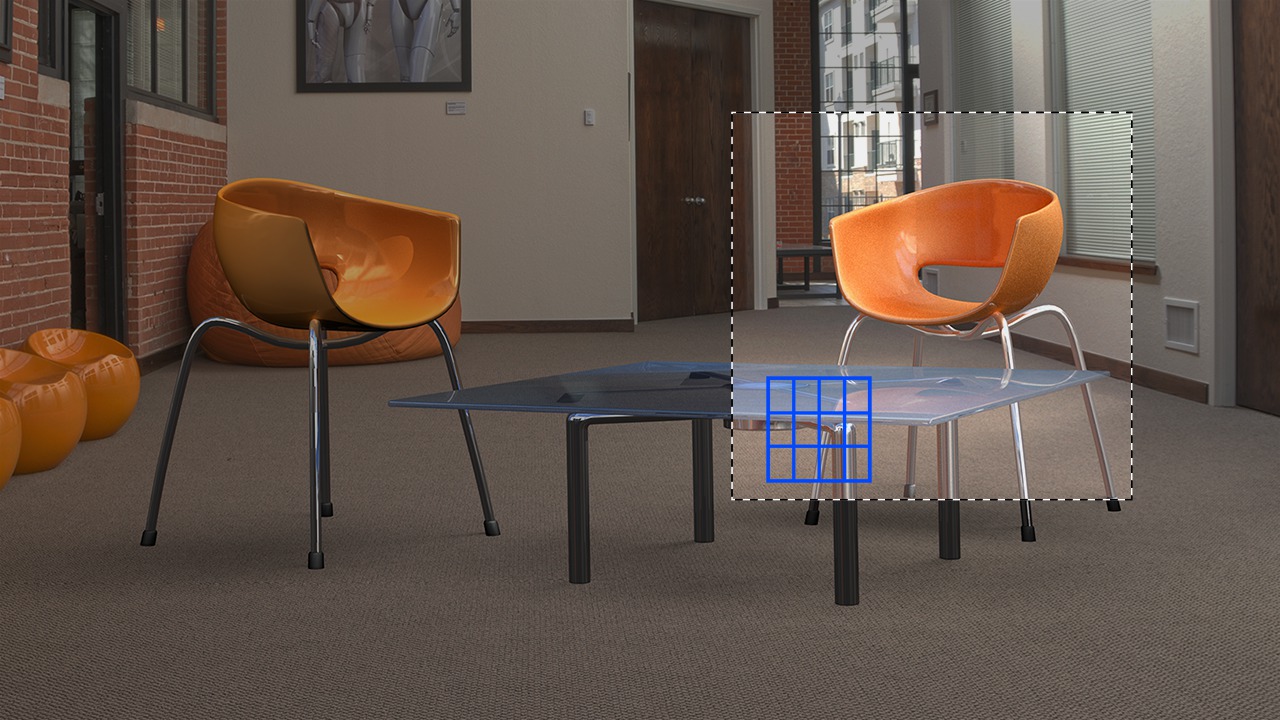
Photoshop has long been a pioneer in the realm of 2D image editing. But what happens if we need to incorporate some type of a 3D model into our image? Well, with the help of Photoshop CS6 Extended, we now have the ability to handle this entire pipeline all right inside of Photoshop. From materials to lighting and rendering, this tutorial will teach you how to perform each step inside of Photoshop. We'll get started by learning how to use the Vanishing Point filter to influence our perspective camera. Next, we will learn how to import, scale, and position all of the geometry for our scene. Next, we will break down materials in Photoshop, learning how we can quickly assign them to our various pieces of geometry. To wrap this training up, we will learn about different methods of lighting our scene. First, we will learn how to implement image based lighting using a linear workflow. We'll then learn how we can manually create and place lights in our scene to help illuminate our objects in a way that makes them look like they are part of the image. After watching this tutorial, you will be well equipped to begin importing your own geometry into Photoshop and merging it into still images.
Blurring the Line Between 2D and 3D in Photoshop
Intermediate
Table of contents
Eddie is a content producer for Unity as well as a seasoned shading, texturing, lighting and rendering artist. He takes pride in helping creative professionals reach their learning goals.
