
- Course
Combining Painted and Image-based Textures in MARI
In this MARI tutorial, we will learn about texturing a creature model using a combination of hand painting and image projection. Software required: MARI 1.4v2.
Intermediate
- Course
Combining Painted and Image-based Textures in MARI
In this MARI tutorial, we will learn about texturing a creature model using a combination of hand painting and image projection. Software required: MARI 1.4v2.
Intermediate
Get started today
Access this course and other top-rated tech content with one of our business plans.
Try this course for free
Access this course and other top-rated tech content with one of our individual plans.
This course is included in the libraries shown below:
- Core Tech
What you'll learn
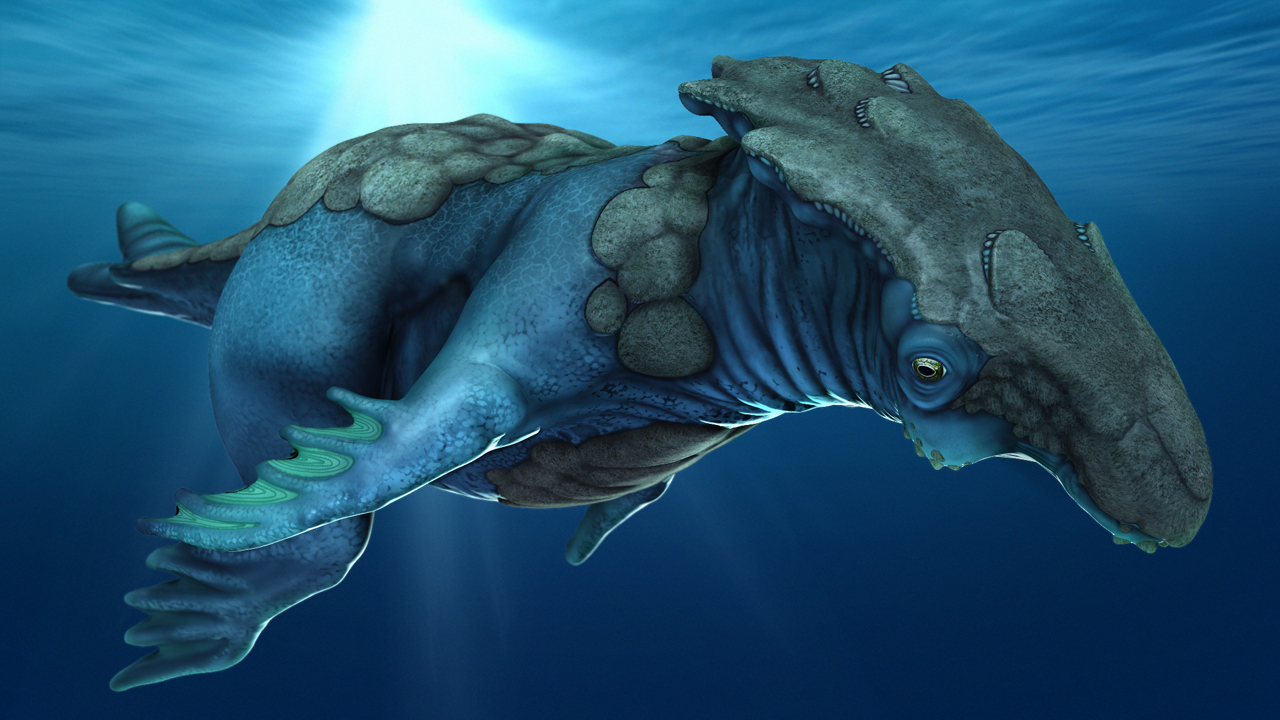
In this MARI tutorial, we will learn about texturing a creature model using a combination of hand painting and image projection. We'll start the tutorial by learning how to bring in some displacement information from another application into our new MARI project. From here we will focus on painting small surface details for our creature and applying them as bump. Next, we will learn how to use the Paint Through tool to project photographic texture on various areas. We'll be moving back and fourth between image projecting and painting in an effort to make the two flow seamlessly together. After that, we will learn several different techniques for color correcting both our painted and photographic textures. To wrap things up, we will learn how to bake all of our textures down and export them for use in our primary 3D application. After completing this tutorial, you should be able to blend hand-painted textures with photographic ones in your own MARI projects. Software required: MARI 1.4v2.
Combining Painted and Image-based Textures in MARI
Intermediate
Table of contents
Eddie is a content producer for Unity as well as a seasoned shading, texturing, lighting and rendering artist. He takes pride in helping creative professionals reach their learning goals.
