- Course
Designing for Injection Molding and 3D Printing in SolidWorks
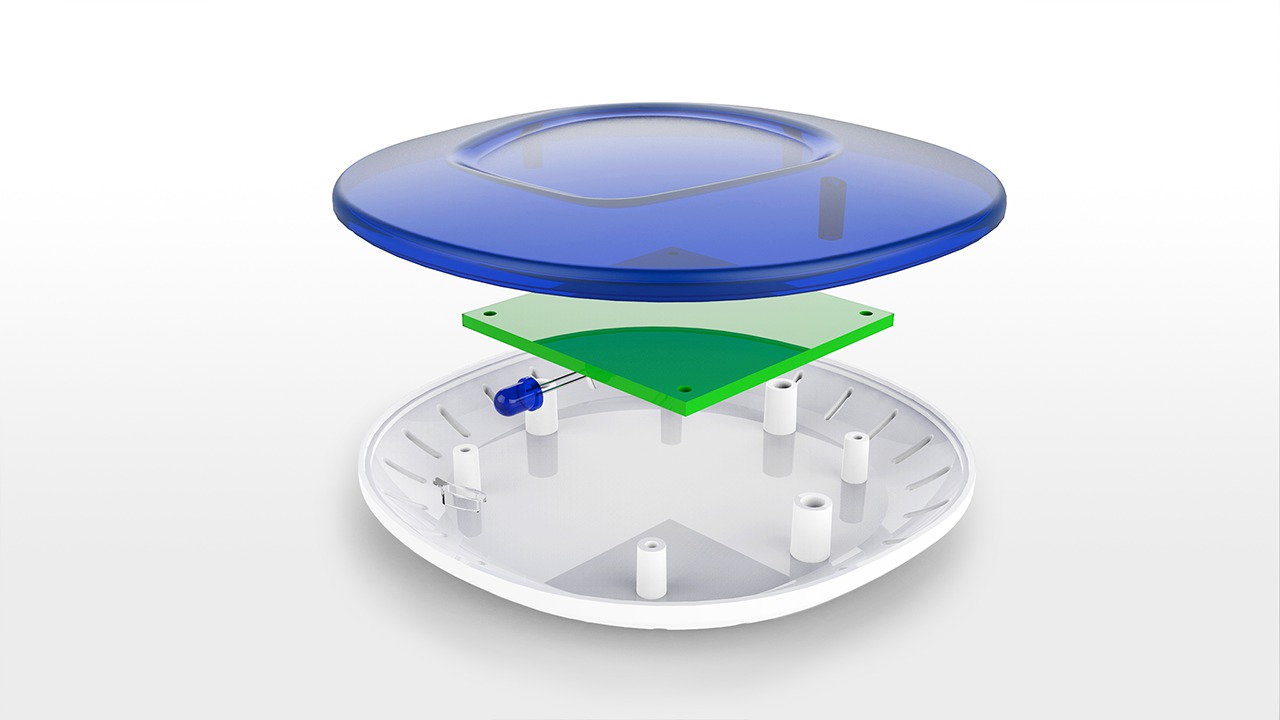
Throughout these lessons, we will learn how to design for rapid plastic injection molding as well as 3D printing. Software required: SolidWorks 2014, KeyShot 5.

- Course
Designing for Injection Molding and 3D Printing in SolidWorks
Throughout these lessons, we will learn how to design for rapid plastic injection molding as well as 3D printing. Software required: SolidWorks 2014, KeyShot 5.
Get started today
Access this course and other top-rated tech content with one of our business plans.
Try this course for free
Access this course and other top-rated tech content with one of our individual plans.
This course is included in the libraries shown below:
- Core Tech
What you'll learn
Throughout these lessons, we will learn how to design for rapid plastic injection molding as well as 3D printing. This will include taking advantage of design intent to help us create parts that are fully editable after the assembly has been created. We will also learn how to design internal bodies and assembly components into these parts. After generating our CAD model, we will take it to the next step with some realistic rendering. All of these techniques are currently sought after in the Industrial Design world and having a clear understanding about how plastic parts are taken from sketch to production will help you become a well-rounded designer. Software required: SolidWorks 2014, KeyShot 5.

