- Course
Designing Scary Film Monsters in ZBrush
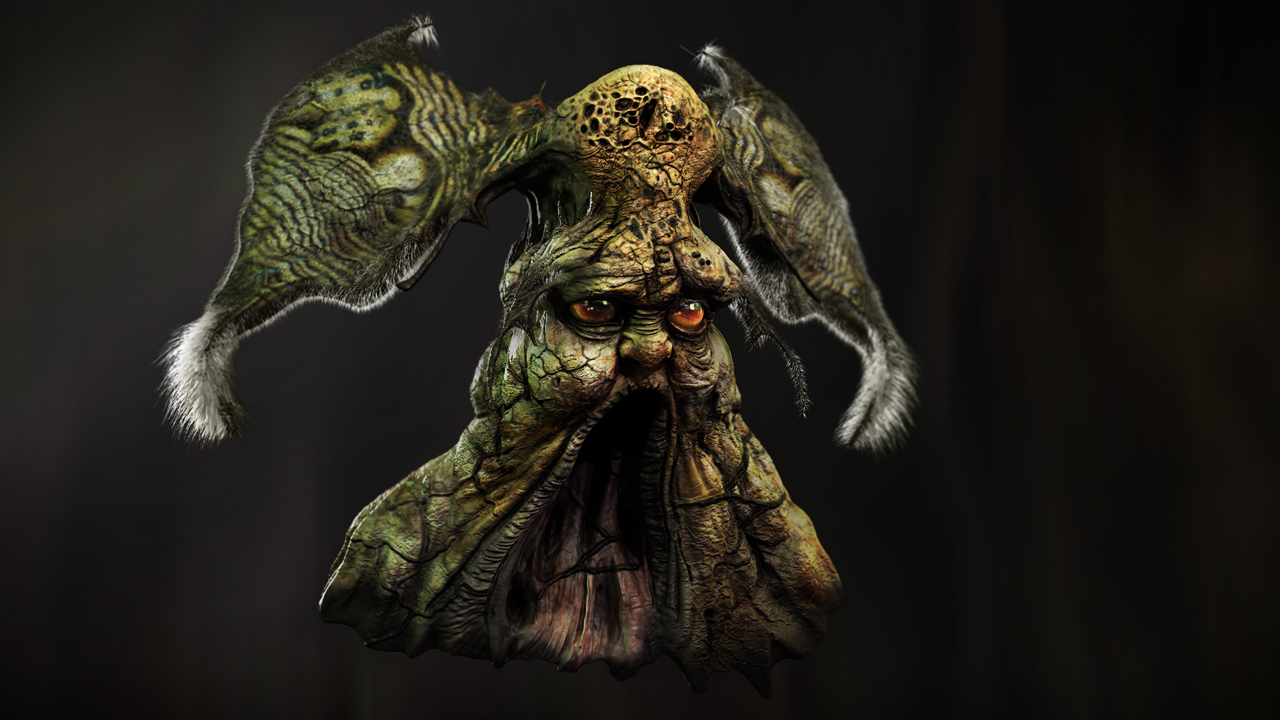
In this ZBrush tutorial, we will learn how to sculpt and texture a detailed monster. Software required: ZBrush 4R3.

- Course
Designing Scary Film Monsters in ZBrush
In this ZBrush tutorial, we will learn how to sculpt and texture a detailed monster. Software required: ZBrush 4R3.
Get started today
Access this course and other top-rated tech content with one of our business plans.
Try this course for free
Access this course and other top-rated tech content with one of our individual plans.
This course is included in the libraries shown below:
- Core Tech
What you'll learn
In this ZBrush tutorial, we will learn how to sculpt and texture a detailed monster. Throughout these series of lessons, we will cover all of the aspects of designing a scary creature within ZBrush using alternative techniques. In the first video, we will see some examples of scary imagery as well as a sneak peek of an upcoming short film which is all covered up with the word "fear". Eventually, we will start blocking out the main shapes using a very simple base mesh sculpted from a 3D sphere, detail it, texture it using just simple brushes and alphas, and add some quick fur. In the end, we will render out a turntable and talk about creativity, workflows, and how to boost your creativity with the help of TM: transcendental meditation. Software required: ZBrush 4R3.

