- Course
Photoshop CC Creating a Product 3D Composite
Designing with 3D is becoming a necessary skill for designers these days. This course will show you how to create a 3D product and then composite into a final image, all in Photoshop CC. Software required: Adobe Photoshop CC.

- Course
Photoshop CC Creating a Product 3D Composite
Designing with 3D is becoming a necessary skill for designers these days. This course will show you how to create a 3D product and then composite into a final image, all in Photoshop CC. Software required: Adobe Photoshop CC.
Get started today
Access this course and other top-rated tech content with one of our business plans.
Try this course for free
Access this course and other top-rated tech content with one of our individual plans.
This course is included in the libraries shown below:
- Core Tech
What you'll learn
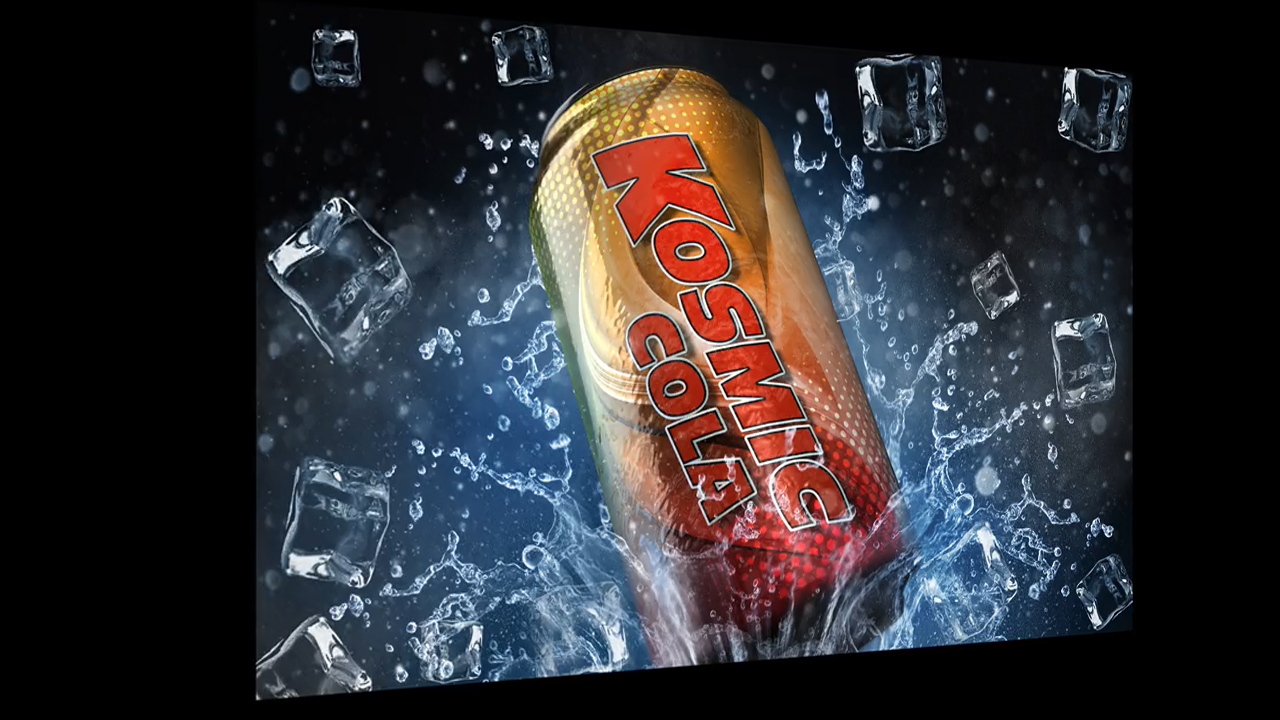
Are you a graphic artist who really wants implement 3D into your design skillset but without the massive learning curve of 3D applications? In this course, Photoshop CC Creating a Product 3D Composite, you will learn how to create a 3D mock-up of a commercial product and then composite it with realistic lighting and atmospheric effects - all in Photoshop CC. This is a project-based course so you will have a chance to learn the process from the beginning with a blank canvas, to a full rendered 3D composite. First, you'll learn how to create a 3D can product. Next, you'll explore how to create a background environment. Finally, you'll wrap up by putting the last touches on your final composite. Along the way you'll learn a few really cool Photoshop tricks that will enhance your productivity and your creativity. By the end of the course, you will have a strong understanding of how to create a fully-realized commercial composite using 3D in Photoshop. Software required: Adobe Photoshop CC.
Photoshop CC Creating a Product 3D Composite
-
Intro | 41s
-
A Quick 3D Primer | 3m 37s
-
A Quick Word on Workspaces | 1m 23s
-
Create Can & Remove Shadow | 3m 17s
-
Add Base Color & Texture for Label | 7m 3s
-
Set Text for Label Art | 8m 20s
-
Adjust Text Orientation & Style Settings | 4m 11s
-
Create Halftone Graphic Element | 5m 10s
-
Add Water Texture to Surface | 6m 56s
-
Adjust Final Lighting | 7m 14s
-
Modify Cap Materials | 3m 8s

