Automotive Modeling in XSI
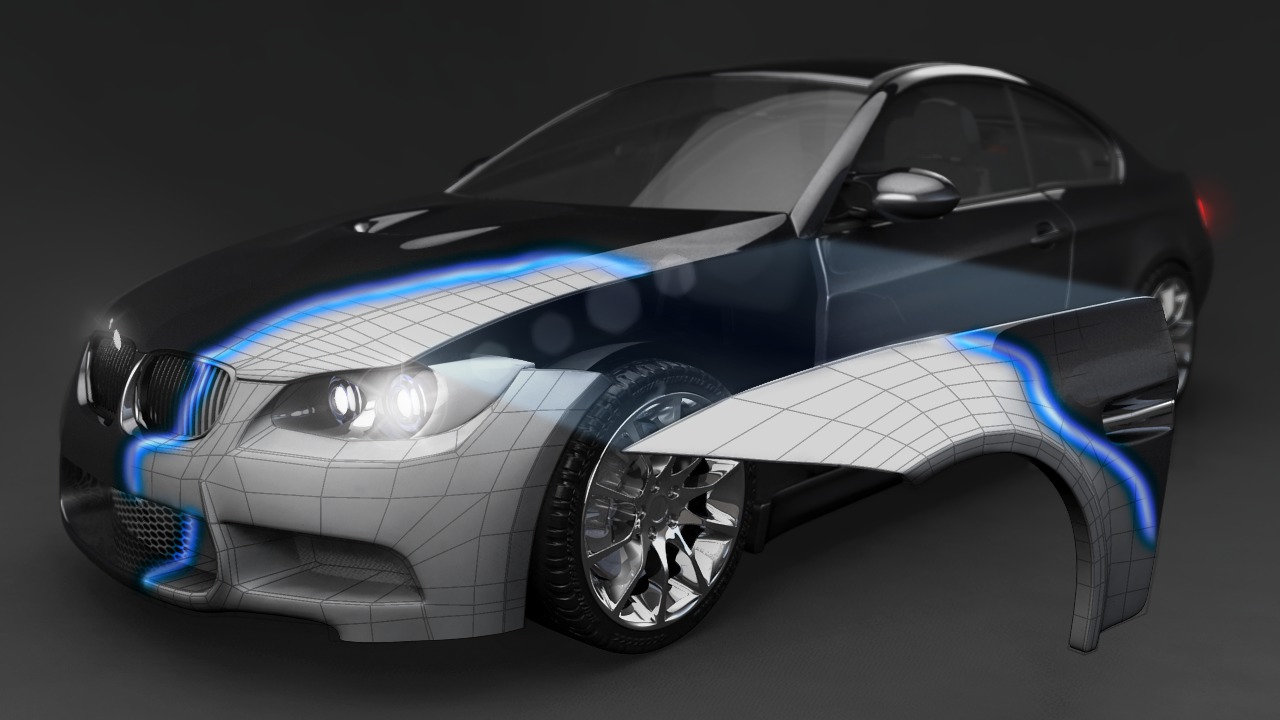
Learn a production workflow to automotive modeling using XSI and several time-saving techniques that can be used for film, games, and automotive design projects. Software required: XSI 6.0 or higher (XSI 7.0 required to open project files).
What you'll learn
Learn a production workflow to automotive modeling using XSI and several time-saving techniques that can be used for film, games, and automotive design projects. This tutorial provides 10 hours of project-driven training, perfect for intermediate artists and experienced artists learning new techniques. Popular highlights include: Modeling with Blueprint References; Establishing Automotive Line Flow; Building Volume with Curves; Shaping Geometry to Avoid Dents; Generating Curves from Geometry; Modeling Contoured Panels; Re-directing Edge Flow; Adding Scoops to Curved Surfaces; Re-paramaterizing Curves; Converting Geometry Types; Mirroring Detail; Merging and Extracting Geometry; Welding Points and Edges; Creating Fitted Panels; Creating Complex Body Details; UV Mapping Techniques; mental ray Materials; Building Car Paint Shaders; Creating Brushed Metal Effects; Overcoming Modeling Challenges; mental ray Lighting Setup; Adding Tire Tread with Bump Maps; Final Gather for Indirect Lighting. Software required: XSI 6.0 or higher (XSI 7.0 required to open project files).
Table of contents
- Setting up Reference Rotoscopes 4m
- Creating Initial Geometry Around the Wheels 7m
- Building Additional Edge Loops for Wheel Well 7m
- Drawing Reference Curves to Establish Volume 9m
- Building Geometry for the Rear Wheel Well 7m
- Modeling Initial Body Panel Geometry 10m
- Creating Additional Side Panel Segments 14m
- Cleaning and Merging Side Panel Geometry 11m
- Building Rear Panel Geometry 12m
- Creating Base Geometry for the Hood 7m
- Adding Proper Depth and Curvature to the Hood 10m
- Modeling Headlight Recesses into the Hood 10m
- Finalizing Hood Detail 10m
- Blocking in Geometry for Front End 8m
- Detailing Grill and Headlight Recesses 11m
- Modeling Air Intake Openings 8m
- Connecting Air Intake Shapes 12m
- Finalizing Front End Detail 7m
- Creating Initial Shape for the Front Grill 8m
- Building and Shaping Grill Slats 12m
- Modeling Headlight Cover 14m
- Adding Headlight Interior Geometry 11m
- Creating Headlamp Recesses 9m
- Building Headlamp Geometry 9m
- Modeling Main Roof Arch 14m
- Subdividing and Detailing Side Panel Geometry 14m
- Building the Trunk and Back Bumper 9m
- Connecting Main Arch to Body Panels 9m
- Separating Geometry into Individual Panels 9m
- Adding Details to Trunk Area 7m
- Using Edge Creases to Sharpen Trunk Details 13m
- Preparing Rear Fender for Detailing 8m
- Closing Geometry Holes in the Rear Fender 13m
- Adding Sharp Creases to Rear Bumper 8m
- Adding Exhaust Pipes and Air Intake Covers 11m
- Adding Air Vent to the Front Body Panel 12m
- Creating Door Handles 9m
- Modeling Complex Shapes into Lower Body Panel 12m
- Building Roof and Windshield Geometry 10m
- Adding Detail to the Trunk Area 12m
- Adding Thickness to Side Panels 8m
- Introducing Thickness into the Front Panel 15m
- Building Thickness into the Front Fender 12m
- Adding Thickness to Remaining Body Panels 10m
- Generating Curves to Create Side Windows 9m
- Creating Side Window Geometry 7m
- Adding Rubber Seals Around the Windows 8m
- Blocking in Shape for Side Mirrors 9m
- Finalizing Side Mirrors 12m
- Getting Rough Shape for Tire Rims 9m
- Refining Tire Rim Shape 9m
- Creating Lug Nuts and Recesses in the Tire Rims 10m
- Modeling Tires and Brakes 11m
- Creating Remaining Accessories for Car 10m
- Adding UVs and Textures to the Tires 13m
- Assigning Textures and UVs to Windows 12m
- Closing the Geometry Underneath the Vehicle 16m
- Assigning Materials to Various Accessories 11m
- Using the Architectural Material on Rims 8m
- Using Car Paint Shader on the Car Body 13m