- Course
Designing an Underwater Scene in CINEMA 4D and After Effects
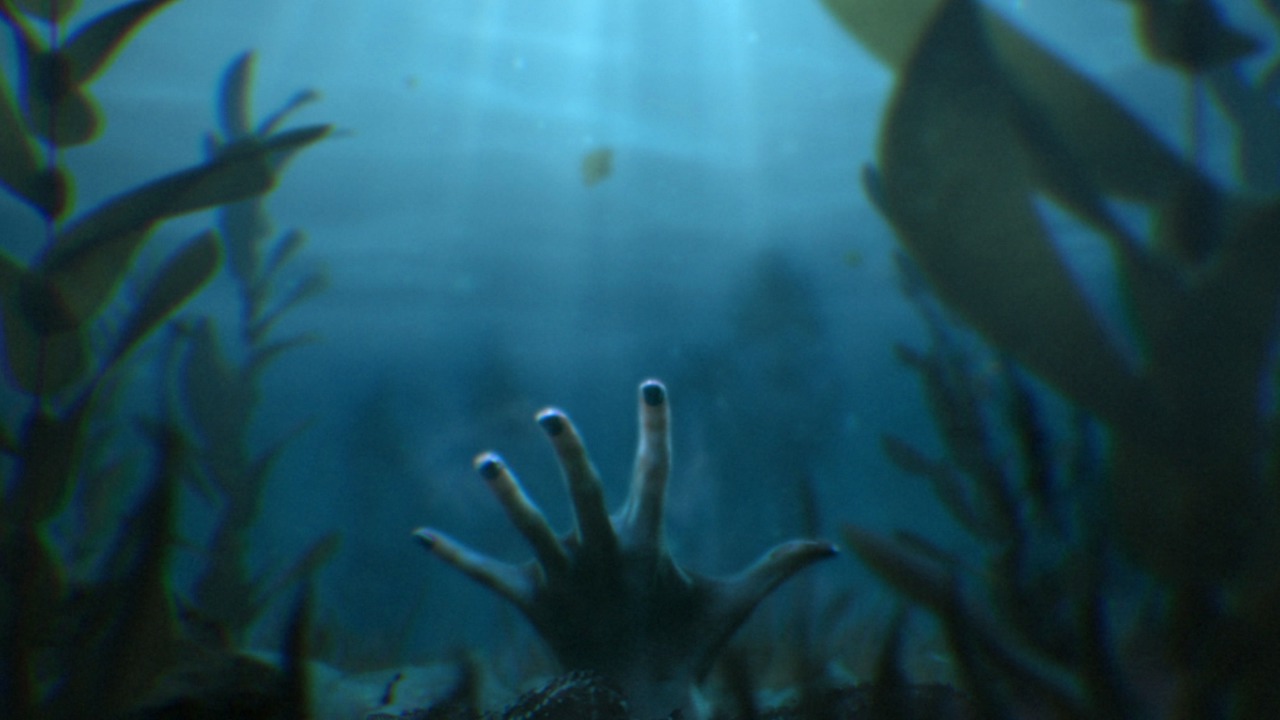
In this CINEMA 4D and After Effects tutorial, we'll learn how to model, texture, and animate an underwater kelp forest in CINEMA 4D. Software required: CINEMA 4D, After Effects, Trapcode Particular, Optical Flares.

- Course
Designing an Underwater Scene in CINEMA 4D and After Effects
In this CINEMA 4D and After Effects tutorial, we'll learn how to model, texture, and animate an underwater kelp forest in CINEMA 4D. Software required: CINEMA 4D, After Effects, Trapcode Particular, Optical Flares.
Get started today
Access this course and other top-rated tech content with one of our business plans.
Try this course for free
Access this course and other top-rated tech content with one of our individual plans.
This course is included in the libraries shown below:
- Core Tech
What you'll learn
In this CINEMA 4D and After Effects tutorial, we'll learn how to model, texture and animate an underwater kelp forest in CINEMA 4D. We'll then bring the render into After Effects with a 3D camera. Green screen footage will be keyed and colored to fit with our scene. Two-dimensional elements, such as grass, rocks, and floating debris, will be added in 3D space. We'll finish the scene with light rays, caustics, a lens flare, chromatic aberration, and film grain. By the end of the CINEMA 4D and After Effects training, you'll have many tools and techniques for creating your next underwater shot. Software required: CINEMA 4D, After Effects, Trapcode Particular, Optical Flares.

