
- Course
Gory Effects on a Budget in CINEMA 4D and NUKE
In this series of tutorials, we will go through the process of texturing, rigging, animating, lighting, rendering, and compositing a CG model of guts onto a live-action plate of a zombie. Software required: CINEMA 4D R14, NUKE 7.0v8.
Intermediate
Get started today
Access this course and other top-rated tech content with one of our business plans.
Try this course for free
Access this course and other top-rated tech content with one of our individual plans.
This course is included in the libraries shown below:
- Core Tech
What you'll learn
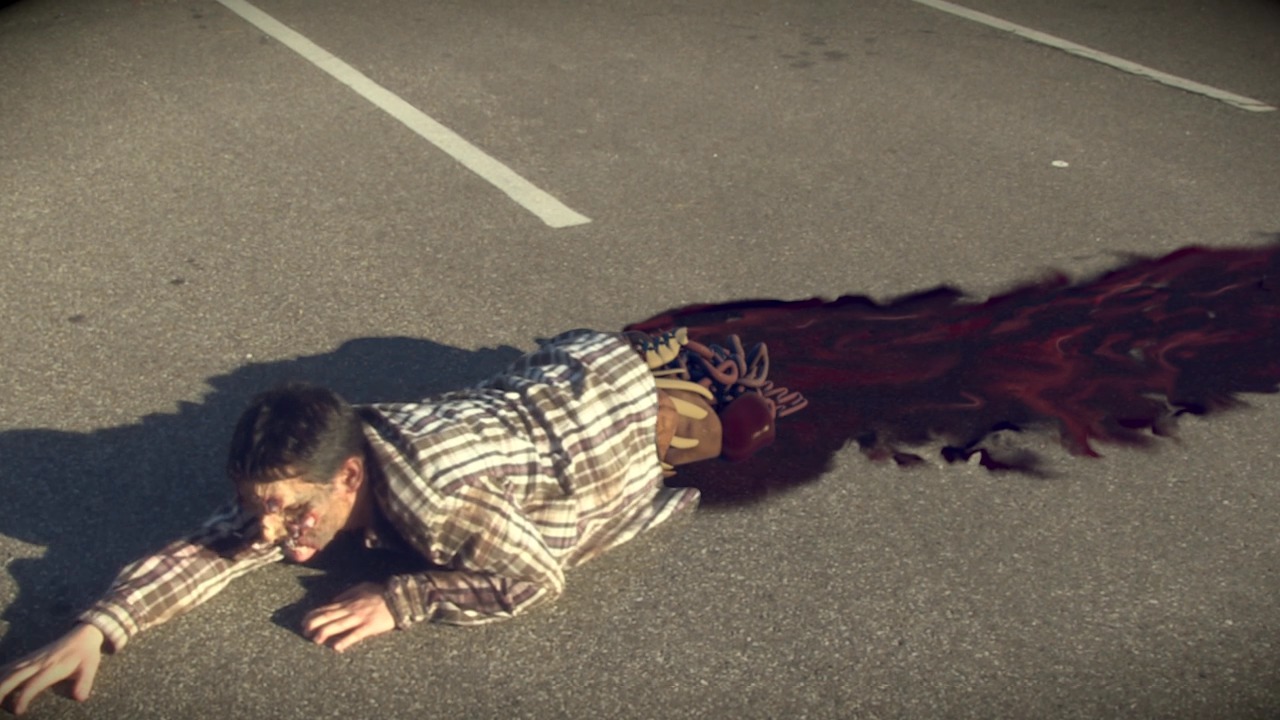
In this series of tutorials, we will go through the process of texturing, rigging, animating, lighting, rendering, and compositing a CG model of guts onto a live-action plate of a zombie. The best part is, we're doing it on a budget. We know that some of you out there have some fun footage lying around that you'd like to turn into a gory VFX shot. However, there are a lot of challenges that come with using footage that was not originally shot in the best circumstances. You might not have access to some of the tools that a big studio would use and that is okay, because we are going to go through the steps of how to get around those issues. We begin in CINEMA 4D with bringing in the live action plate to get an idea of how the model should move to match the footage. We then go through the process of using deformers to get realistic movements for the soft parts of the model. After setting up our render to get all the passes we need for our composite, we move to NUKE where we set up our read nodes with all the pieces we will need to create the shot. We then use a series of RotoPaint nodes to remove unwanted things in our shot as well as create blood on the ground behind the zombie. We use a unique color correction method for utilizing our shadow pass that gets us a perfect match to the color and tint of the live action shadows. By the end of this course, you will not only be equipped to create a zombie limb replacement from start to finish but you will also have picked up lots of useful tips and techniques for turning your budget shot into a finished piece. Software required: CINEMA 4D R14, NUKE 7.0v8.
Gory Effects on a Budget in CINEMA 4D and NUKE
Intermediate
Table of contents
