- Course
Rendering Low Resolution Environments in Maya
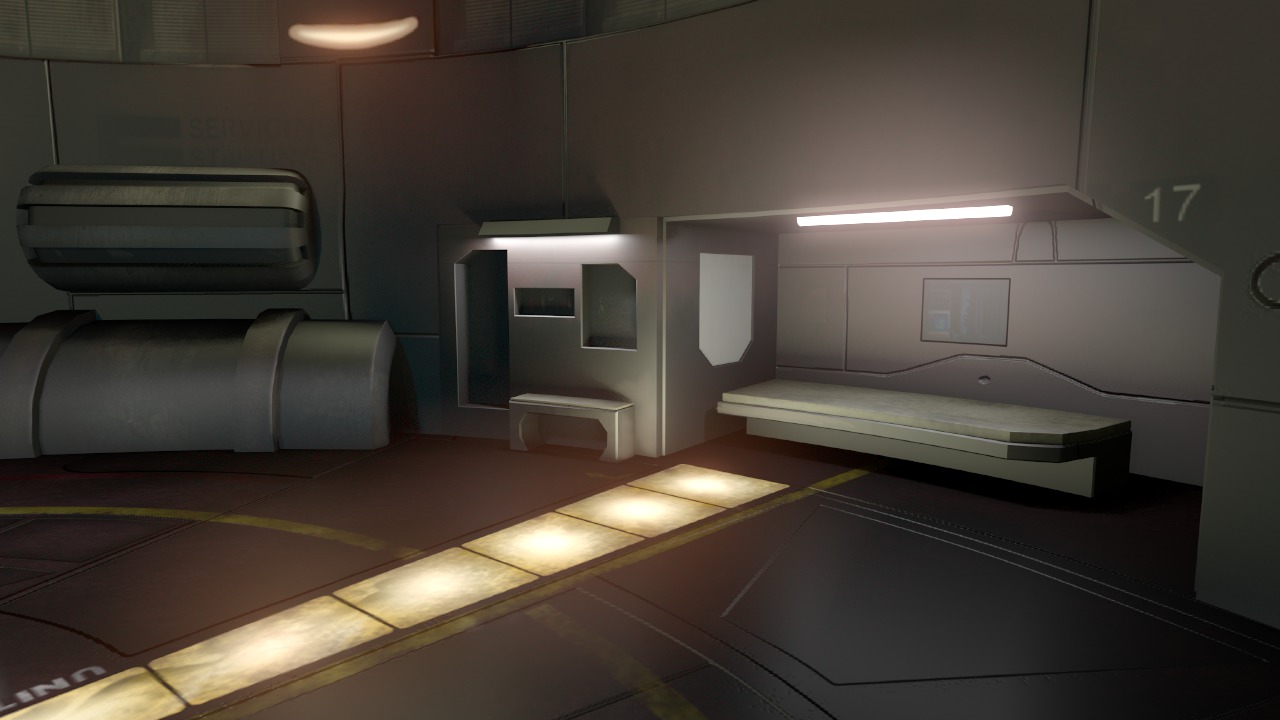
In this Maya tutorial we will explore a variety of techniques for creating realistic lighting which can also convey a sense of mood and atmosphere within Maya. Software required: Maya 2011.

- Course
Rendering Low Resolution Environments in Maya
In this Maya tutorial we will explore a variety of techniques for creating realistic lighting which can also convey a sense of mood and atmosphere within Maya. Software required: Maya 2011.
Get started today
Access this course and other top-rated tech content with one of our business plans.
Try this course for free
Access this course and other top-rated tech content with one of our individual plans.
This course is included in the libraries shown below:
- Core Tech
What you'll learn
In this Maya tutorial we will explore a variety of techniques for creating realistic lighting which can also convey a sense of mood and atmosphere within Maya. Throughout these lessons we will learn how to use lights and shading network modifications to create the appearance of real light sources, as well as using lights to call attention to particular areas of our scene. This course will be placing emphasis on efficient rendering practices, and some guidelines that you can use in your day-to-day work to help your renders proceed as quickly as possible. We will also take some time to learn how volume primitives and 3D textures in Maya can be used to create complex volumetric effects within our scene. Software required: Maya 2011.

