
- Course
Advanced Production Techniques in 3DEqualizer and NUKE
In this tutorial, we'll learn how to use 3DEqualizer and NUKE together in a professional workflow for production. Software required: NUKE 8, 3DEqualizer4 R3.
Advanced
- Course
Advanced Production Techniques in 3DEqualizer and NUKE
In this tutorial, we'll learn how to use 3DEqualizer and NUKE together in a professional workflow for production. Software required: NUKE 8, 3DEqualizer4 R3.
Advanced
Get started today
Access this course and other top-rated tech content with one of our business plans.
Try this course for free
Access this course and other top-rated tech content with one of our individual plans.
This course is included in the libraries shown below:
- Core Tech
What you'll learn
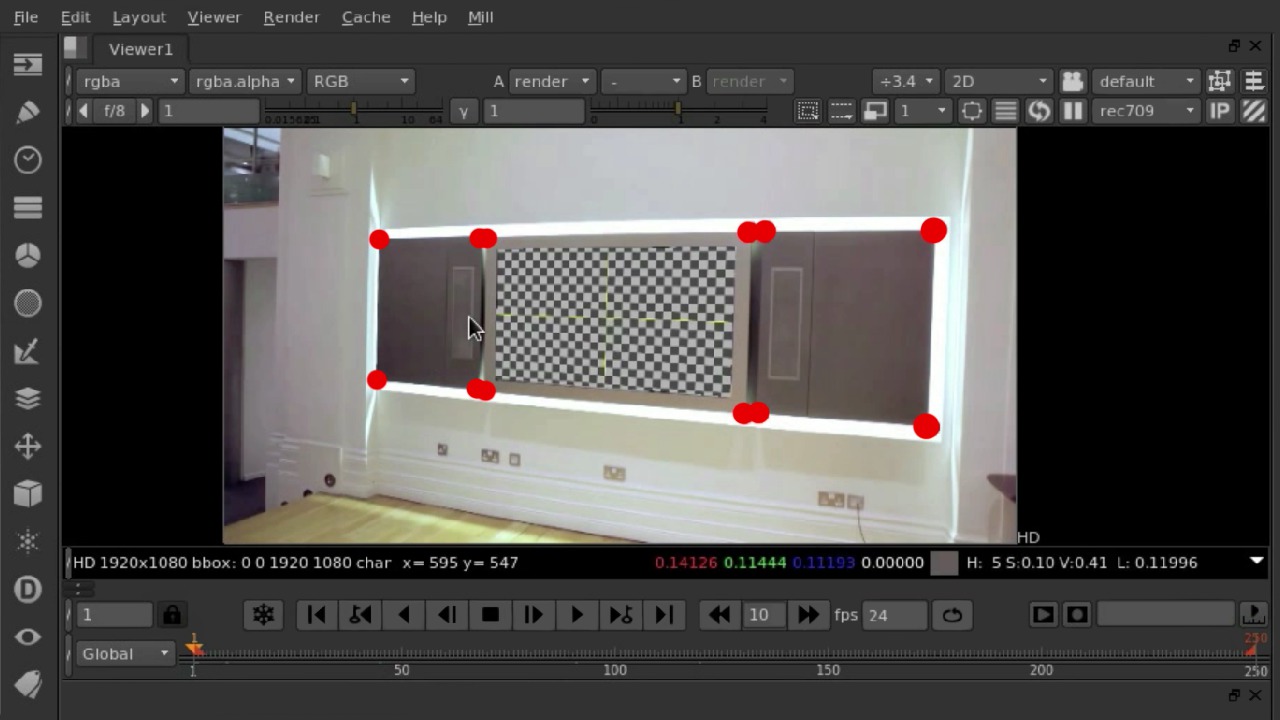
In this tutorial, we'll learn how to use 3DEqualizer and NUKE together in a professional workflow for production. Throughout these lessons we'll look at the more advanced features of 3DEqualizer and how to utilize them with NUKE in a really effective way. We'll start by creating a 3D screen replacement, and then further utilize 3DEqualizer assets to stabilize shaky footage. Finally, we'll dive into correcting for rolling shutter artifacts. By the end of this course, you will be well-equipped to handle a 3DEqualizer to NUKE workflow effectively. Software required: NUKE 8, 3DEqualizer4 R3.
Advanced Production Techniques in 3DEqualizer and NUKE
Advanced
Table of contents
