
- Course
Fiery Skin Effects in NUKEX
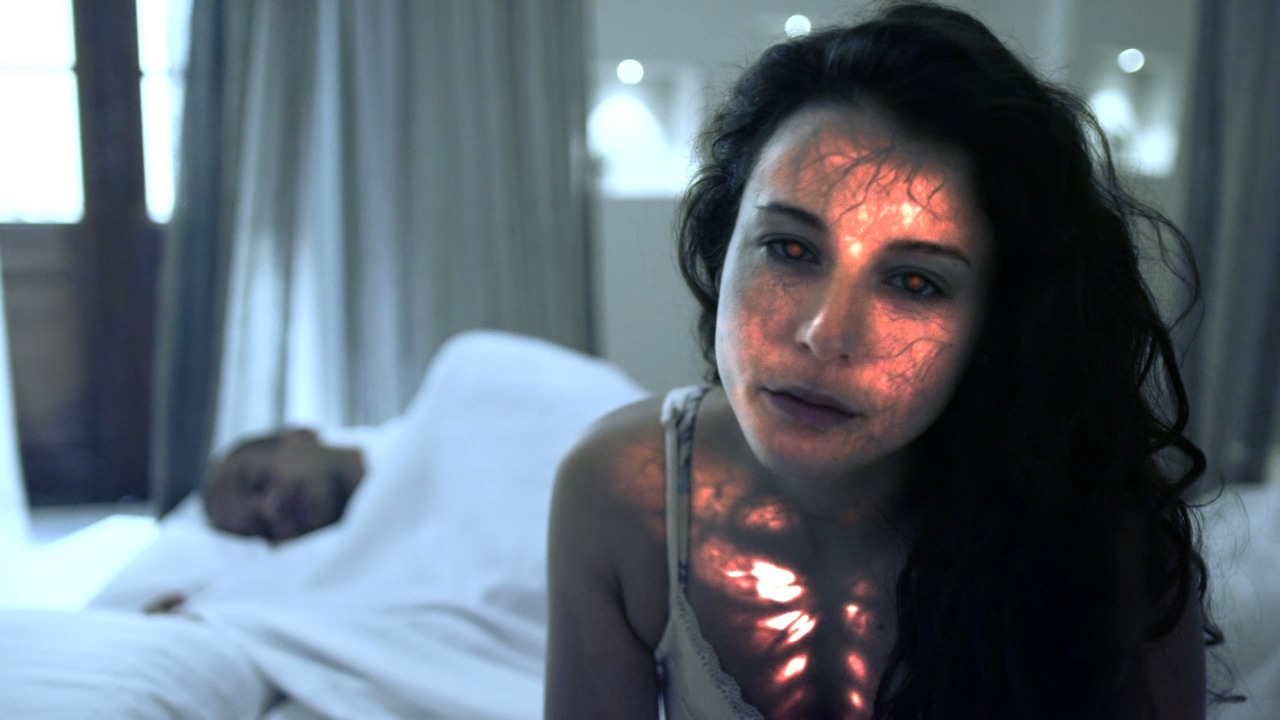
In this series of lessons, we will learn how to create a fiery skin effect you've probably seen on the big screen. Software required: NUKEX 9.0v5.
Intermediate
- Course
Fiery Skin Effects in NUKEX
In this series of lessons, we will learn how to create a fiery skin effect you've probably seen on the big screen. Software required: NUKEX 9.0v5.
Intermediate
Get started today
Access this course and other top-rated tech content with one of our business plans.
Try this course for free
Access this course and other top-rated tech content with one of our individual plans.
This course is included in the libraries shown below:
- Core Tech
What you'll learn
In this series of lessons, we will learn how to create a fiery skin effect you've probably seen on the big screen. We will be creating this effect in NUKE and a basic understanding of how to use NUKE is recommended before following along with this course. We will start by painting a mask that will eventually reveal our effect and then create a noise pattern that will give the fire the organic look we need to make it believable when merged with a real person in the footage. We then learn how to add veins with different levels of blur to show different layers of skin. We will be color correcting our effect to give it the orange look of fire that when merged with the footage looks very real. We also use the new Planar Tracker node in NUKE 9 which works perfectly to match our effect to the movement of the character. Aside from the main skin effect's creation, we will also add a few lens effects and some overall color correction that pushes this shot from good to great. By the end of this course you'll have an understanding of how to create this fiery skin effect in NUKE using no external plugins or even 3D effects. Software required: NUKEX 9.0v5.
Fiery Skin Effects in NUKEX
Intermediate
Table of contents
